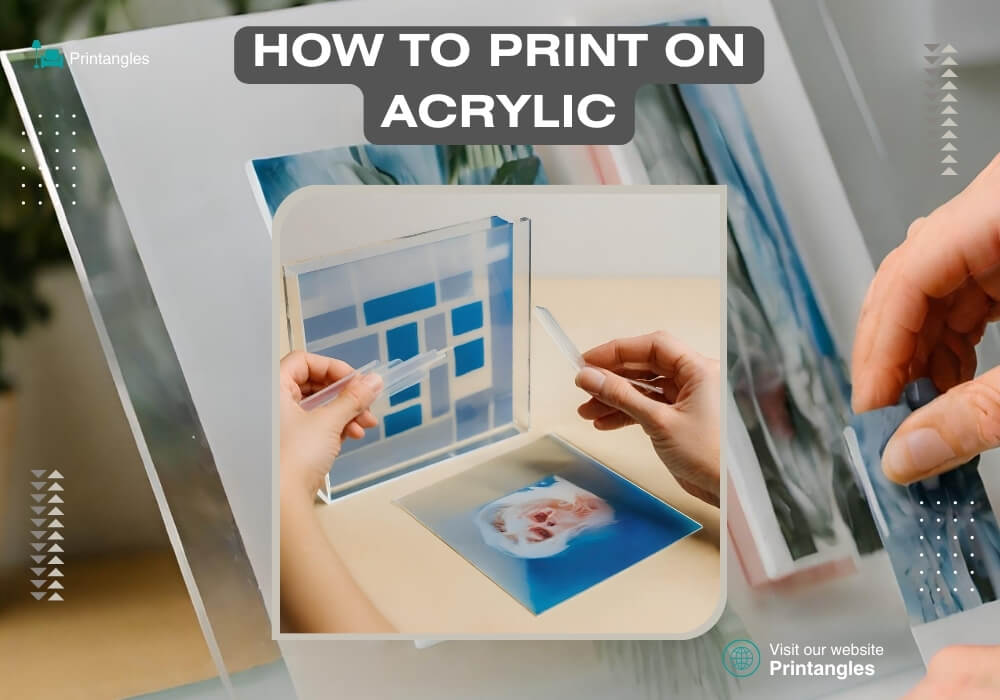
How To Print on Acrylic? Step-By-Step Guide
Let us walk you through the process of printing on acrylic, from Preparing the Acrylic Sheet to Post-Printing Treatment.
Table of Contents
How To Print on Acrylic?
Acrylic printing is a versatile and rewarding technique that allows you to create stunning, high-quality prints on acrylic sheets. With its unique properties, acrylic offers a durable and visually appealing surface for printing, making it ideal for a wide range of applications, including wall art, signage, and product displays.
Materials and Equipment:
To get started with acrylic printing, you’ll need the following materials and equipment:
Acrylic Sheets:
Choose acrylic sheets that are specifically designed for printing. These sheets are typically made from cast acrylic, which provides a smooth and consistent surface for printing.
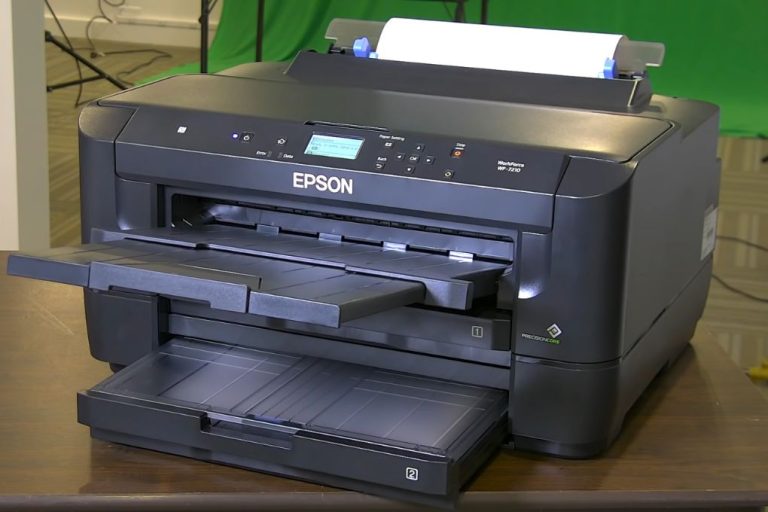
Printer:
You’ll need a printer that is capable of printing on acrylic. Many inkjet printers can be used for this purpose, but it’s important to ensure that your printer is compatible with acrylic printing.
Ink Cartridges:
Use ink cartridges that are specifically formulated for printing on acrylic. These inks are designed to adhere well to the acrylic surface and produce vibrant, long-lasting prints.
Adhesive Tape:
Adhesive tape is used to secure the acrylic sheet to the printer bed and prevent it from moving during the printing process.
Squeegee or Roller:
A squeegee or roller is used to apply pressure to the printed surface and remove any air bubbles or excess ink.
Cutting Tools:
Cutting tools, such as a utility knife or saw, are used to cut the acrylic sheet to the desired size.
Preparing the Acrylic Sheet:
Before you start printing, it’s important to prepare the acrylic sheet to ensure optimal print quality.
Clean the Surface:
Use a soft, lint-free cloth to clean the surface of the acrylic sheet to remove any dirt, dust, or fingerprints.
Apply Adhesive Tape:
Apply adhesive tape to the edges of the acrylic sheet to secure it to the printer bed. Make sure the tape is applied evenly and firmly to prevent the sheet from moving during printing.
Printing on Acrylic:
Once the acrylic sheet is prepared, you can start the printing process.
Load the Acrylic Sheet:
Load the acrylic sheet into the printer according to the manufacturer’s instructions. Make sure the sheet is loaded securely and flat against the printer bed.
Select the Appropriate Print Settings:
Select the appropriate print settings for acrylic printing. This includes selecting the correct paper type (e.g., “acrylic” or “glossy photo paper”), ink type, and print quality.
Start the Printing Process:
Once the print settings are selected, start the printing process. The printer will print the image onto the acrylic sheet.
Post-Printing Treatment:
After the printing process is complete, there may be some post-printing treatments that are necessary.
Remove the Adhesive Tape:
Carefully remove the adhesive tape from the edges of the acrylic sheet.
Clean the Printed Surface:
Use a soft, lint-free cloth to clean the printed surface to remove any smudges or fingerprints.
Apply a Protective Coating:
To enhance the durability of the print, you can apply a protective coating to the surface. This can be a UV-resistant coating or a clear acrylic spray.
Conclusion:
Acrylic printing is a versatile and rewarding technique that allows you to create stunning, high-quality prints on acrylic sheets. By following the steps outlined in this guide, you can achieve professional-looking results and enjoy the unique beauty of acrylic prints.

I’m Derrick Flora and I am the owner of Printangles.com. I am the father of 2 angles and 1 boy and I am 37 years old. I had done Bachelor in Fashion and Textile Studies from FIT State University of New York.
It’s been 7 years since when started the sublimation business. I sublimated mugs, t-shirts, canvas, and many more. And we have analyzed some things that beginners don’t apply the actual strategies to complete the project. And those strategies are making your sublimation better onto the material. What do beginners do, they just buy the sublimation printer and the heat press without knowing about them.