How to Make a Sublimation Mug Wrap 2023
Customized wrap mugs is the best way of garnishing your room or house. Also, it would be the best idea to gift those mugs to your dear ones on the completion of their menage. It has a different charm when you present those products that are prepared by yourself. You can make a sublimation mug wrap by utilizing some of the materials to take it to the last step.
You’ll need to have the designing software, sublimation printer, and mug press. Make sure you have the quality and suitable software to make your process successful. As we’ve learned from our experience that individuals or beginners select the equipment by just reading the name of the accessories. Stick with the guide to know the suitable material and the best method of how to make a sublimation mug wrap.
Table of Contents
How to Make a Sublimation Mug Wrap: Step by Step Guide
There are very easy steps to get done this process. If you want to make a sublimation mug wrap, follow the process and fulfill your requirements.
Step #1 – Creating design for sublimation
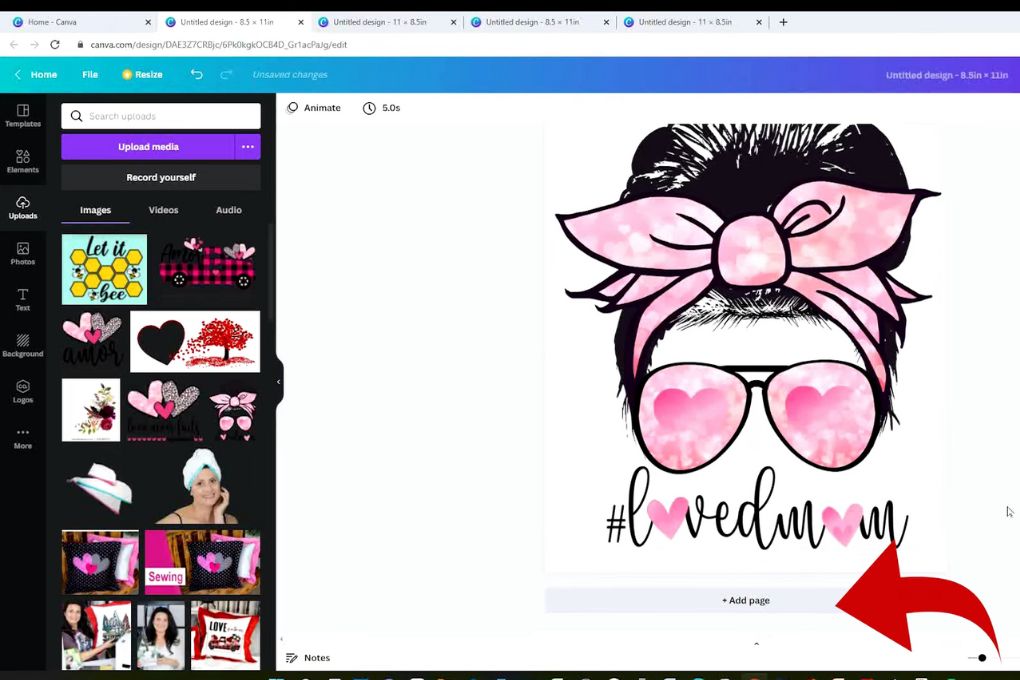
The first-ever step has always been in sublimating any material is creating the design for your sublimation projects. When it comes to choosing the right sublimation designing software, you can’t look anywhere than Photoshop. But it completely depends on how much budget you have whether need free software or paid. If you need free, go for Canva software because of its brilliant user interface and a lot of handy features.
The 10 or 11 oz demands a size with a tallness of 3″ and a width of 9″. If you have different sizes of mugs, select the dimensions accordingly and create the graphics from the software. Importantly, the mugs you are gonna sublimate should be coated. Because sublimation printing doesn’t accept only non-polyester material.
There are a few tapper mugs that stop the sublimation paper to get transferred onto those tapered mugs. So getting the beautiful material isn’t enough rather evaluate the material that can be sublimated or not.
Related: Best Sublimation Printer for Beginners, Reasons sublimation not transferring
Step #2 – Printing the design
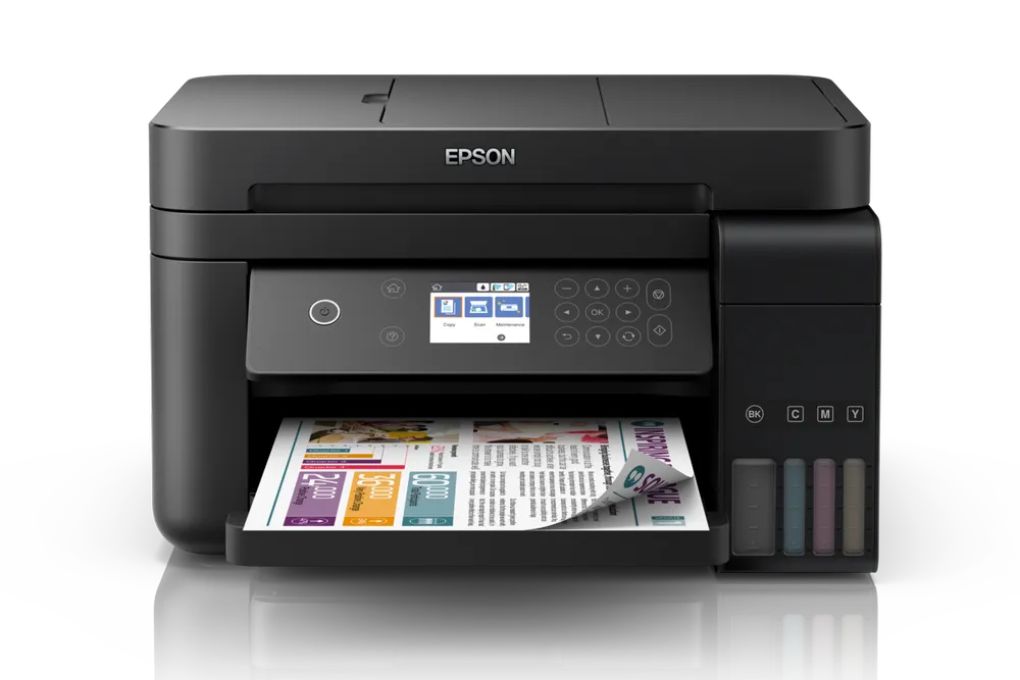
Printing the design is very essential as this step gets done by the best sublimation printer for mugs. The sublimation printer involves two more pieces of equipment such as the sublimation ink and the sublimation paper. The design in the form of text and colors printed on the paper is called the ink and the printed paper is called sublimation paper. But the question is on which basis you select the sublimation printer. Just look at the printing technology if the printer is offering you piezo printing technology, then consider that one because it’s suitable.
And the other two pieces of equipment should also meet the standard of sublimation because transferring the design via sublimation paper isn’t a cup of tea. So select every material wisely and accordingly. Once you have selected the printer, make sure that you are familiar with the printer settings, suitable transfer paper size, and can print the graphics.
Read More: Top 3 Sublimation Printing Types of 2023, Keep sublimation from fading
Step #3 – Preparing mug wrap
We’ve used a silicon rubber baking sheet to wrap around the mug. The thread would be needed to sew both ends of the sheet. Because you’ll need the bolts and nuts to fix that with the mug. And you will have to purchase the two hooks to connect one end with the other end while wrapping the sheet around the mug. But before wrapping the sheet, make sure to place the transfer paper onto the mug.
Read More: Convert hp printer to sublimation
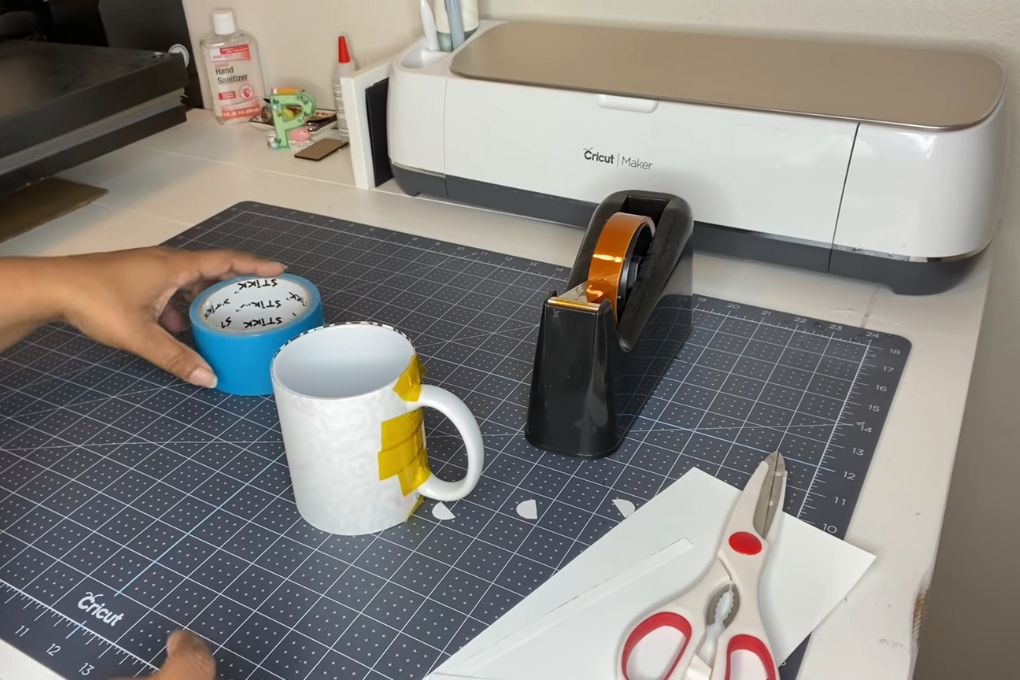
Step #4 – Adjusting the printed design
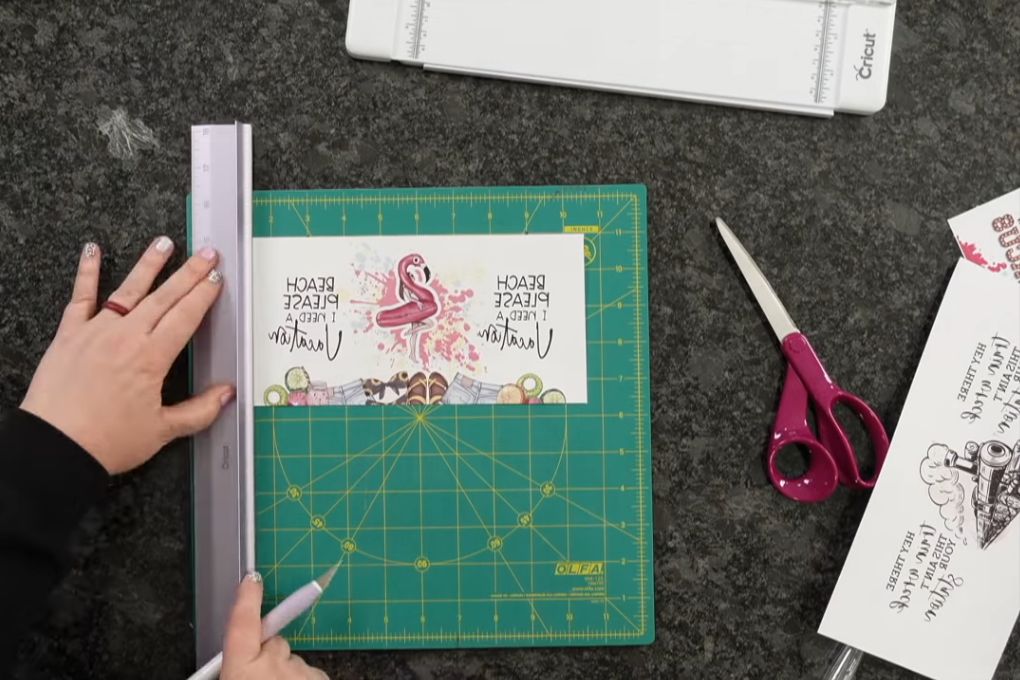
Once you’ve printed the design, cut the designed paper according to the size of the mug via scissors. You’ll do this step in case of having a larger transfer paper than your material. But cutting should be sensible as the wrong cutting will waste your printed paper and time as well. When trimming gets done, wrap that paper around the mug. Use heat-resistant tape to fix the sublimation paper to avoid ghosting.
Read More: Best Sublimation Printers for Heat Transfer
Step #5 – The setting of the mug press
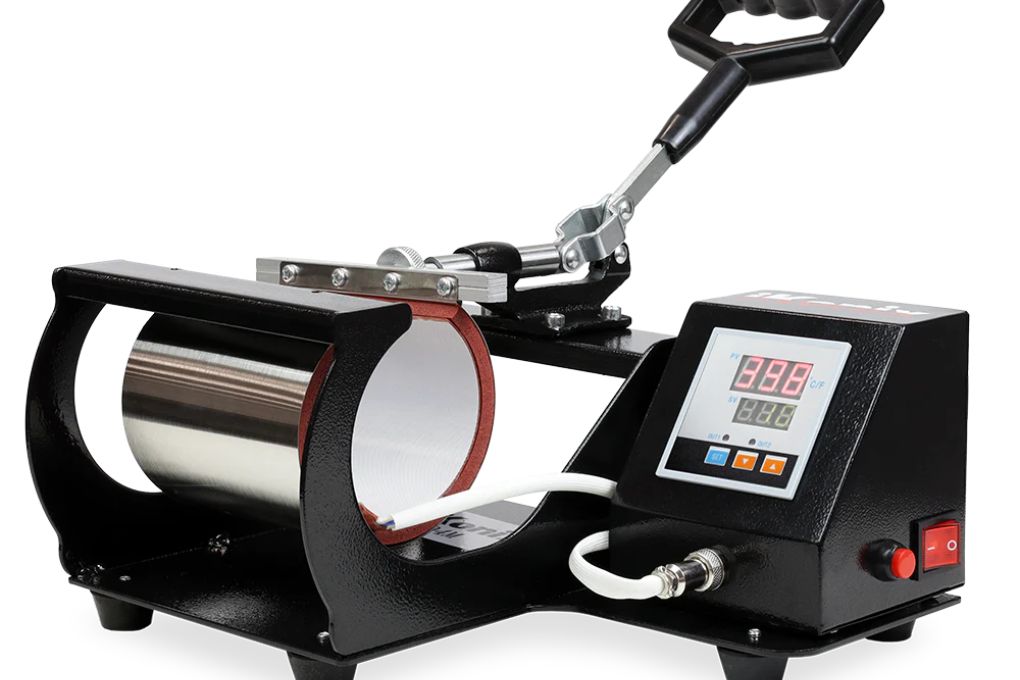
First of all turn on your mug press at the temperature of 400 F and set the timer for 5 minutes to get vibrant colors. Medium to high pressure would be a better decision to adopt. But our recommendation is to ask the manufacturer to get the exact temperature or the time for doing this process. Because the person who has made the material would know better than anyone else.
Step #6 – Transferring the design via Mug press
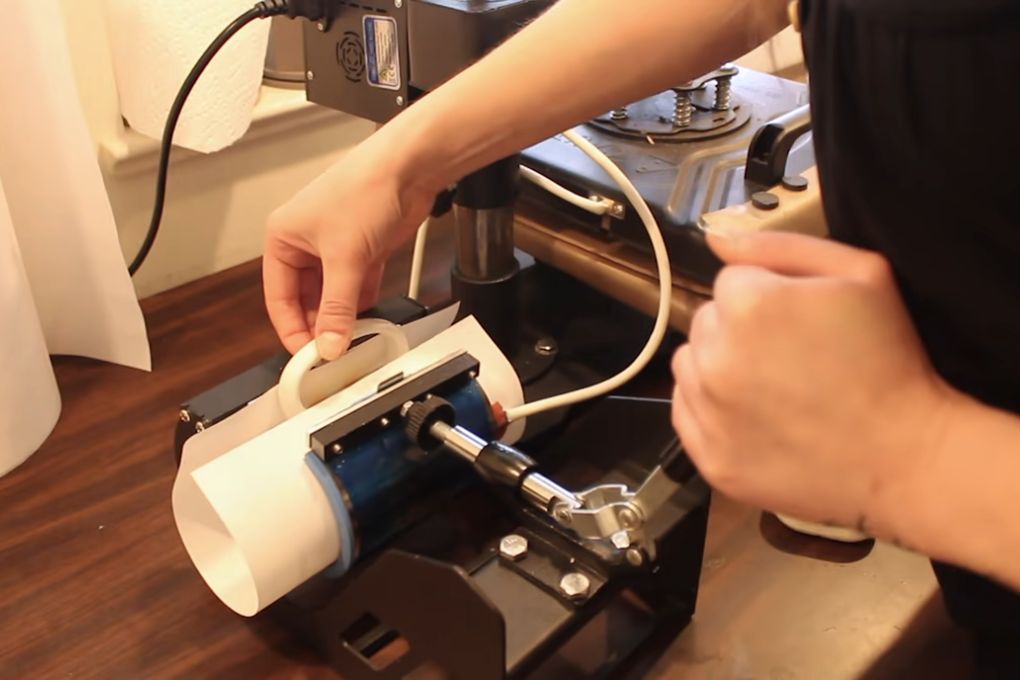
Before transferring the design, the mug should be ready for sublimation as the sheet has been wrapped properly. Now place the prepared mug into the mug press and press with medium and high pressure. Leave it until the time gets up and the design is sublimated. You can use the convection oven and the heat press for the mug. Utilize the available material and sublimate your mug.
Step #7 – Removing paper and tape

When you see the time has been completed, wear gloves to take off the mug or wait for some time because it’ll be hot to touch. You can turn on the fan or anything else to cool off the mug within 2 to 3 minutes. Once the material is cool off, first of all, remove the heat-resistant tape. Then take off the sublimation paper to see the transferred design. Now your design is ready to present as a gift or decorate your room.
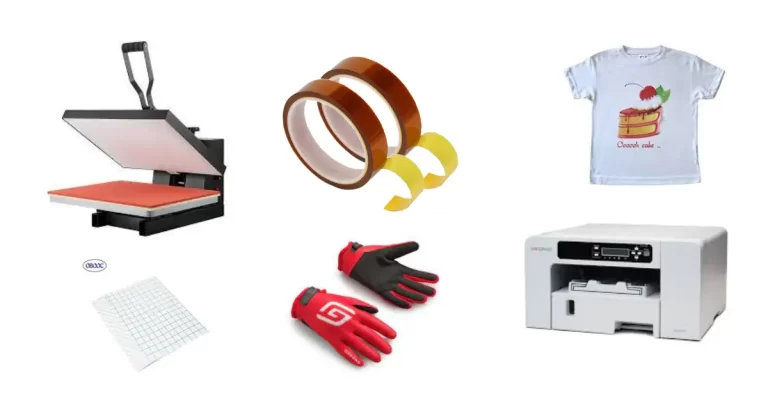
Materials Needed for a Sublimation Mug Wrap
Creating a full wrap sublimation mug requires several essential items. The core items include:
Blank sublimation mugs: These mugs are specially coated to accept sublimation ink. When choosing your mug, it is crucial to ensure it has an even, clean surface for the best results.
Sublimation printer and ink: This specialized printer uses heat-sensitive inks to create images that can be transferred onto your mug.
Sublimation paper: This paper is designed to work with sublimation ink to create your transfer.
Heat-resistant tape: This is used to secure your design to the mug during the sublimation process.
Mug wrap: The wrap is used to evenly distribute heat during the sublimation process.
Heat press machine or Cricut Mug Press: This is used to apply heat to the mug and complete the sublimation process.
Design software: This is where you’ll create or import the personalized content and designs for your mug.
Tips for choosing quality materials
When it comes to selecting the best materials for your wrap sublimation mugs, quality is key. Invest in high-quality sublimation mugs, ensuring they are designed for full wrap sublimation to guarantee a smooth and complete design transfer. When choosing a sublimation printer and ink, reviews and user experiences can guide your purchase decision. Your chosen sublimation paper should be compatible with your printer and yield high-quality prints.
The Cricut Mug Press is an excellent choice for those new to sublimation, as it’s user-friendly and designed specifically for mugs, ensuring optimal heat distribution for the sublimation process.
Safety considerations for handling materials
Safety is a crucial aspect when creating a full wrap sublimation mug. Ensure your workspace is well-ventilated as sublimation involves high heat and can potentially release fumes.
Always handle the mug by the mug handle when it’s hot to prevent burns. Use heat-resistant gloves when removing the mug from the press to protect your hands.
Lastly, be mindful of the hot surfaces on the Cricut Mug Press or heat press machine. Never leave the heat press machine unattended while it’s in use, and ensure it’s off and cooled down before storing it away.
Cleaning and Care for Sublimated Mugs
Tips for cleaning a newly sublimated mug
Once your mug has been fully sublimated with your chosen wrap designs and has cooled down, it’s time for cleaning. Begin by gently wiping down the exterior and interior of the mug with a soft, damp cloth to remove any residual sublimation paper particles. Do not use abrasive cleaners or scrubbing tools as they may scratch or damage the printed design. For the inside of the coffee cups, a gentle wash with warm soapy water and a soft sponge will suffice. Remember to handle your mug carefully, especially when it’s new.
Long-term care and maintenance tips
Long-term care for sublimated mugs is relatively simple. They are typically dishwasher safe, but for best results and longevity of the design, hand washing is recommended. Always avoid using harsh or abrasive cleaning materials, as these can damage the design over time.
Avoid subjecting the mugs to sudden extreme temperature changes, as this could potentially crack the ceramic material. If you’ve used the Cricut Design Space to create your mug wraps and followed the wrap instructions correctly, the durability of your design should be good.
Do’s and Don’ts
Do:
- Handwash your mug whenever possible to extend the life of the design.
- Store your sublimated mugs in a safe place where they’re less likely to be knocked over or chipped.
- Always handle the mug with care to preserve the integrity of the design.
Don’t:
- Don’t use the mug in a microwave if it has any metallic elements in the design.
- Avoid using harsh cleaning tools or chemicals on your sublimated mugs.
- Don’t expose your mug to extreme temperature changes to prevent cracks or breaks.
Recommended: How to remove sublimation ink stains from shirts?
Troubleshooting Common Issues
List of potential issues and their solutions
Incomplete or patchy design transfer: If you notice that your design is not fully transferred onto the sublimation blanks, this could be due to improper heat or time settings. Depending on your settings, you may need to adjust the heat or duration on your press to ensure a complete transfer.
Wrinkles or creases in the design: These can occur if the transfer paper isn’t secured firmly or evenly around the mug. To avoid this, ensure that the transfer paper is taped tightly with no wrinkles before placing the mug inside the press.
Faded colors or images: This could be a result of low-quality sublimation ink or paper. Ensure you’re using high-quality products designed specifically for sublimation. Additionally, check your printer settings to make sure they’re configured correctly for sublimation printing.
Design not aligning correctly: This could be due to a misalignment in your design template. Review your template layer in your design software’s layers panel to ensure that it’s correctly sized and positioned for your mug.
Tips for avoiding common mistakes in the process
Design correctly: When designing, for instance, a strawberry pattern for your sublimate mugs, ensure that you place your design correctly in the template layer, making sure it aligns well on your sublimation blanks. This is crucial as any misplacement could lead to a skewed design on your finished product.
Secure the transfer paper well: Using heat-resistant tape, ensure that your transfer paper is firmly and evenly taped onto your mug. This prevents the paper from moving during the sublimation process, which could otherwise cause a blurry or misplaced design.
Protect your hands: Always remember to use heat-resistant gloves when handling the mugs during the process. This will not only protect you from burns but also prevents oils from your skin from transferring onto the mug, which could potentially affect the sublimation process.
Choose the right equipment: Depending on your setup, you may be using a professional heat press, a Cricut Mug Press, or even a modified kitchen oven for your sublimation process. Regardless of the method, ensure that your equipment can provide even, consistent heat for the required duration. If you’re using a heat gun for certain processes, be careful to apply heat evenly.
Invest in quality: Good quality sublimation blanks, transfer paper, and sublimation ink can make all the difference in the final product. While it might be tempting to save money on cheaper alternatives, the quality of your finished mugs will ultimately reflect the quality of the materials you use.
Conclusion
Making sublimation mug wrap isn’t a difficult task until you don’t go with the right procedure by using suitable materials for the process. We’ve elaborated on how to make a sublimation mug wrap in a couple of steps with so ease. And you can do the same by applying all the techniques that we have described throughout the guide in terms of choosing the material or doing the process.
I hope our guide won’t be left any queries related to this article but if there is any query, leave a comment. We would love to reply to your queries.
Related: How to use sublimation papers for your sublimation projects Sublimation mugs and microwave safety

I’m Derrick Flora and I am the owner of Printangles.com. I am the father of 2 angles and 1 boy and I am 37 years old. I had done Bachelor in Fashion and Textile Studies from FIT State University of New York.
It’s been 7 years since when started the sublimation business. I sublimated mugs, t-shirts, canvas, and many more. And we have analyzed some things that beginners don’t apply the actual strategies to complete the project. And those strategies are making your sublimation better onto the material. What do beginners do, they just buy the sublimation printer and the heat press without knowing about them.