How to Make A Sublimation Design 2023
Sublimating your favorite craft is surely the best way of customizing it to have a charismatic and appealing look. But do you have an idea about how to make a sublimation design via designing software? Have you ever created a sublimation design? These questions mean a lot to those who are running sublimation businesses. Because you can’t make your sublimation captivating until you don’t create the eye-catchy design.
When it comes to creating the design, recognizing the graphics type is very essential. There are two common graphic types, the first is vector and the other is raster graphics. And different software offers different types for the designers to create the graphics accordingly. So understanding your required graphics is the first step in creating the design.
As far as design creation is concerned, extremely user-friendly software and its ready-made templates with stunning features have made it easy for beginners as well to create amazing designs within minutes. If you have a little bit of designing sense or some creativity, you can make the required design whether you are new to the design field. Another thing that should be in your knowledge is, to create the design that suits your material as well as the sublimation printer.
We will be listing down all the best designing software around the world that doesn’t only make you an outstanding design. But also all those software assist in making the design in no time with little effort. There are free and paid software and of course, you get more handy features in paid version than the free. You’ll decide the version as your budget permits you. Now let’s dive into the convenient guide on how to make a sublimation design using the best software.
Software for Sublimation Design
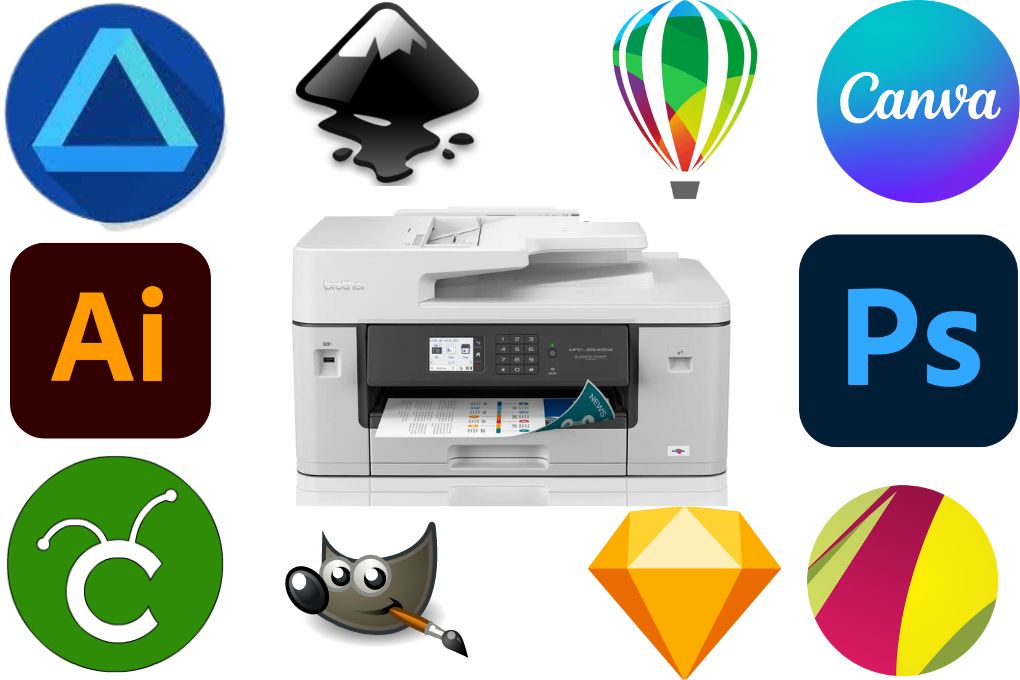
- Adobe Photoshop
- Adobe Illustrator
- CorelDraw
- Canva
- Affinity Designer
- Sketch
- Gravit Designer
- GIMP
- Inkscape
- Cricut design space
All of the mentioned software includes unique features that stunned the designers with their abilities. And Adobe offers you Photoshop and Illustrator to use as you want. There won’t be any designer who is not aware of photoshop and illustrator because of their flexibility and unique features. Unfortunately, you don’t get the free version of those software but there would be a free trial of 7 days if you accept their subscription.
The mentioned Softwares have the capability of creating ease for the customers and making them their required designs. Apart from designing, you might be thinking that how you can identify the required software for your desired graphic types. Fear not! just check the sublimation designing software and clear this confusion.
I know many individuals looking for free software to design and generate the best design. And you can’t go anywhere if you have the Canva in the market. One of the best software that has gained a lot of popularity in a short time. Because the way it has produced the elements, templates, and a lot of photos for different niches with so ease has made it unique.
The admirable quality of this software is that it doesn’t create difficulty for beginners to understand the features and menus. You just need to sign up and start designing by using your common sense and utilizing handy features.
Table of Contents
How to Make a Sublimation Design
When going for designing, software always demands you to create your account. But you have to confirm your design type first and then proceed further. Whenever you log in to the decided software, your always first step is to select the design dimensions. And then you go ahead by choosing whether you wanna create the design through ready-made templates. Or making the design onto the blank page is your purpose by showing some designing abilities.
Tons of designs have been made by Canva for tons of our projects. It gives you all that you expect from the giants of designing software. Just give it a try, you’ll never regret it after using this flexible software. We’ll be using some prepared templates and then giving that template a totally different look by utilizing effects, texts, colors, and many more.
Without wasting any time, let’s move to the real steps of creating the design. Because there is nothing more to say related to the above. All the important points have already been discussed before generating the design. Just take a look at the above, if you haven’t gone through it because it’s essential to create quality designs.
Read More: Best Sublimation Printers for Beginners
How to create your own sublimation designs
There will be a few easy steps for creating the design. You just need to focus on the step and the guidelines, so that you avoid from doing mistakes and create sublimation designs with little effort and less time. But if you are the starter, make sure to spend enough time understanding the designing aspects of the templates and pro sublimation designs.
Step #1 – Just getting into Canva
Thanks to Canva, plenty of templates and multiple features have been provided to help beginners to create their own designs. Before doing anything, creating your account on the Canva will be your first step. Remember, it also offers you paid version, you get amazing and pro-required options to create amazing designs. But the free version is enough capable of generating captivating designs. For creating the design, you’ll need to give your name, email, and password.
Step #2 – Selecting size dimensions
This step keeps a lot of importance as it comes to the selection of dimensions of your design. The question that will be arising in your mind is why the selection of dimensions is very essential? Because it has a direct relation with the material that is going to be sublimated. As the design should be according to your desired material for suitable sublimation results. In case having a bigger design than the craft will spoil your hard work, which you had invested in designing. Apart from the handy instructions, let’s come on to the main topic of how you will select the dimension.
Now I am supposing that you have created the design and logged in. The interface of the Canva is right in front of you. You’ll see the upper right section of the Canva for creating the design. There you are looking at the button for creating the design. Now scroll down and find the custom size option on the left downside. Then put the dimensions that you want for your design.
The 15 by 15 inches are the common dimensions that are mostly used for sublimation designs. Make sure to have the dimensions in inches rather than pixels when making a sublimation design. But keep in mind that your design totally depends on the required material. So analyze and find the size of the craft to have the suitable design and the appropriate sublimation sequel.
Step #3 – Using Left side features
We are come up with the real and beneficial features of Canva that show the designers to utilize its flexibility. Colors combination is the essential part of the design and it should be sensible that gives the best and most attractive look. Well, there are multiple different options on the left side of Canva interface. First of all, you get the option of templates, in this section, a lot of templates are prepared. You just need to edit that template by putting your images and some fancy texts into that.
Then the element section comes after the templates, multiple images, graphics, and video options you get from this section. Just put your required keyword in the search bar and get rewarded with infinite images and videos related to your specific keyword.
Let’s move down more to the option of text, now without utilizing this option you can’t make your design attractive. Because the text adds more beauty to the images and sometimes gives the idea that what is this design about.
The uploaded section is also included, the images or videos you would like to add in templates, this section will be utilized. And then the photo segment takes the attention by providing you high quality and professionally taken images for all the categories. Just paste your category and here is the photo you were looking for.
Style is one of the parts that you would always place in your design as it gives a unique and stylish glaze. And that is what the Canva is giving you to make your content and design more stylish by this option. Another brilliant feature of the Canva is giving you videos and audio segments. But as we know that sublimation involves the process of printing images and designs, not videos.
Do you want to remove your background? don’t worry. Because Canva is giving you the facility to remove the unwanted background. And select the background that suits your design with just one click and make the sublimation backgrounds outstanding. If you’re still confused then have a look at Canva Step by Step Guide on Designs.
Step #4 – Making the design more appealing
Once you’ve made the design by utilizing all the options that have been described above. It’s time to add some beneficial changes to the design. Those changes will be based on editing the color, changing places of the design, and cropping the created design as well. Page animation and bring some effects to your made design and make it more charming.
There is no rocket science in changing the place of design or adding some effects to the graphics. Just it demands drag and drop to generate the design. But make sure you are using the options carefully. Because one wrong click can destroy the whole design and your hard work.
Step #5 – Downloading the design
After the completion of the design and when you see the design is completely created. Now move on to the last step of downloading the image. For that, you’ll have to go to the upper right corner of the Canva. And there’ll be a share option in the right corner. Just click on it and set the free sublimation file with a pdf file to get a high-quality design and then click on the downloading button. Your image is downloading and after a while, it will be downloaded. Hence, your design is ready for printing through the sublimation printer.
After successfully creating the design, heading towards sublimating the image onto the material. So that if someone wanna sublimate that design as well, it can be possible by going through the given process. All the sublimation business owners out there would know that some essential materials are always needed for doing this process. For sublimation for beginners, I would like to list down the equipment you should have before the sublimation process.
T-shirt Sublimation Printing at Home
Step #1 – Analyzing sublimation material
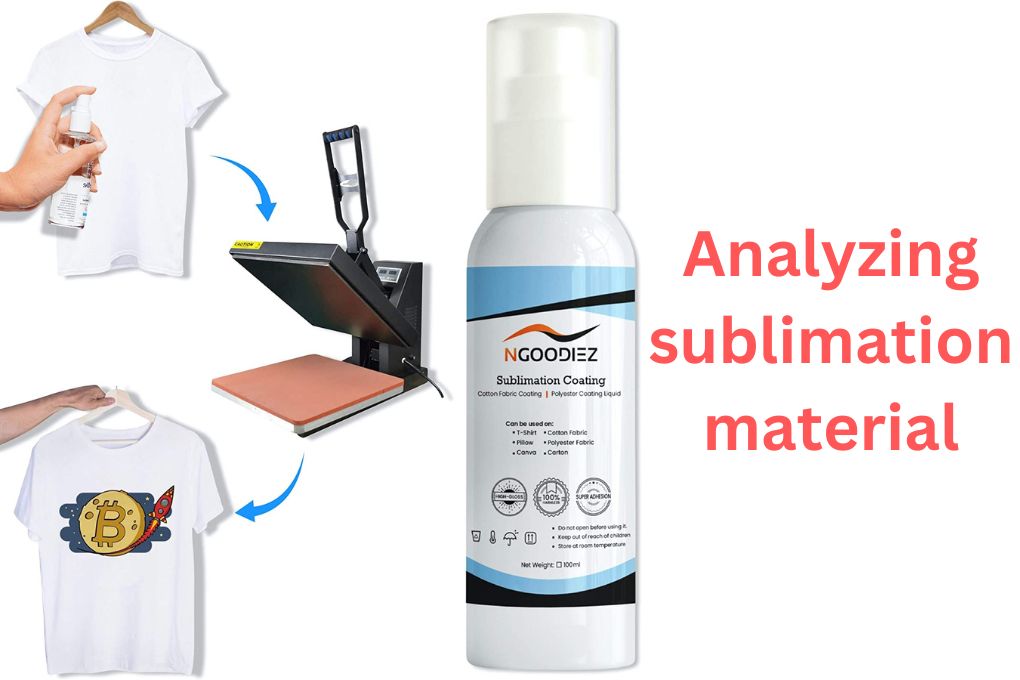
This step has a lot of importance, with the regular material, you can’t sublimate. Because sublimation printing requires special sublimation material by having a maximum polyester material. But a lot of changes have been made because sublimation sprays are available in the market. That makes your material eligible for the sublimation process and it requires no effort.
If you don’t want to spend extra by purchasing the liquid coating spray, make sure to have the sublimation material for the best result. As I told you the design depends on the material. Confirm your material first and then go for designing.
Step #2 – Printing the Design
When it comes to printing the design that has been created by Canva. You have to use the sublimation printer to get done this job, but it demands a real sublimation printer that has piezo printing technology. Another attention-taking element is sublimation ink, it needs to be high quality to get the best colors onto the paper.
Sublimation paper does the job of getting the colors written onto the paper. If it doesn’t have quality, sorry, you’ll regret it when the sublimation design would be transferred. As it won’t transfer the design as the quality sublimation paper transfers. So make sure to have the right equipment that gives you better sublimation results.
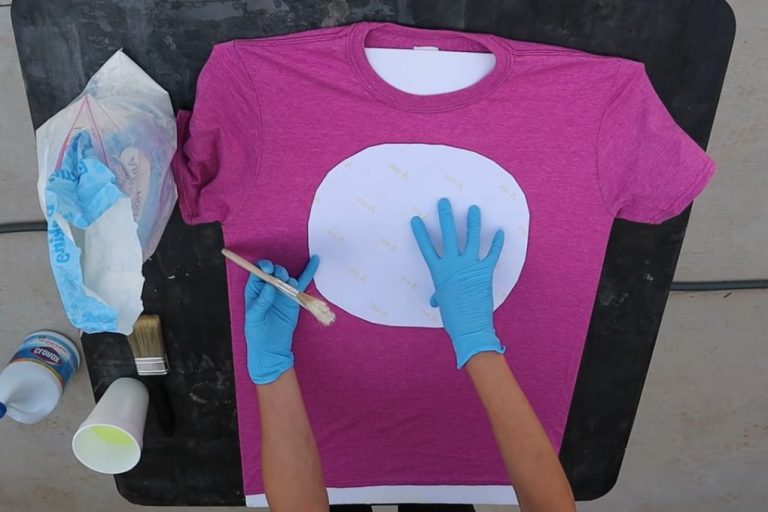
Step #3 – Preparing the material and using a Teflon sheet
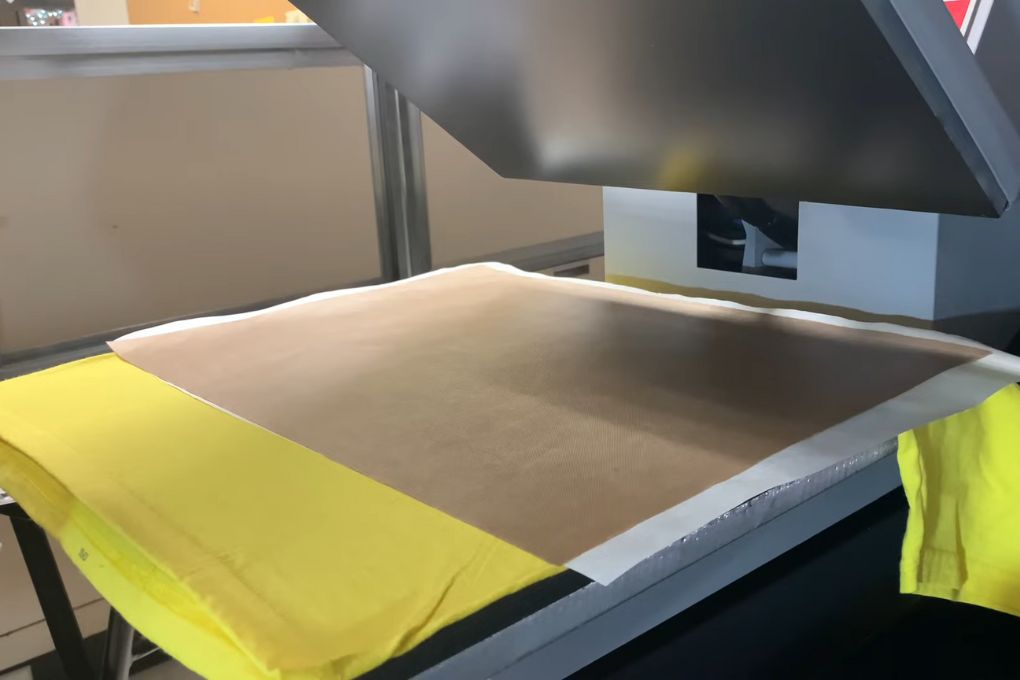
Once the design is printed, move on to the next step of preparing the t-shirt. First of all, use the lint roller and clean the craft to avoid any kind of disturbance when transferring the design. Also, bring the sublimation paper or printed paper and fix it onto the shirt by using heat-resistant tape. It’s very important because it fixes the paper and avoids ghosting.
Make sure you have the Teflon sheet or butcher paper, if so, then place the butcher paper onto the shirt. And I would ask you to use another paper to place under the shirt. Most of the owners don’t recommend it, but it’s important to have. It’ll protect the shirt’s second side from transferring the design towards the second side.
Read More: Best Sublimation Printers for Heat Transfer
Step #4 – Turning on the Heat press and pressing the material
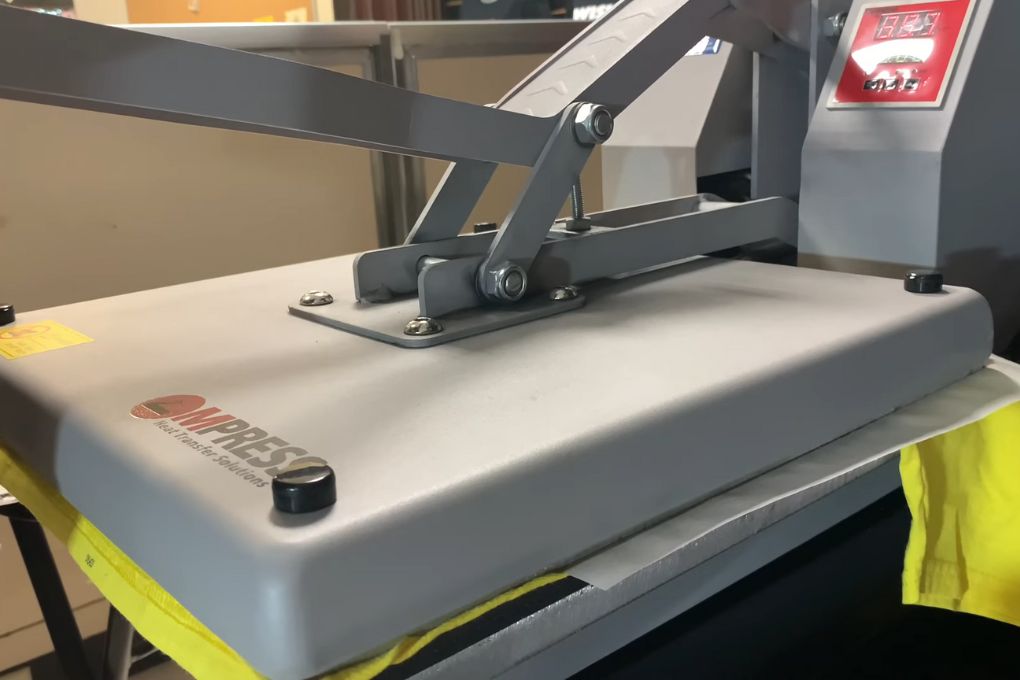
Turn on the heat press at the temperature of 380 F for 25 seconds. Once the heat press is heated, place the prepared material into the heat press. Now press with medium to high pressure for 25 seconds to get completely transferred. Remember, every material requires a different temperature and time. So it should be in your knowledge by asking the manufacturer of the shirt to protect your material from any disturbance.
Step #5 – Removing Sublimation paper and other materials
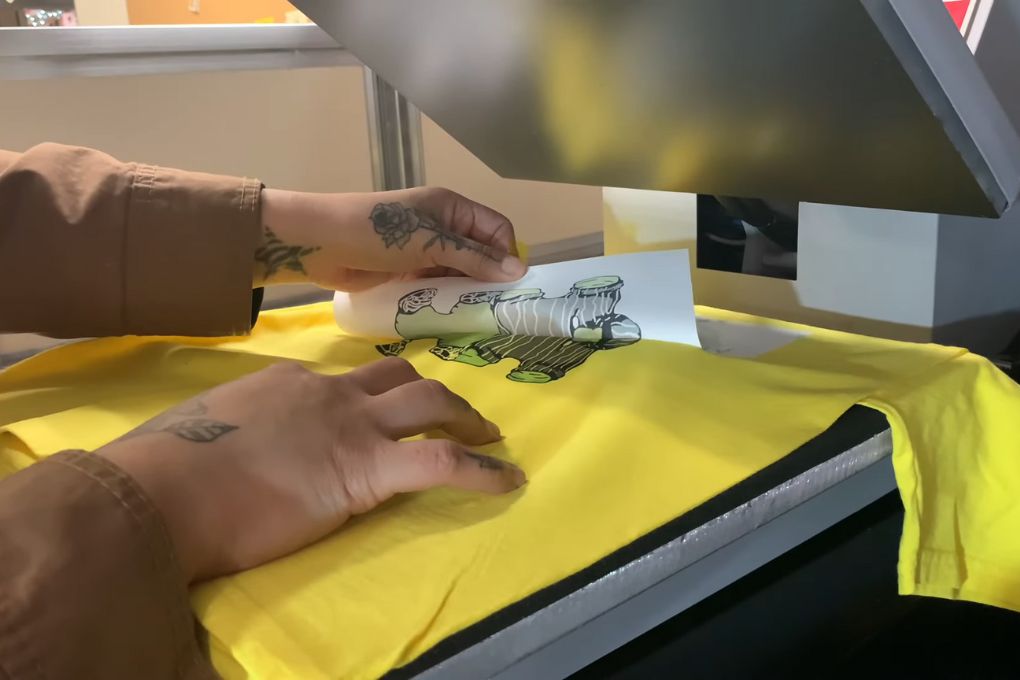
If you don’t have gloves to remove the material from the heat press, wait for some time to cool them down. After some time, remove the heat-resistant tape, butcher paper, and sublimation paper. Here we go, our design is ready.
Materials Needed for Sublimation Design
Sublimation design is a unique art that requires specific tools and materials to create stunning sublimation designs. Let’s explore each material required in detail.
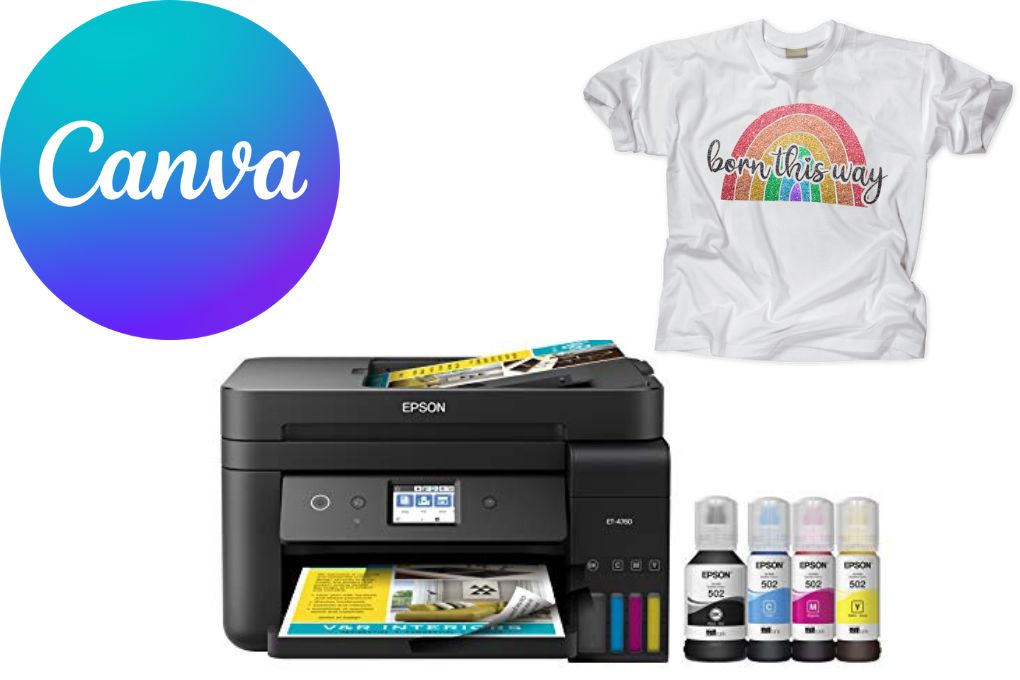
A. Sublimation Printer: This is the heart of all sublimation projects. A high-quality sublimation printer is essential for transferring your design onto the sublimation paper. It works by heating the sublimation ink to transform it from a solid to a gas, bypassing the liquid stage.
B. Sublimation Ink: The key to creating vibrant sublimation prints lies in the quality of your sublimation ink. This ink is special because it can change from a solid to a gas without becoming a liquid, which is crucial for the sublimation process. It ensures that the colors in your design are vibrant and long-lasting.
C. Heat Press: The heat press is another critical component of the sublimation design process. It provides the heat necessary to convert the sublimation ink into gas and infuse it into the material of your sublimation blank.
D. Sublimation Paper: This is the medium onto which you print your design before transferring it to your sublimation blank. The design is initially printed on this special paper and then transferred onto the blank using a heat press.
E. Sublimation Blanks: These are the items you will be printing your designs onto. Sublimation blanks can include a variety of materials such as ceramics, textiles, metal, and more. These items must be coated or made of polyester for the sublimation ink to bond properly.
F. Software for Designing: To create designs, you need reliable graphic design software. Software like Adobe Photoshop or Illustrator provides a wide range of design elements, allowing you to create high-quality sublimation designs.
Tips and Tricks for Perfect Sublimation Design
The magic of sublimation printing lies not only in the creation of your own design but also in mastering the techniques that bring out the best in your work. Here are some tips and tricks to help perfect your sublimation design process.
Recommended Software Tools and Settings
Using the right software is critical to achieve the best results. Adobe Photoshop and Illustrator are highly recommended due to their extensive range of tools and settings. Make sure your workspace is in CMYK color mode for the best color matching. Additionally, use high-resolution settings (300 dpi or more) to ensure a crisp and detailed sublimation image. There are also free sublimation designs and design templates available online which can help beginners understand the basics of good design.
How to Choose the Right Materials for Your Project
The materials you choose for your project can make a significant difference in the final result. Select sublimation blanks that are made of or coated with polyester for the best color payoff. For textile items like t-shirts, a high polyester content is crucial for vibrant, lasting colors. And remember, the quality of your sublimation ink and paper also impacts the outcome, so choose wisely.
Ensuring the Right Temperature and Pressure During Heat Transfer
Getting the right temperature and pressure on your heat press is crucial. Too little heat, and the sublimation image won’t fully transfer; too much, and the image may become distorted. Most sublimation printers recommend a temperature between 380 to 400 degrees Fahrenheit. Pressure should be medium to high, but this can vary based on the heat press and the substrate. Always do a test print before proceeding with the actual print.
Tips for Maintaining the Longevity of Sublimation Design
To ensure your design lasts, consider the care of the product. For example, a sublimation-printed t-shirt should be washed inside out in cold water for the first few washes. Avoid bleach and direct sunlight if possible to prevent fading.
In sublimation printing, the design process is essential, and incorporating your own artwork adds a personal touch. Remember, unlike traditional printing methods, sublimation printing allows you to print directly onto your chosen medium. This flexibility opens up a world of creative possibilities, so experiment and have fun with it!
Conclusion
Creating sublimation design isn’t a difficult task at all even if you are a beginner. And we’ve used the Canva, which has made our design within 20 minutes and with little effort too. But Before going for the designing, understanding the graphics type and the dimensions is very important to consider.
Make sure that the instructions and the guidelines will also be followed by you. Because these tips are coming from years of experience. So don’t ignore even a single sentence from the guide. I hope the guide on how to make a sublimation design will open the doors for creating easy designs.

I’m Derrick Flora and I am the owner of Printangles.com. I am the father of 2 angles and 1 boy and I am 37 years old. I had done Bachelor in Fashion and Textile Studies from FIT State University of New York.
It’s been 7 years since when started the sublimation business. I sublimated mugs, t-shirts, canvas, and many more. And we have analyzed some things that beginners don’t apply the actual strategies to complete the project. And those strategies are making your sublimation better onto the material. What do beginners do, they just buy the sublimation printer and the heat press without knowing about them.