How to Bleach A Shirt for Sublimation?
Sublimation is the name of giving an aesthetic and captivating look to the polyester material. And you get the shining and vibrant colors onto the craft with the long-lasting design. But bleached shirts bring outstanding results for sublimation because it enhances the brightness and whiteness of the design. Design background gets improved when you sublimate a bleached material. You can bleach a shirt for sublimation easily but every shirt can’t be bleached.
The shirts that can easily be bleached are heather colors. But the polyester factor should also be in mind as you’ll sublimate it after bleaching. Because polyester is the factor that allows the material to be sublimated with eye-catchy results. It is evident that the more polyester used, the better sublimation result.
You can bleach a shirt for sublimation by following the whole process that we’ve described in detail. Don’t forget to follow the guidelines that protect you and all the other purchasing accessories. Let us mention the accessories or the materials that you need to have for the complete process.
Table of Contents
- Materials Required: How to Bleach a Shirt for Sublimation
- How to Bleach Shirts for Sublimation
- Step #1 – Quality Bleach & Spray Bottle
- Step #2 – Pouring bleach into a spray bottle
- Step #3 – Using Cardboard Pieces
- Step #4 – Spraying through the spray bottle for bleaching
- Step #5 – Sublimation Design
- Step #6 – Sublimation Printer, Ink & Paper
- Step #7 – Setting up the heat press and using parchment paper
- Step #8 – Transferring the Design
- Bleaching Shirts Without Sun
- Post-Sublimation Care
- Troubleshooting Common Problems
- Bleaching and Sublimating Shirt FAQs
- Final Words
Materials Required: How to Bleach a Shirt for Sublimation
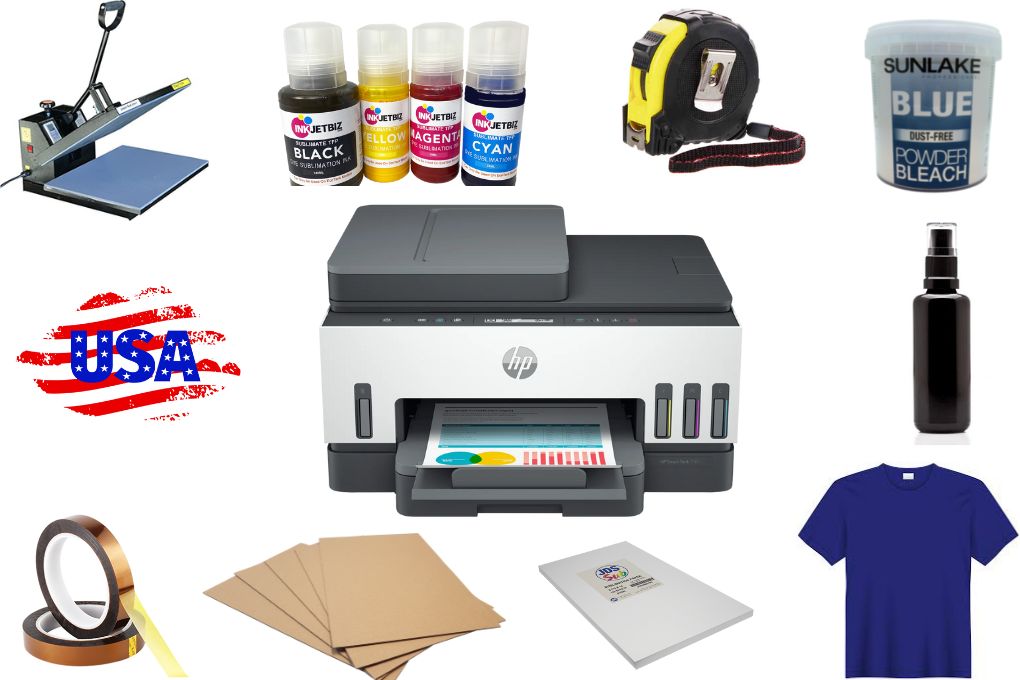
- Bleach
- Design for Sublimation
- Measuring Tape
- Heat Press
- Parchment Paper
- Hot water Bath
- Spray Bottle
- Sublimation printer
- Sublimation Ink and paper
- T-shirt
- Cardboard
- Heat resistant tape
I believe that these materials would be familiar to all of you. But if you don’t know about these all, we will be describing their use during the process.
How to Bleach Shirts for Sublimation
Before we dive into the complete process of bleaching the shirt and then the sublimation process. As we are always in the search of polyester material for sublimation and the fact is you can’t blench the polyester shirt. For bleaching, you must have some percentage of cotton as well. So this point has to be in mind when going for bleaching the shirt that gonna be sublimated.
And the recommended percentage of best shirts for bleaching and sublimation has maximum cotton of 35% and the minimum polyester material should be 65%. Now move towards the process of bleaching shirts for sublimation.
Step #1 – Quality Bleach & Spray Bottle

Never use the old bleach for the sublimation process as the quality of bleach gets decreased. It’s important to purchase concentrated and quality bleach for getting the expected results.
And when it comes to spraying the bleach through the spray bottle onto the shirt, you must have a smooth and adjustable nozzle of a high-quality spray bottle. It’ll provide you durability and assist in spraying the bleach right on the spot. And having the adjustable nozzle will give you the option to customize it accordingly.
Read More: Best Heat Transfer Sublimation Printers , Sublimation printing success tips, sublimation printing ideas
Step #2 – Pouring bleach into a spray bottle
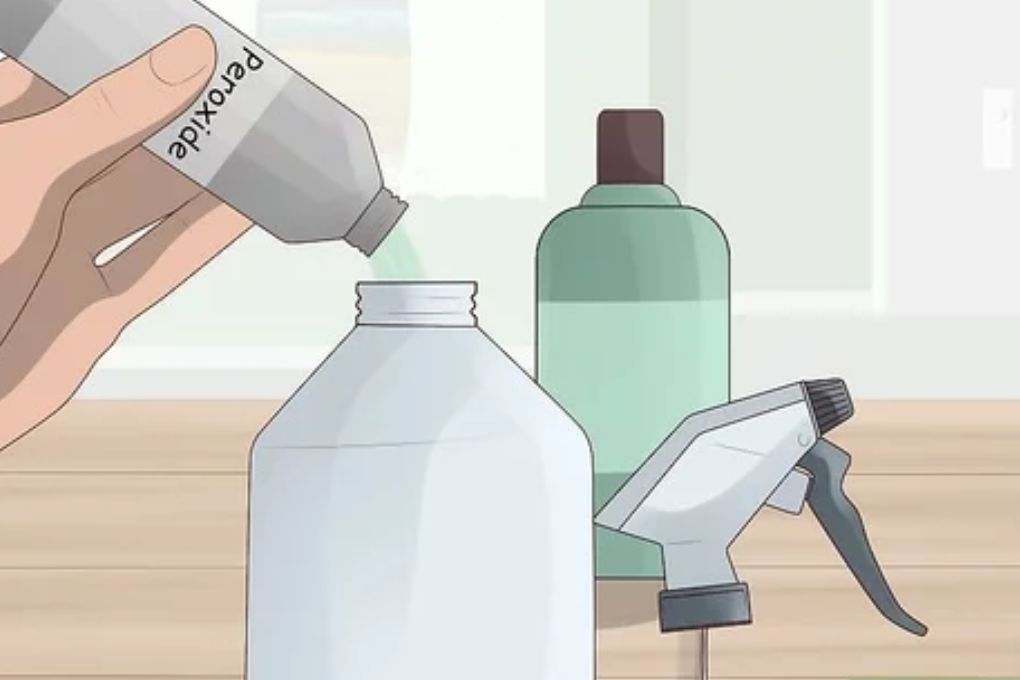
In this step only needs to pour the bleach into the spray bottle according to your shirt’s need. You’ll just pour the bleach, don’t mix it with the water. And to stop the process of bleaching at any time, you may have needed hydrogen peroxide. So make sure you have hydrogen peroxide as well for stopping this process.
Read More: Different types of t shirt printing methods, How you can use sublimation paper? making sublimation design
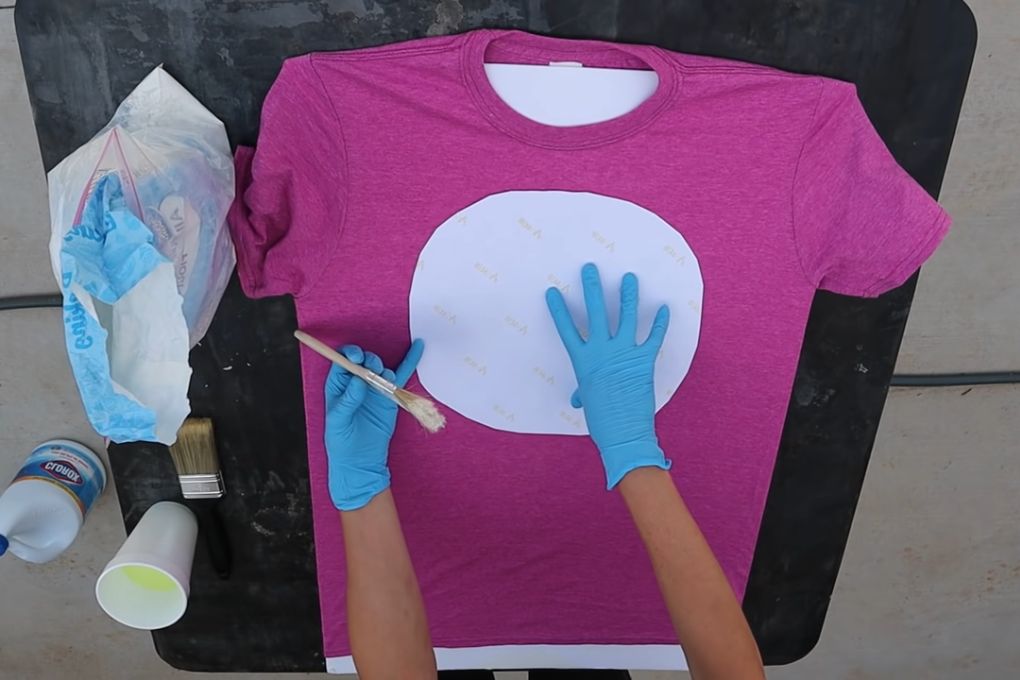
Step #3 – Using Cardboard Pieces
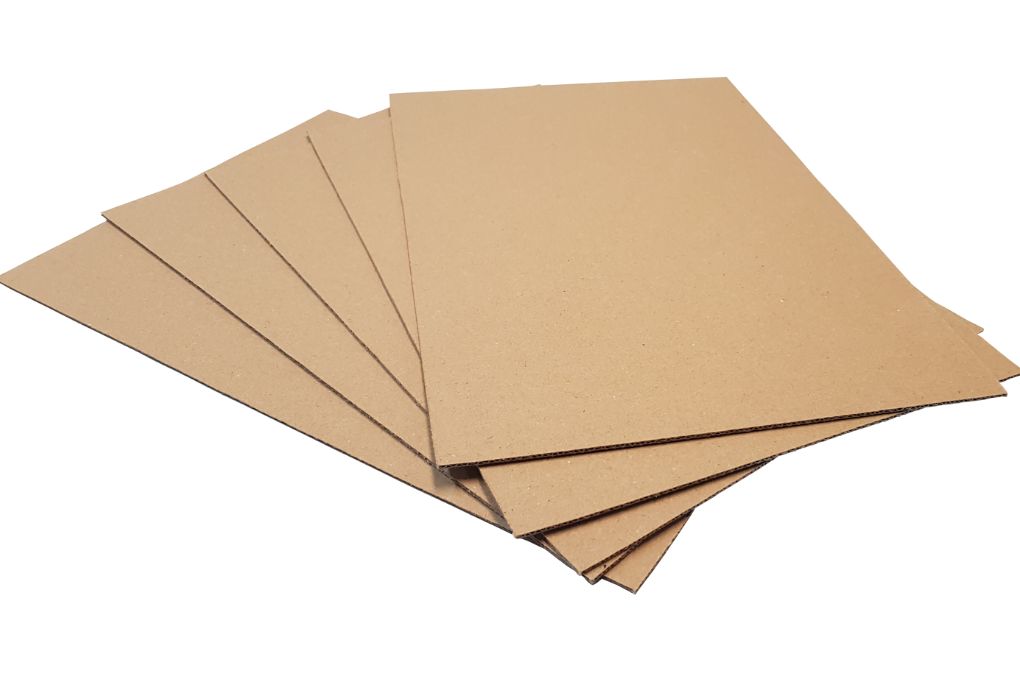
This step is very important to protect your shirt and the place where you are going to bleach the shirt. You must have two pieces of cardboard to place on the required areas. Place the first piece of cardboard inside the shirt to protect the bleach from transferring to the next side of the shirt. And place another piece of cardboard where you’ll lay the shirt for sublimation. Make sure that you are doing this all on a sunny day for getting quicker and better results.
Read More: 3 Types of Sublimation in 2023, Printing on ceramic plates
Step #4 – Spraying through the spray bottle for bleaching

When you see that the shirt is ready for the bleaching process, start bleaching the shirt. In the beginning, you can check how the bottle sprays by spraying a few drops. And also check whether the shirt’s color is changing or not after spraying. If the bleach is going well, now bleach all the areas that you want to.
It’ll hardly take a few minutes to complete the bleaching process and WILL be dried within 10 minutes. And if there is a bright day, the shirts will dry rapidly. Importantly when the bleaching process is done and gets dry as well, wash the bleached shirt with hot water and detergent in the washing machine. Because the unwashed bleached shirt leave holes and the shirt becomes to a fault thinned. And If you wash the bleached shirt in the washing machine using hot water and detergent, let it dry by putting it into the drying machine. In this way, you can ready the bleached sublimation shirts.
Related: Best Sublimation Printers for Beginners
Step #5 – Sublimation Design
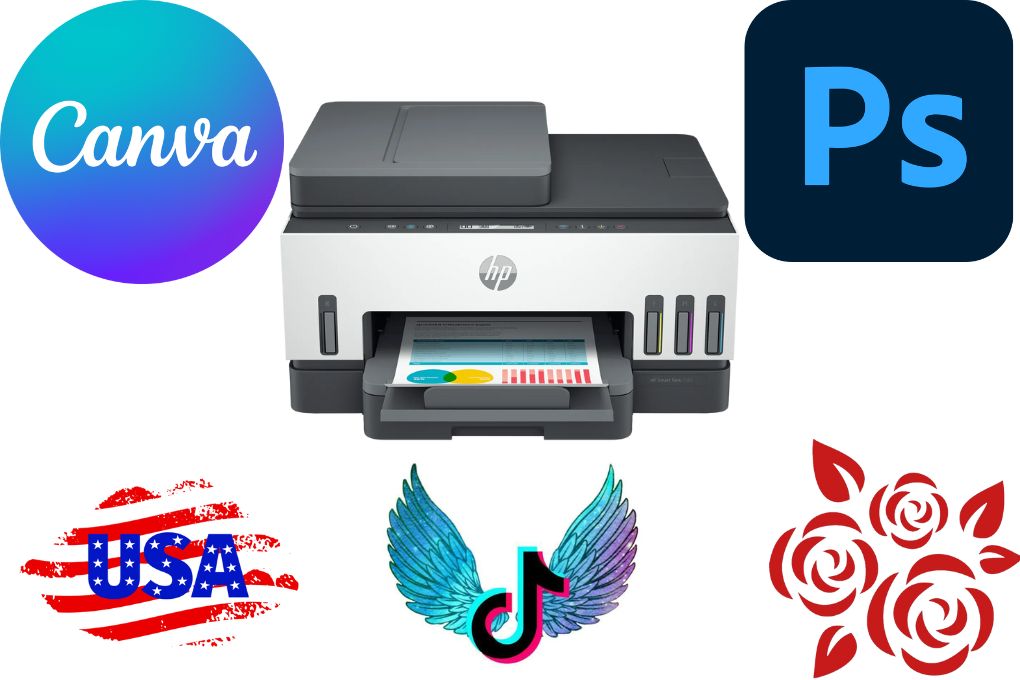
After the successful bleaching process, the first thing that needs to be on the radar when going for the sublimation process is a sublimation design. And the design is the key factor in making the sublimation process successful. You can make superb and attractive designs through the best sublimation design software. As there is multiple design software that helps beginners with their friendly dashboard and user interface for creating the best designs with ease.
Photoshop is the software that can assist you in making alluring designs with several handy features for amazing results. There are multiple options with the free version as well to make the expected design. Canva is another software that can assist you with the ready-made templates to make the design within 10 minutes.
Read More: What kind of printer do you need for sublimation
Step #6 – Sublimation Printer, Ink & Paper
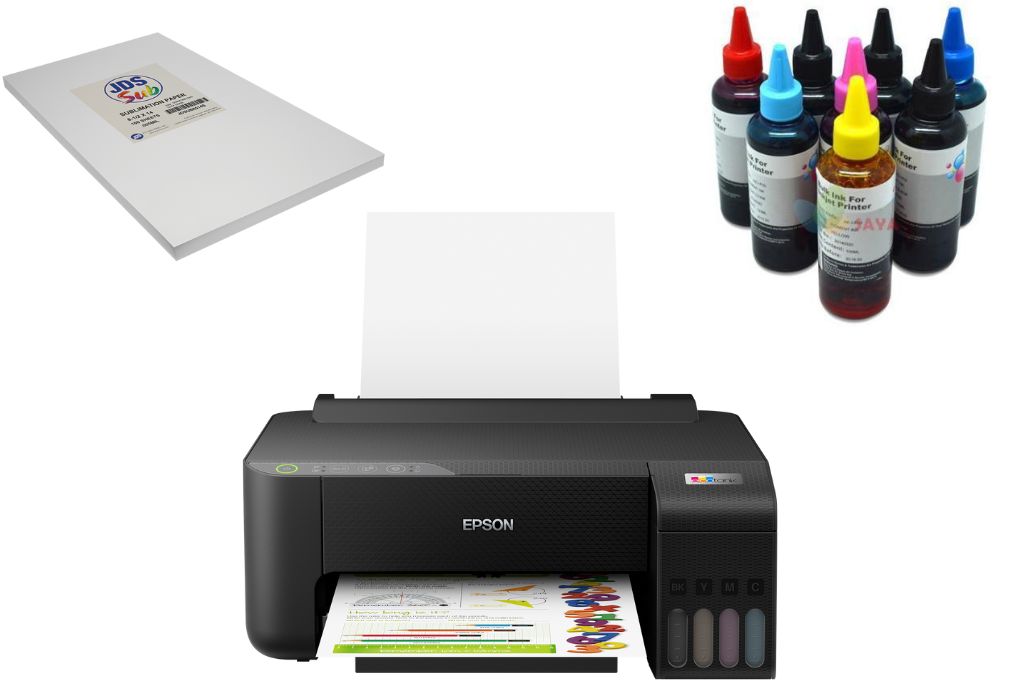
The sublimation printer for shirts should have all the features that make it eligible for sublimation. The first one and the essential is printing technology as it must have piezo printing technology. As the sublimation printer is used to print the design and the design gets printed in the form of sublimation ink and printed onto the sublimation paper.
By neglecting the quality of any one of them, you won’t get the required results for sublimation. You can’t complete this step with regular ink and normal paper. You must have the sublimation ink and never order the regular ink for sublimation. And never use normal paper because normal paper can’t retain and transfers the ink onto the material powerfully. And can’t generate the results that you wanna have for your process.
Related: Top 10 Best Sublimation Printers 2023
Step #7 – Setting up the heat press and using parchment paper
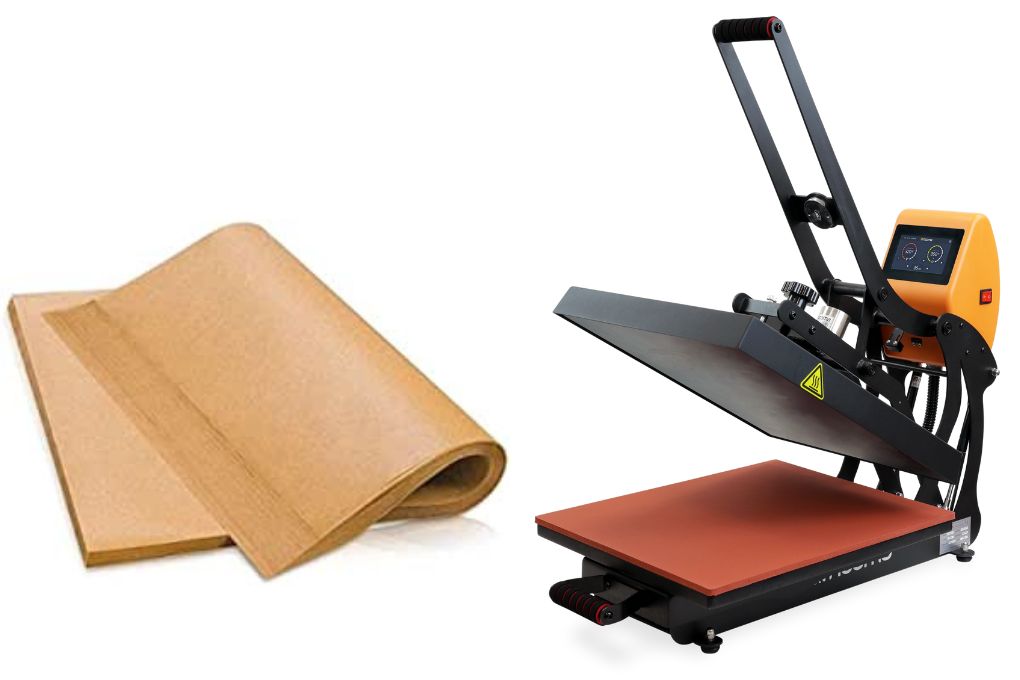
Before we use the heat press, make sure that you’ve already used the heat press or you know how to use it and press it. Because the wrong temperature and time vanish or destroy the craft and the design by turning into burned material. Now let’s set up the heat press by turning it on up to 400 F.
Once the heat press is set up, now use parchment paper or butcher paper for placing into the inside of the shirt and onto the sublimation paper. Placing the parchment paper inside the shirt will prevent the shirt’s backside from transferring the ink. And placing the other parchment paper onto the sublimation paper will prevent the heat press from sticking the ink.
Step #8 – Transferring the Design
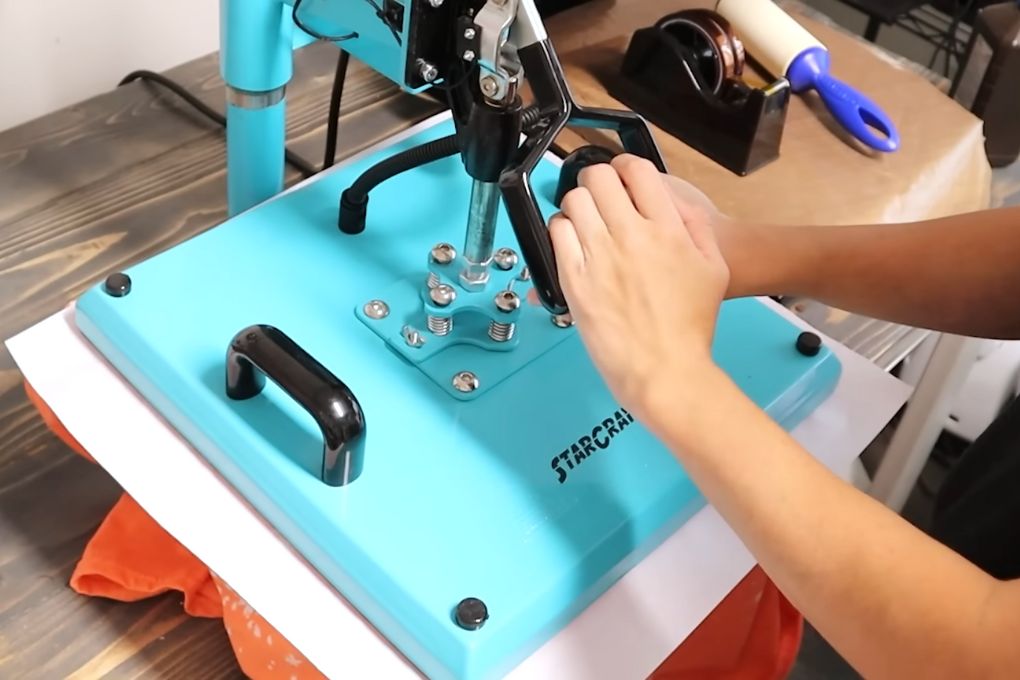
Now place the shirt into the heat press. And sublimation paper onto the shirt and fix it with heat-resistant tape for perfect sublimation. And then press it with the heat press at 400 F with medium to high pressure for 60 seconds. Now, wait for 60 seconds to transfer the ink properly. When you see the time has been up, lift the heat press and remove the accessories.
Read More: Best Sticker Printers 2023
Bleaching Shirts Without Sun
Many experienced recommend not to bleach when there is no bright day. Without the sun bleaching is difficult but it’s a myth. Although it’s effective when you bleach on a sunny day as it dries the shirt fastly. But it’s not a bet to have a sunny day for the bleaching process.
If the weather is not friendly, it’ll just take more time for drying than on a bright day. So you don’t need to worry if the weather condition isn’t meeting the statement, go for bleaching without any hesitation and the fear of bad results.
Post-Sublimation Care
Tips for maintaining the quality of the bleach sublimation shirts
The beauty of bleach sublimation shirts lies in their distinctive and vibrant designs. To maintain the quality and extend the lifespan of your newly created bleach sublimation shirts, here are a few tips:
Wait before Washing: Allow your shirt to rest for at least 24 hours before the first wash. This gives the sublimation inks enough time to fully set into the fabric.
Turn Inside Out: When washing your shirt, always turn it inside out. This helps protect the sublimated design from direct contact with the washing machine, reducing the amount of friction on the design.
Use Mild Detergents: Avoid using harsh cleaning agents or bleach, as they can negatively impact the sublimated design.
Air Dry: To preserve the vibrancy of your shirt’s design, air-drying is preferred. Excessive heat from dryers can affect the sublimation design.
Do’s and Don’ts in Washing and Drying Bleach Spray Shirts
When it comes to bleach spray shirts, particular care should be taken during washing and drying to ensure the longevity of the designs and the fabric.
Do’s:
Wear Gloves: Always wear gloves when handling bleach, even in the post-sublimation stage. This will protect your hands from potential skin irritation.
Wash Separately: For the first few washes, consider washing your bleach spray shirts separately. The bleach may have a residual effect, which could potentially lighten other clothing if washed together.
Use Cold Water: Wash your bleach spray shirts in cold water. Hot water can cause the bleach to reactivate, potentially leading to fading or discoloration.
Don’ts:
Don’t Use Bleach: Avoid adding more bleach during the washing process. The shirt has already been exposed to bleach, and additional bleach might damage the fabric.
Don’t Overdry: Overdrying can lead to excessive fading. Air dry or use the lowest heat setting if using a dryer.
Don’t Iron Directly: Don’t iron directly on the design. Instead, turn the shirt inside out and iron on the reverse side.
Troubleshooting Common Problems
Identifying Common Mistakes During the Bleaching and Sublimation Process
Using the Wrong Fabric: One of the common mistakes is using cotton shirts for sublimation. Sublimation works best on polyester or poly-blend fabrics, as the dye in sublimation transfers needs to bond with the polyester fibers.
Uneven Bleaching: Sometimes, bleached t-shirts can have an uneven or splotchy appearance. This usually occurs if excess bleach is used or if the bleach is not applied evenly to the entire shirt.
Poor Image Quality: The sublimation image can appear faded or not sharp enough if the sublimation print wasn’t of high quality to begin with or if the heat and pressure settings during sublimation were not optimal.
Inadequate Supplies: Not having the right sublimation supplies such as sublimation paper, high-quality ink, and a proper heat press can lead to disappointing results.
Bleach Affecting the Sublimation Image: If the bleach comes into contact with the area where the sublimation image is to be transferred, it can affect the vibrancy and quality of the final image.
Offering Solutions and Tips to Avoid Them
Choose the Right Fabric: Opt for polyester or poly-blend shirts instead of cotton shirts for better sublimation results. These materials will allow the sublimation transfers to bond more effectively with the fabric.
Apply Bleach Evenly: When creating bleached t-shirts, use a spray bottle for even distribution and avoid saturating the entire shirt with too much bleach. It is also advisable to use gloves and work in a well-ventilated area.
Ensure High-Quality Sublimation Prints: Before transferring, ensure that the sublimation image is clear and vibrant. Use high-quality sublimation ink and paper for the best results.
Invest in Proper Sublimation Supplies: Make sure you have all the necessary sublimation supplies including a reliable heat press, sublimation paper, and quality ink. It is also crucial to follow the manufacturer’s instructions regarding heat and pressure settings.
Prevent Bleach Contact with Sublimation Area: When applying bleach, make sure it does not come into contact with the area where you plan to transfer the sublimation image. You can use masking tape or a stencil to block off this area during the bleaching process.
Post-Bleach Neutralization: After bleaching, neutralize the bleach by rinsing the shirt in a mixture of water and hydrogen peroxide or washing soda. This stops the bleach from continuing to affect the fabric and ensures it won’t interfere with the sublimation image.
Bleaching and Sublimating Shirt FAQs
Final Words
Bleachings the shirts is quite easy and more beneficial especially when it comes to sublimation. Because it enhances the beauty of transferred results in the form of brightness and vibrant colors. But look into the material ability when going for the bleaching as you can’t pale the 100% polyester. And you also need the polyester material for sublimation.
The entire guide shows you, how you can easily bleach the shirt and then sublimate that bleached shirt without any further requirements. You can easily bleach your shirts by following the same procedure with the guidelines to save the materials and complete the process successfully.

I’m Derrick Flora and I am the owner of Printangles.com. I am the father of 2 angles and 1 boy and I am 37 years old. I had done Bachelor in Fashion and Textile Studies from FIT State University of New York.
It’s been 7 years since when started the sublimation business. I sublimated mugs, t-shirts, canvas, and many more. And we have analyzed some things that beginners don’t apply the actual strategies to complete the project. And those strategies are making your sublimation better onto the material. What do beginners do, they just buy the sublimation printer and the heat press without knowing about them.