Prints that Last: How to Print on Ceramic Plates?
Are you in search of a plausible and easiest way of printing on ceramic plates? If so, then you have come to the right place. Because you won’t be able to get the easiest and most effective method of how to print on ceramic plates anywhere. We will sew up the whole process within a few minutes by using some important materials.
Regardless of whether you are an expert or a beginner, you could print your ceramic plates. We’ll use decal paper because of its better results for ceramic printing. And then we have to use the acrylic spray to coat that paper to protect the design from smudging off or bleeding.
Multiple ways and methods are used for customizing ceramic plates. But not all of them are effective and easy to implement as well. The method we are gonna use has been done multiple times by our team. The reason for selecting this technique is only the quality result. To make this project successful, you’ll be required to have some printing essential accessories. Make sure you follow all the instructions that will be outlined during the project process.
Table of Contents
- How to Print on Ceramic Plates: Some Handy Accessories
- Step #1 – Creating the Design in a Silhouette Studio
- Step #2 – Printing the design by Using Decal Paper
- Step #3 – Cutting the Extra Paper
- Step #4 – Using Acrylic Spray
- Step #5 – Soaking Decal Paper in Warm Water
- Step #6 – Peel off the Backing
- Step #7 – Placing Printed Design onto Ceramic Plate
- Step #8 – Let the Design for Sometime to Completely Dry
- Additional Tips and Considerations
- Frequently Asked Question for Ceramic Plate Printing
- Final Words
How to Print on Ceramic Plates: Some Handy Accessories
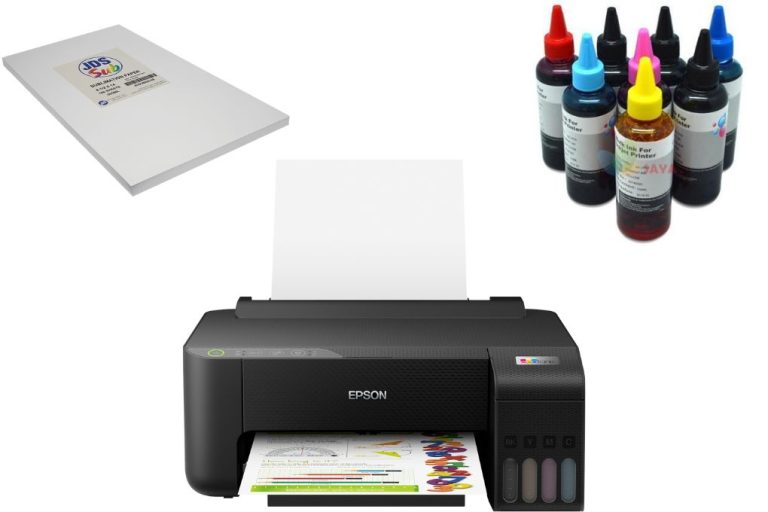
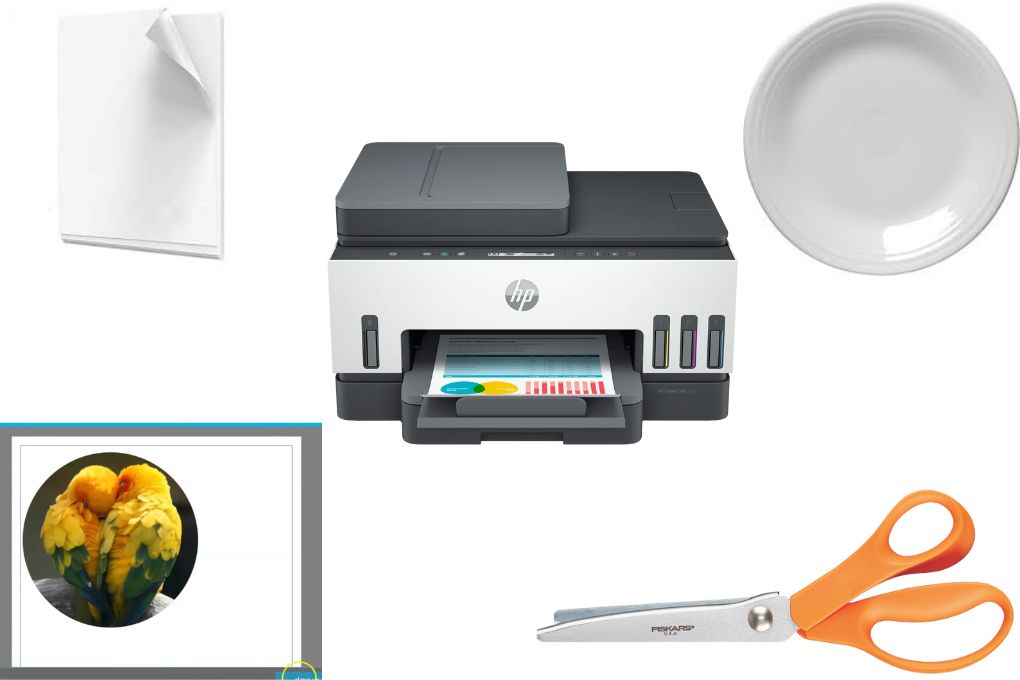
To print your design on ceramic plates you need some important accessories to accomplish the task effectively;
- Inkjet printer
- Decal paper
- Printing design
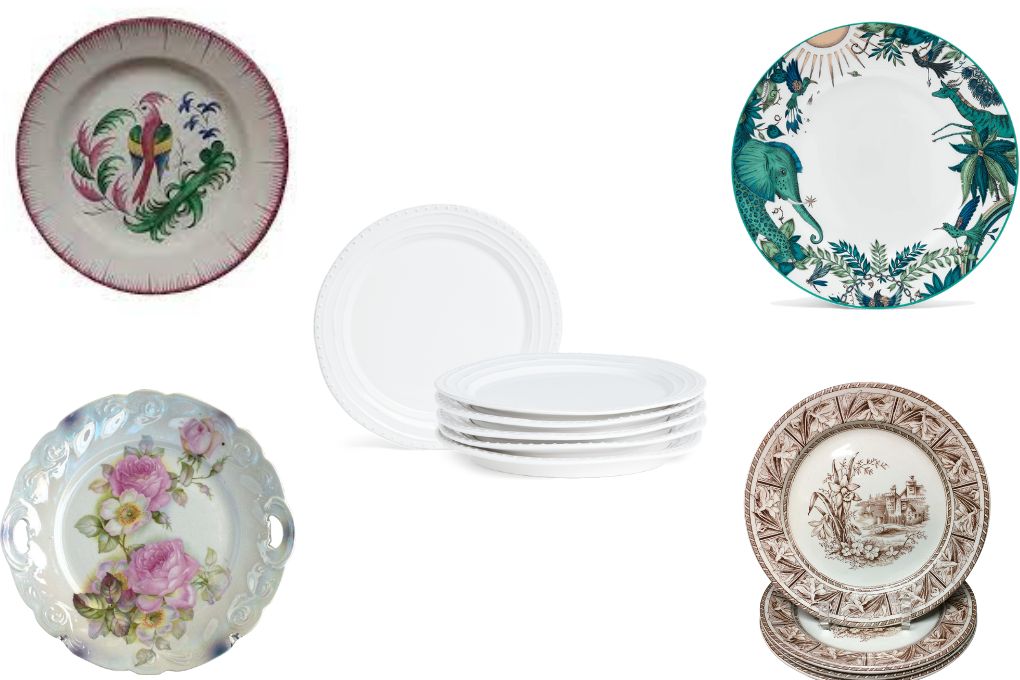
- Ceramic plate
- Scissor
Before we start the process, all the mentioned materials should be on the side. And make sure to have all the printing accessories are eligible for this process. It is the step that determines the quality and durability of the design. Although there are many factors that perform a role in bringing quality results but choosing the right equipment is very essential. Let’s move ahead to the easy process of how to put pictures on a plate.
Read More: Best Sublimation Printers for Heat Transfer, types of sublimation shirt printing what is sublimation?
Step #1 – Creating the Design in a Silhouette Studio
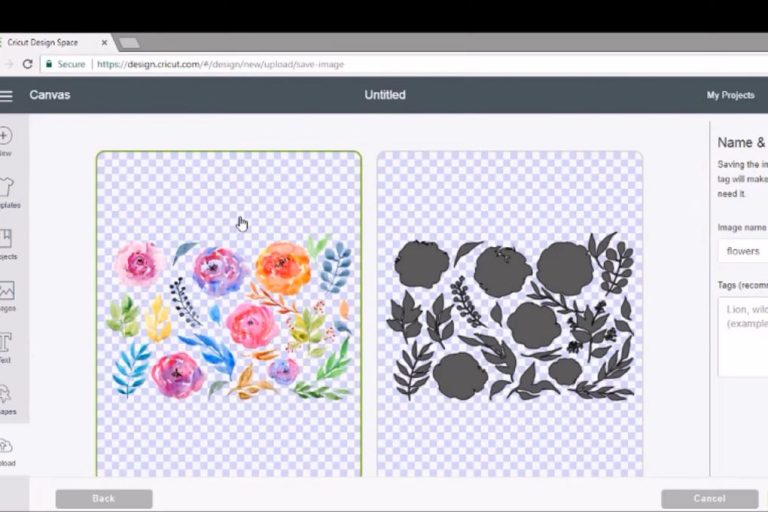
The design totally depends on the craft and you will choose the design shape according to the plate. After opening the dashboard we will select the shape from the left side of the dashboard. Let’s select the circular shape because the plate shape is circular. Now select the dimensions that suit your ceramic plate as it’s very important to have the right size and printed design.
The purpose of choosing silhouette studio is their easy dashboard and beginners can also make the design as well. You can also try some other free designing software such as canvas, Pixlr, etc. Because they also have an easy interface with a lot of ready-made templates and handy features.
Read More: How to convert hp printer to sublimation printer, Top Printers for Sublimation
Read More: Can you sublimate on cotton? Overheating HTV, what is iron on flocked vinyl?
Step #2 – Printing the design by Using Decal Paper
Now you’ll be needed to print the design through the inkjet or sublimation printer. Make sure you have the right and applicable sublimation printer for expected results. Don’t use a printer that doesn’t fulfill your requirements. As it plays an important role in printing the design onto ceramic plates.
And the ink matters a lot as well to have the non-touchy and non scratch-able results onto plates. And we are going to use decal paper and make sure the design is gonna printed onto the correct side. After printing the design, let the ink dry for at least 30 minutes to get the best results.
Step #3 – Cutting the Extra Paper
Now you can cut the extra paper by using the scissor while laying the design onto the ceramic plate. But make sure you have determined the right length and cut the right side of the paper to prevent the made design from cutting.
Step #4 – Using Acrylic Spray
Before using the acrylic spray, read the instructions that are mentioned on the decal paper for coating. After knowing the instructions you’ll spray accordingly with the given amount onto the printed image. Then let the acrylic spray dry and leave it for 15 minutes.
Step #5 – Soaking Decal Paper in Warm Water
Soak the decal paper in warm water and keep the printed paper dipped in the water for 1 minute. But you have to read all the instructions that have been given by the particular brand of that transfer paper. The increase in time for treatment can cause damage to your printed paper. So, it’s very necessary to read the instructions before you go for the ceramic printing project.
Step #6 – Peel off the Backing
You’ll peel off the backing of your printed paper or transfer paper by using your own thumbnails. But if your transfer paper back doesn’t get peeled off, you can soak the paper again for easy peeling.
Related: How to sublimate on Wood? How you can sublimate on canvas?
Step #7 – Placing Printed Design onto Ceramic Plate
Before placing an image onto the plate, make sure the surface of the plate is clean and smooth. And there are no wrinkles or any disturbing things on the plate.
Recommended: Best T Shirt Design Printer, using sublimation papers for projects
Step #8 – Let the Design for Sometime to Completely Dry
After placing properly the design on the plate, then let it for 60 minutes to completely dry and finishes the process of printing onto the ceramic plate.
Additional Tips and Considerations
Here are the additional tips and considerations for the
Experimenting with different techniques and materials:
Ceramic Printing Equipment: Research and invest in quality ceramic printing equipment such as specialized printers, ceramic ink, and transfer paper designed for ceramic printing.
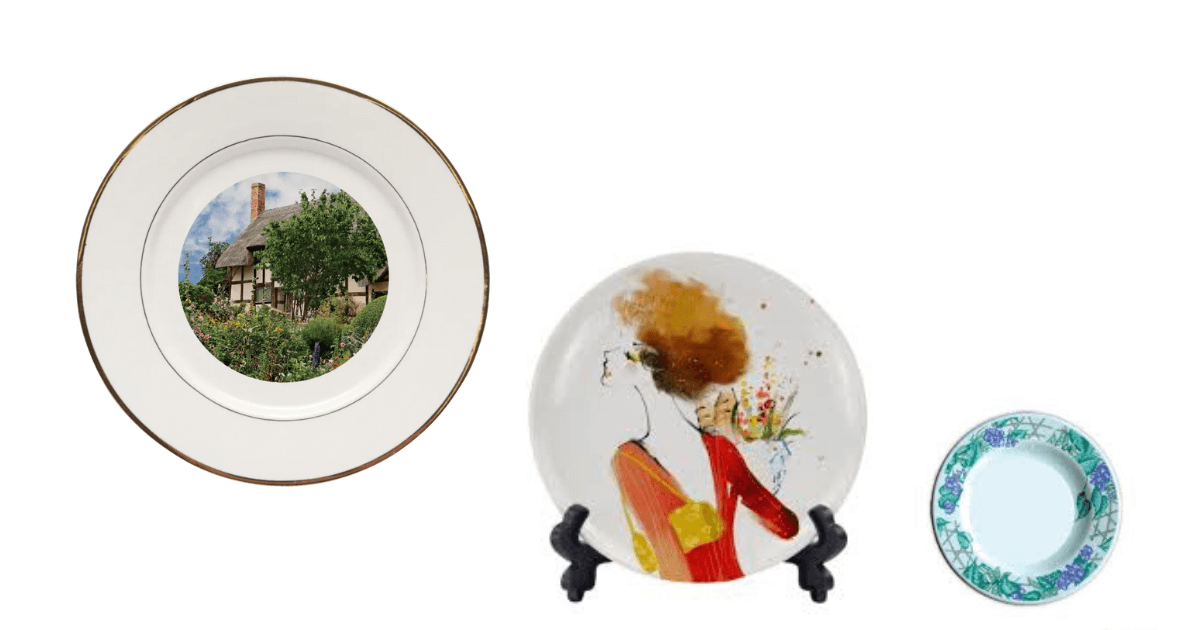
Custom Images: Explore using your own photographs, digital artwork, or customized designs to make your ceramic plates unique and personalized.
Easy Cupcake Plates: Consider using ceramic cupcake plates with smooth surfaces for easier printing and better image transfer.
Food Safe: Ensure that the materials you use, including the ink and sealant, are labeled as food-safe to maintain the safety of the printed ceramic plates.
Taking proper care of the printed ceramic plate:
Transfer Custom Images: Experiment with transferring custom images onto ceramic plates using transfer paper and heat press methods for better image quality and durability.
Clip Art and Graphic Elements: Incorporate clip art or graphic elements into your designs to add visual interest and creativity to the printed ceramic plates.
Serving Trays: Explore printing on ceramic serving trays to create functional and decorative pieces for entertaining guests.
Handmade Designs: Consider hand-painting or drawing on the ceramic plates before printing to add a personal touch and enhance the overall aesthetic.
Exploring advanced printing methods:
Dry Completely: Allow the printed ceramic plate to dry completely before applying any sealant or glaze to avoid smudging or damaging the design.
Thrift Store Finds: Visit thrift stores or second-hand shops to find unique ceramic plates at affordable prices that can be transformed with your custom prints.
Good Way to Start: If you’re new to ceramic printing, start with simple designs and patterns, gradually progressing to more intricate and complex artwork.
Paper Towel Technique: Experiment with the paper towel technique, where you apply pressure with a paper towel on the back of the transfer paper to ensure proper image transfer onto the ceramic plate.
Frequently Asked Question for Ceramic Plate Printing
Final Words
All the steps have been explained thoroughly. All you need to do is just follow all the guide and print your ceramic plates as much as you can by this method. The beauty of this method is that it takes approximately five to ten minutes to accomplish the process. But make sure that you are following all the guidelines and instructions that are mentioned on the decal paper. Because you can only get the best results by following that specific guideline.

I’m Derrick Flora and I am the owner of Printangles.com. I am the father of 2 angles and 1 boy and I am 37 years old. I had done Bachelor in Fashion and Textile Studies from FIT State University of New York.
It’s been 7 years since when started the sublimation business. I sublimated mugs, t-shirts, canvas, and many more. And we have analyzed some things that beginners don’t apply the actual strategies to complete the project. And those strategies are making your sublimation better onto the material. What do beginners do, they just buy the sublimation printer and the heat press without knowing about them.