Sublimation on Wood (Coated & Uncoated)
Are you fond of decorating your home or room with some good sublimation designs on wood material? Don’t worry. I am going to tell you the best and the easiest method of sublimation on wood for decoration. Because wood is a highly in-demand material for interior design. But you need to know one thing, Sublimation printing accepts 100% polyester-coated material to transfer amazing results. That means you must have polymer-coated wood to transfer the design more effectively and proficiently.
And more importantly the method I’m gonna use will tell you how to sublimate on uncoated wood as well. And I will use the thermal laminating sheet that will make your wood ready for sublimation printing and will produce amazing results.
Sublimation designs can be transferred onto many alloys and materials. And I have sublimated every material because I am running the dye sublimation printing business. I have found the best material that easily and quickly transfers is wood.
By following our easy and helpful guide to sublimation printing, you will be able to complete your project within the minutes. Whether you gonna start a business of wood sublimation printing or looking for yourself. You won’t need to go anywhere else after implementing our techniques successfully.
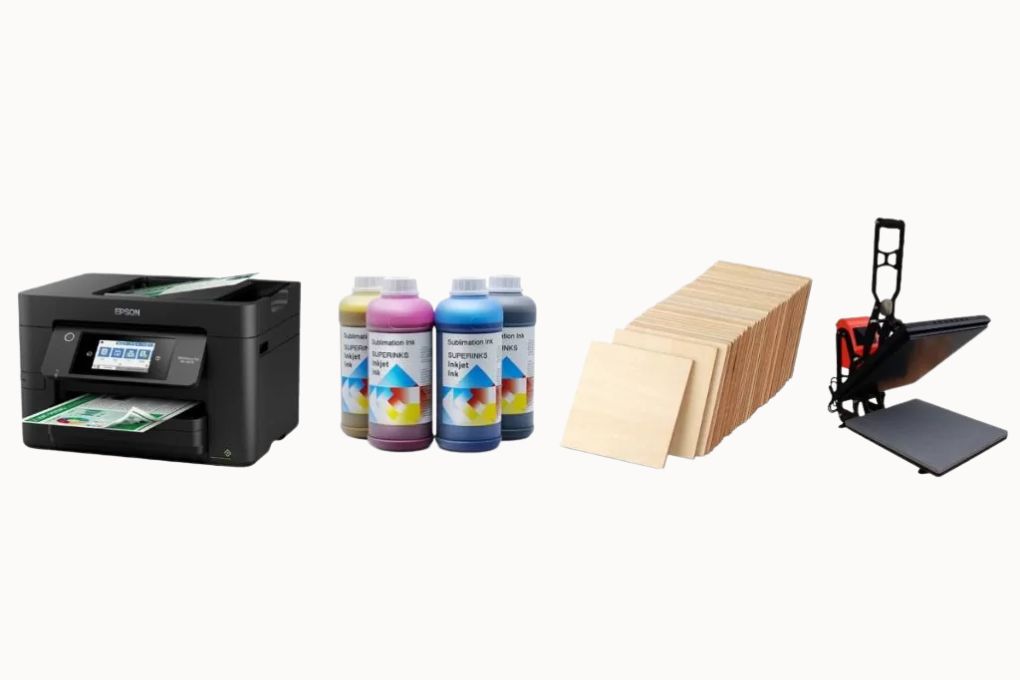
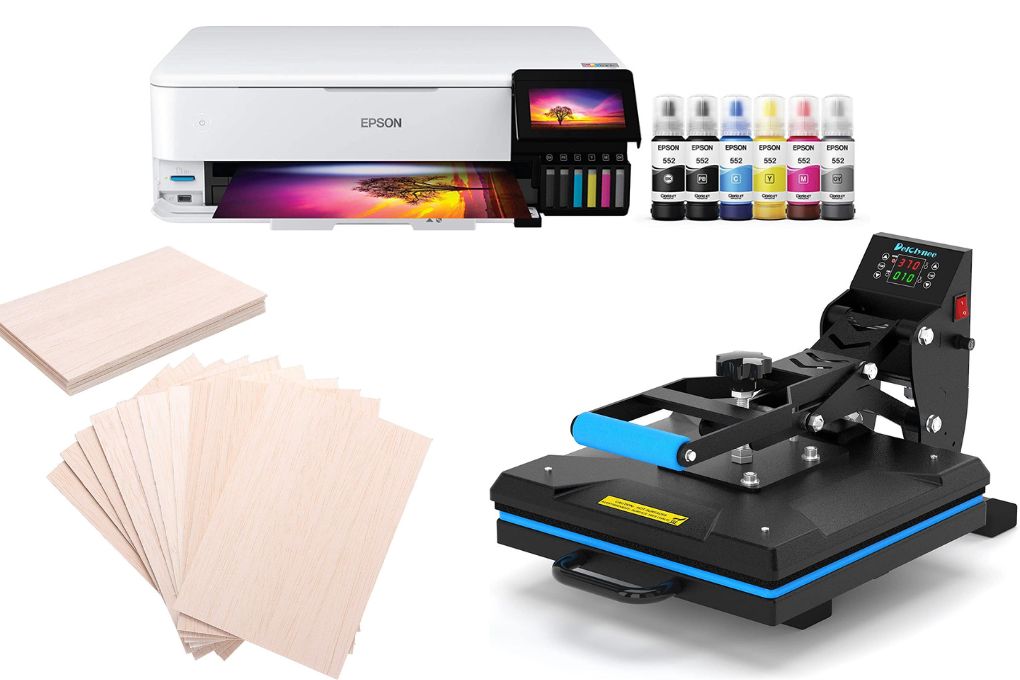
Before we get into the process of sublimation, let us tell you the equipment and the accessories needed to complete the process. Because without all type of types of equipment, we can’t complete the project.
These are the materials you will be required to complete this easy process. Let’s start the process without wasting any time.
Table of Contents
- How to Sublimate on Wood
- Step #1 – Purchasing wood pieces and thermal laminating sheet
- Step #2 – Cutting laminating sheet according to wood
- Step #3 – Setting heat press
- Step #4 – Placing wooden pieces into the heat press
- Step #5 – Pressing the heat press
- Step #6 – Cut the extra sheet
- Step #7 – Use sandpaper to smooth the edges
- Step #8 – Printing through the Sublimation printer
- Step #9 – Transferring design onto the wood
- Step #10 – Press wooden pieces
- Step #11 – Removing sublimation paper
- Advantages of Sublimation on Wood
- Frequently Asked Questions
- Conclusion
How to Sublimate on Wood
Let’s go down to the simple and easy guide of sublimation on wood. But one thing you must have before going through the process is the sublimation design. You can easily make the design through the designing software with so ease. Multiple software with easy user interface and their designing types and abilities are out there. You can easily recognize the software after realizing the design type. Now time to start the process.
Read More: Best Heat Transfer Sublimation Printers, layering sublimation, Dye sublimation on cotton, how to make sublimation design
Step #1 – Purchasing wood pieces and thermal laminating sheet
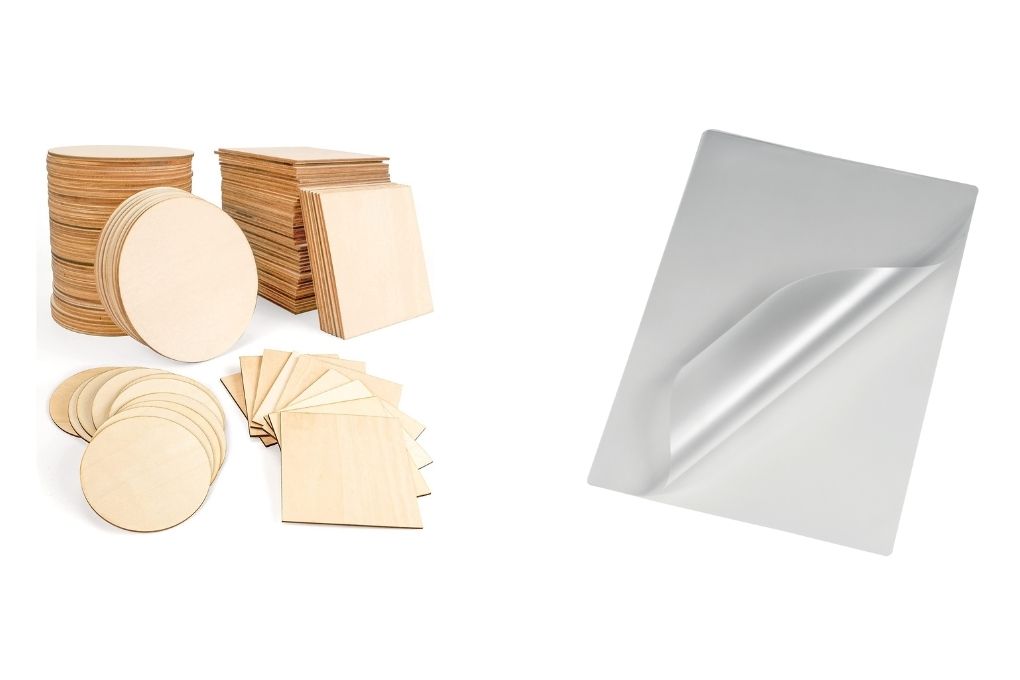
First of all, you will need to have the wood pieces that you want to sublimate. And those pieces should be cut properly to fit into the heat press easily. Also, the design that you want to transfer should have a sensible look and dimensions according to the cut wood. And another thing we will recommend for this project to have is the thermal laminating pouches to place at the bottom of the heat press.
Thermal laminating pouches are used to protect from damaging the material or transferred design over time. Also, the material will be safe after being touched by many hands or going through the water.
Read More: Best Beginner Sublimation Printers, Can you use a sublimation ink on heat transfer paper?
Step #2 – Cutting laminating sheet according to wood

After purchasing the thermal laminating sheet, you will have to cut the sheet at the seam into two pieces. As the sheet will be bigger than the heat transfer machine and you have to cut it into two pieces. But while cutting, make sure to have the cut sheet exceeding the wooden pieces. And you can use the other cut sheet for the second project of wooden pieces.
Read More: Can You Use a Regular Printer For Transfer Paper? how to print on ceramic plates? what is sublimation?
Step #3 – Setting heat press
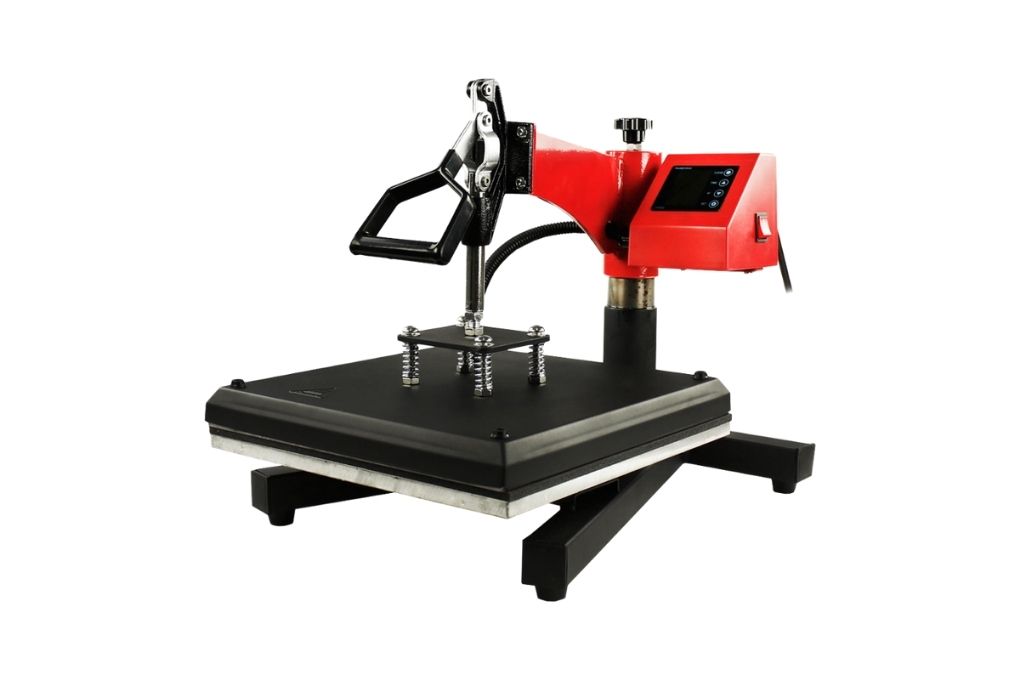
In this step, we will ask you to set the heat press at the recommended temperature and the time as well. And we have got the best results so far while setting up the temperature and time at 385 F for almost 60 seconds. You can also ask the shop owner from where you have bought the wooden pieces about the temperature and time instructions for the material.
Step #4 – Placing wooden pieces into the heat press
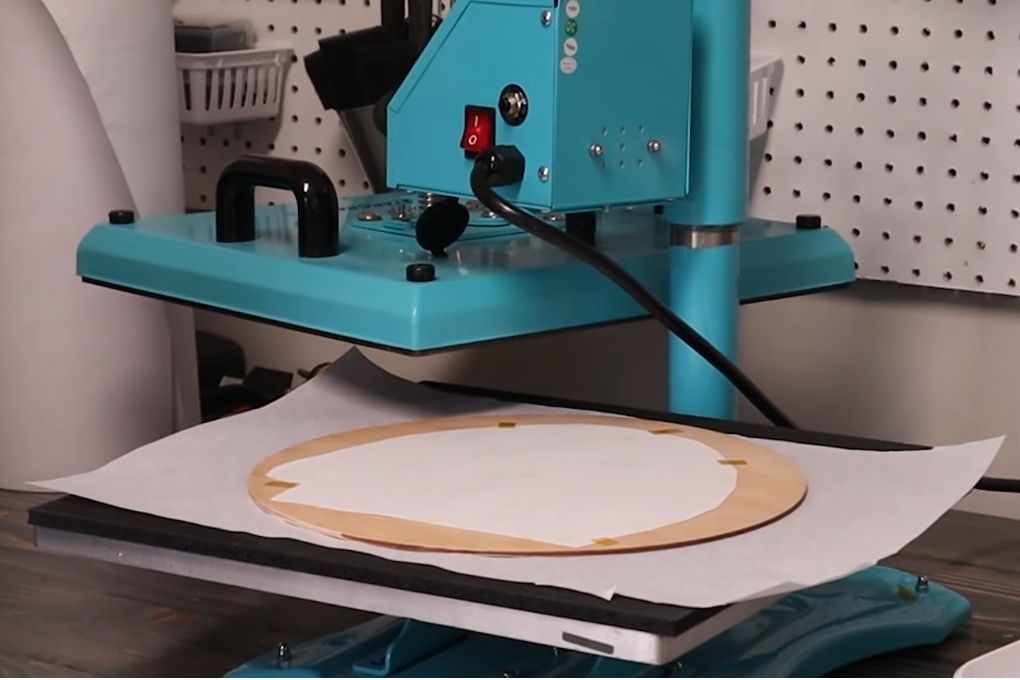
After setting up, go for placing the wooden pieces into the warmed up heat press, and then place the parchment paper on the bottom of your heat press. And place the cut thermal laminating sheet above the wooden pieces.
Step #5 – Pressing the heat press

Now you will place another piece of parchment paper and these wooden slices will be pressed for 60 seconds to stick to the laminating sheet well. After pressing it with medium pressure, you will see the laminating sheet stuck to the wooden slices.
Step #6 – Cut the extra sheet
In this step, one easy step you will have to do is just cut the extra sheet around the wooden pieces. It is because of not facing trouble while smoothing out all the edges of those pieces. You can use the scissor for cutting the extra excessive sheet.
Step #7 – Use sandpaper to smooth the edges
After cutting the extra laminating sheet, just use sandpaper to clean and smooth the edges of your desired wood for the sublimation printing process. It’s only to make the material clean for getting the best results.
Step #8 – Printing through the Sublimation printer
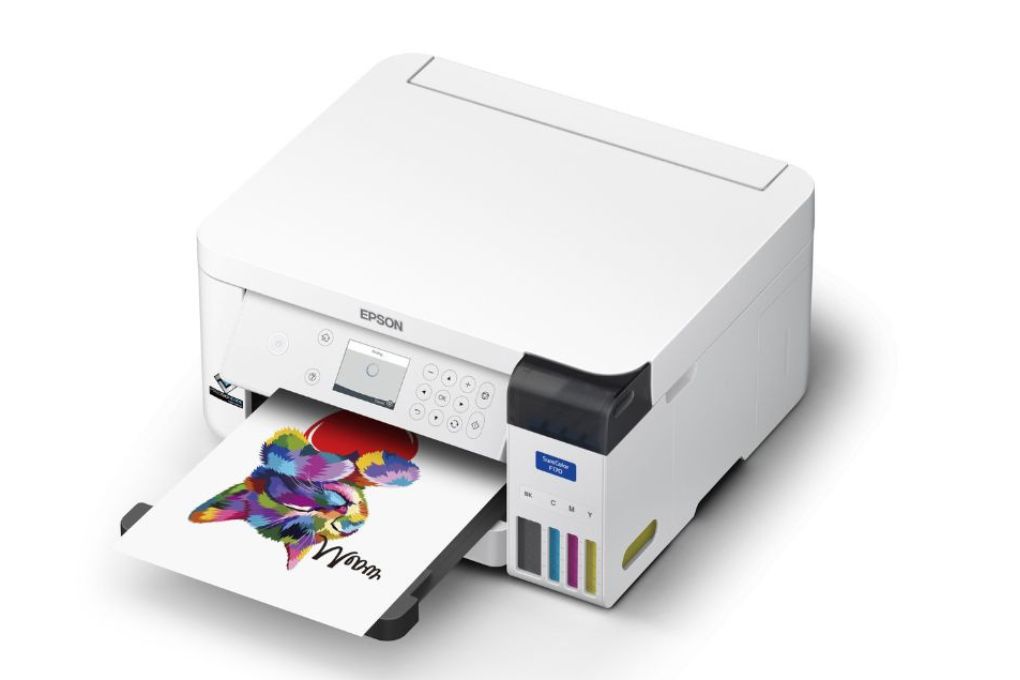
Without the sublimation design print, you can’t continue this project. And you will have to have better print to attract buyers if you are doing this all for your business. You can generate your print through the sublimation printer. But every printer can’t do this job, you will have to identify this. And without the quality dye sublimation ink and the sublimation paper, you can generate the expected results.
Because the sublimation paper retains the ink and it should be made of high quality to retain the ink. Then it transfers the ink and the design onto the wood. And when it comes to sublimation ink, it should also be made of high quality. It shouldn’t be scratched and doesn’t lose its color and remains vibrant colors for a long. Also, it shouldn’t be touchable like you don’t feel it when u touch it.
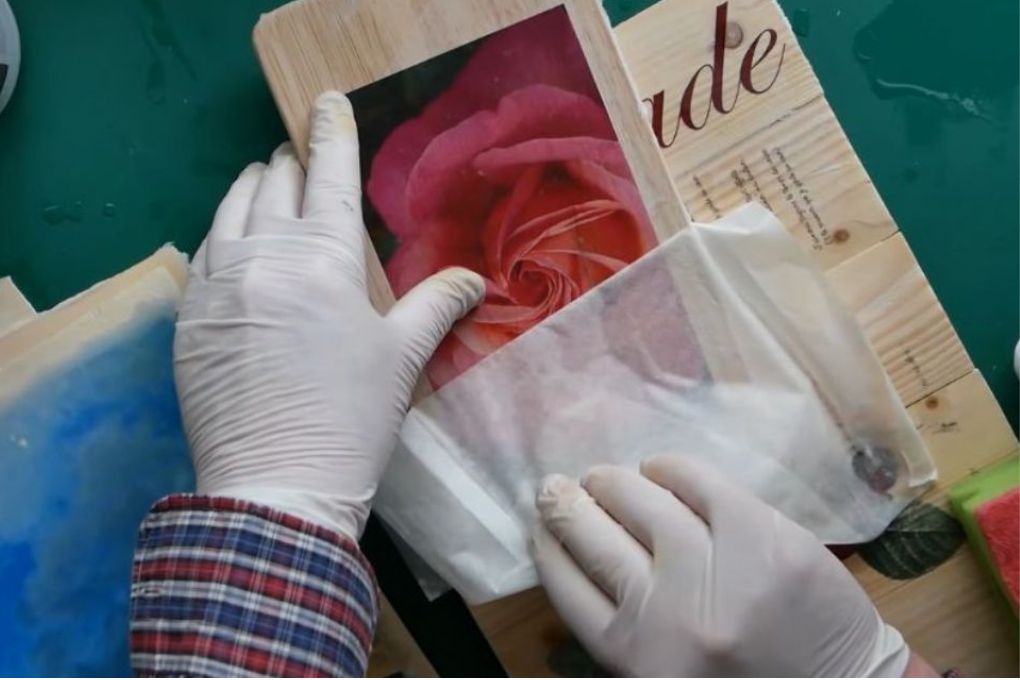
Step #9 – Transferring design onto the wood
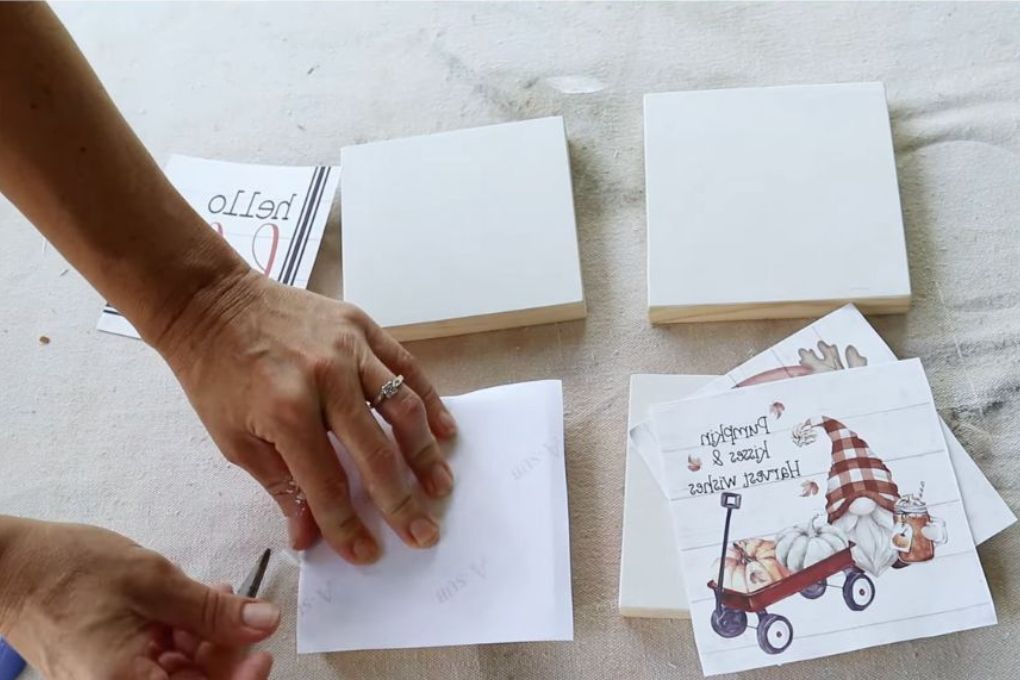
Once the printing gets done, it’s time to transfer that print onto the desired material. Make sure to have a sensible print design that fits your material. Now you need to place that printed design onto the laminated side of the wood pieces. Also, stick that sublimation design to the wood with heat-resistant tape to avoid any kind of ghosting while sublimation.
Step #10 – Press wooden pieces
Now take that wood substrate again to the heat press for the final step of this process. And place the parchment paper facing down and the stuck sublimation design side should be facing the heat process. Once you have done the proper setting, press the wooden pieces for 60 seconds.
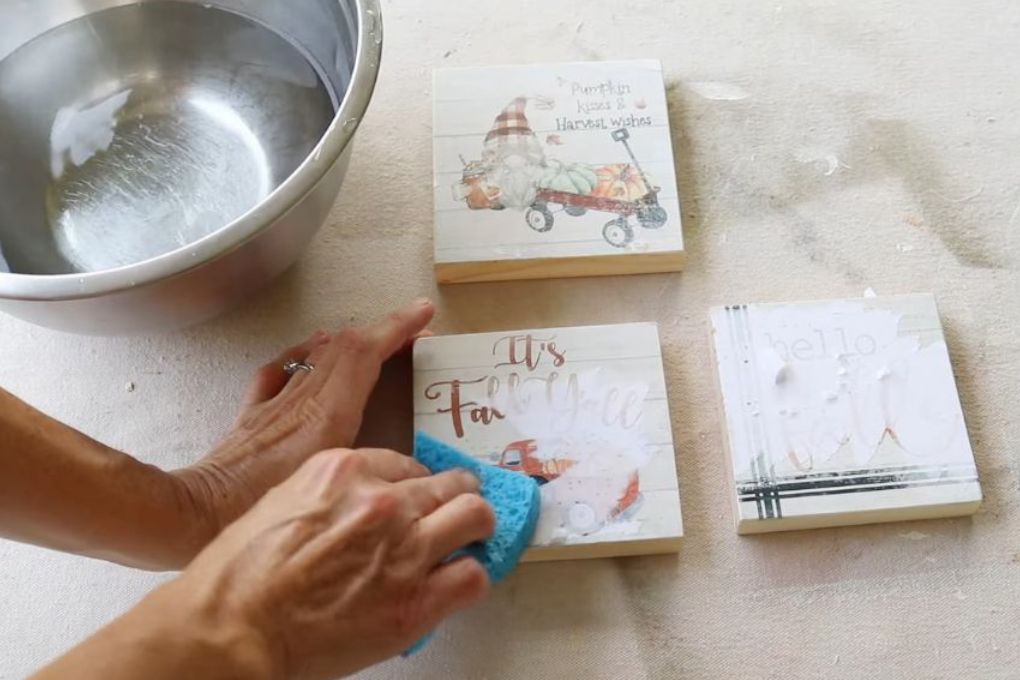
Step #11 – Removing sublimation paper
Just remove the sublimation transfer paper from the wood carefully. If it’s hot then leave it for some time until it doesn’t get cool or use gloves to remove the sublimation papers. Here you go! Your design is ready to have vibrant colors and excellent print quality.
Advantages of Sublimation on Wood
When it comes to applying sublimation on wood, there are several advantages to consider:
Vibrant and Long-Lasting Colors
Sublimation allows for the transfer of vibrant and high-resolution colors onto wood surfaces. The resulting prints are often more vivid and durable compared to other printing methods.
Full Coverage and Seamless Design
The sublimation transfer process on wood also offers the ability to achieve full coverage and a seamless design on wood. The gas penetrates the surface, ensuring that the entire area is covered, resulting in a uniform and continuous print.
Detailed and High-Quality Prints
Sublimation printing allows for intricate and detailed designs to be transferred onto laminated wood slices. It can capture fine details, gradients, and complex artwork accurately, enhancing the overall visual appeal.
Fade and Scratch Resistance
Sublimation inks chemically bond with the wood fibers, making the prints resistant to fading caused by exposure to sunlight. Additionally, sublimated images on wood surface tend to have increased resistance to scratches and wear, ensuring the longevity of the design.
Retains Natural Wood Texture
It preserves the natural texture and grain of the wood slices. Unlike other printing techniques that may create a layer on top of the surface, sublimation ink permeates the wood, allowing its natural beauty to show through the print.
Eco-Friendly and Non-Toxic
Sublimation printing on wood typically uses water-based inks, which are considered to be eco-friendly and non-toxic. This aspect makes it a safer and more sustainable option compared to certain other printing methods.
Versatility
Sublimation prints can be applied to various types of wood products, such as signs, plaques, photo frames, furniture, and personalized gifts. It offers versatility in terms of the shapes, sizes, and types of wood that can be decorated, allowing for a wide range of applications.
Recommended: Sublimation tumblers and dishwasher safety sublimation project ideas
Frequently Asked Questions
Conclusion
We have delivered our best after experimenting with so many methods with different techniques. And the thermal laminating sheet method was found the best method for this specific method. Because through this process, you will be able to sublimate the uncoated wood. You don’t need to spray the sublimation coating spray or the polyacrylic application to the wood before going for the transfer of the desired design onto the wood.
You will complete the process by following all the steps carefully with the recommended temperature and time. But if you don’t know about the temperature of wood for sublimation, you can ask the shopkeeper from where you have purchased this. Because one wrong step can spoil your design and the material.
Read More: Best Sublimation Printer for Mugs Different types of sublimation, sublimation paper types

I’m Derrick Flora and I am the owner of Printangles.com. I am the father of 2 angles and 1 boy and I am 37 years old. I had done Bachelor in Fashion and Textile Studies from FIT State University of New York.
It’s been 7 years since when started the sublimation business. I sublimated mugs, t-shirts, canvas, and many more. And we have analyzed some things that beginners don’t apply the actual strategies to complete the project. And those strategies are making your sublimation better onto the material. What do beginners do, they just buy the sublimation printer and the heat press without knowing about them.