Sublimation on Cotton (Dye Sublimation Printing on 100 Cotton)

Sublimation has been a great way of transferring your favorite sublimation designs onto the desired material through the heat press. And you are always required to have the materials that have high polyester count to sublimate for getting the best and expected results. Because the sublimation ink transfers much better onto the polyester-coated material than the non-polyester. You may have thought that your sublimation is possible onto polyester materials, not cotton. But now sublimation on cotton garments isn’t impossible anymore. And you can sublimate to cotton by using the Glitter HTV and following the given easy steps. And the coming results will be as much prominent as you get onto the polyester fibers.
Sublimation isn’t a rough or difficult thing rather it’s an interesting thing as we are doing it for the past few years. Whether you do this for yourself or for your business. It would be very interesting if I get my own picture or my favorite design onto the cotton t-shirt. Because it matters a lot for those who are fond of having sublimated materials or whatever material they want to sublimate on. But always follow the right strategy to get the best results and here you gonna get the right strategy with more easy steps to have the required results.
Table of Contents
- Materials Required for Sublimation on Cotton Garments
- How to Sublimate on Cotton
- Step 1 – Purchasing Sublimation ink markers and a plastic bag
- Step 2 – Colors mixing with some water by Paintbrush
- Step 3 – Ready the design via design software
- Step 4 – Mirroring and cutting the design
- Step 5 – Removing the excess from the glitter and paper
- Step 6 – Using a lint roller
- Step 7 – Heating your heat press and press the design
- Step 8 – Adding the mixed color paper onto Glitter HTV
- Step 9 – The design is ready
- Advantages of Sublimation on Cotton
- Sublimation on Cotton FAQs
- Conclusion
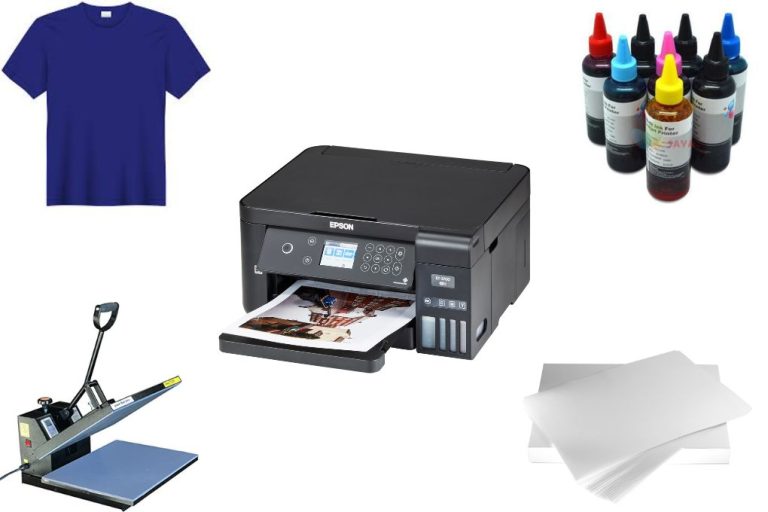
Materials Required for Sublimation on Cotton Garments
Sublimation ink (Markers)
Sublimation ink is a special type of ink that is used in the sublimation printing process. It contains dyes that can transform from a solid to a gas state without going through a liquid phase. Sublimation markers are used for hand-drawn or customized designs on cotton material.
Glitter or polyester flock
Glitter or polyester flock are decorative materials that can be used to enhance the design and add texture to the sublimation prints. Glitter vinyl provides a sparkling effect, while polyester flock is a soft, velvet-like material.
Cricut machine
A Cricut machine is a cutting tool used to create precise and intricate designs on various materials. It can be used to cut out designs or patterns from materials such as excess vinyl, cardstock, or heat transfer paper.
Copy paper
Copy paper is a type of plain paper that is commonly used for printing or copying documents. In sublimation printing, it is used as a carrier sheet to hold the sublimation ink before transferring it onto the cotton material.
Paintbrush
A paintbrush is a tool with bristles or fibers used for applying or spreading paint. In sublimation printing, a paintbrush can be used to apply sublimation ink to specific areas of the design or to create custom effects.
Cotton material
Cotton is a natural fiber commonly used in the production of clothing and fabrics. In this case, a cotton t shirt is used as the base material for the sublimation process. Cotton fabric is a suitable material for sublimation printing when using sublimation markers, as it allows the ink to penetrate and bond with the fibers.
Sublimation design
The sublimation design refers to the artwork or pattern that is to be transferred onto the cotton material. It can be a pre-designed graphic or a custom design created using graphic design software.
Heat press
A heat press is a machine used to transfer the sublimation ink from the sublimation paper onto the cotton material. It applies heat and pressure to ensure proper ink sublimation and bonding with the fabric.
Teflon sheet
A Teflon sheet, also known as a heat-resistant sheet, is placed on top of the sublimation design and cotton material during the heat press process. It acts as a protective barrier, preventing the ink and heat from directly contacting the heat press machine and ensuring even heat distribution.
Lint roller
A lint roller is a tool used to remove lint, dust, or other particles from surfaces. Before sublimation printing, it is used to clean the cotton material and remove any loose fibers or debris that may interfere with the printing process.
Heat resistant tape
Heat resistant tape is used to secure the sublimation design and cotton material in place during the heat press process. It ensures that the design remains in position, preventing any shifting or misalignment during the transfer.
Plastic bag (in case of using water cooler technique)
The water cooler technique is an alternative sublimation method where the sublimation design is sprayed with water before transferring it onto the cotton material. A plastic bag is used to cover the design after spraying water, creating a humid environment that helps enhance the sublimation process.
These are the must-have materials to complete this process and to have wonderful results. Let’s talk about how you can sublimate the cotton without facing any difficulty.
Recommended: How to print on ceramic plates? DTG vs Sublimation Printing
How to Sublimate on Cotton
You may see many other materials to be sublimated because polyester materials are easy to sublimate and get brilliant results. But when it comes to sublimating the cotton shirt, it compels you to think that how it will be sublimated. And for a matter of time, we accept that we can sublimate the cotton but what about the results when the process will be done? Let me tell you that it’s not as difficult as you are thinking because I have proven it by our experience and I am gonna show it to you in an easy way.
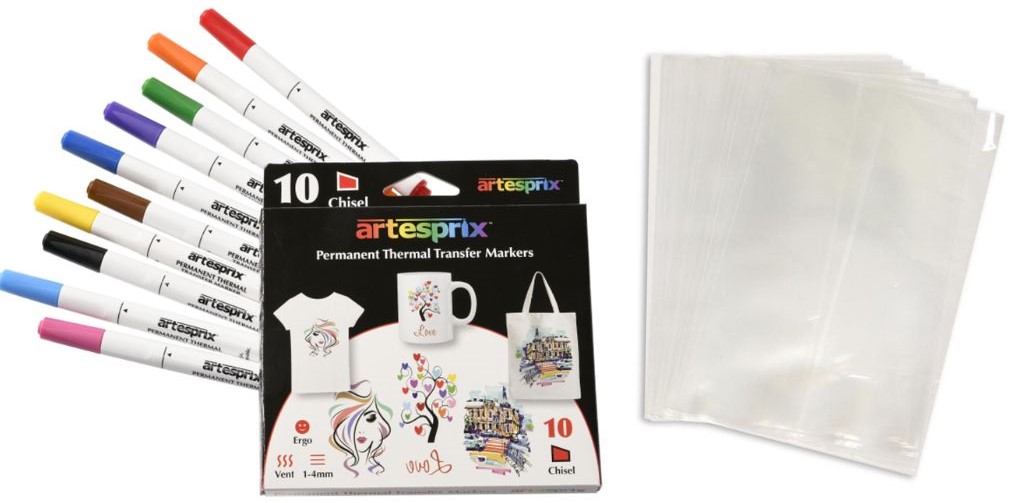
Step 1 – Purchasing Sublimation ink markers and a plastic bag
First of all, you will have to have a mixture of markers but it should be coordinated to look good. If you want to add mixing colors to your sublimation designs that you want to sublimate. And the other thing you will need here is a plastic bag for getting the colors of selected markers.
Step 2 – Colors mixing with some water by Paintbrush
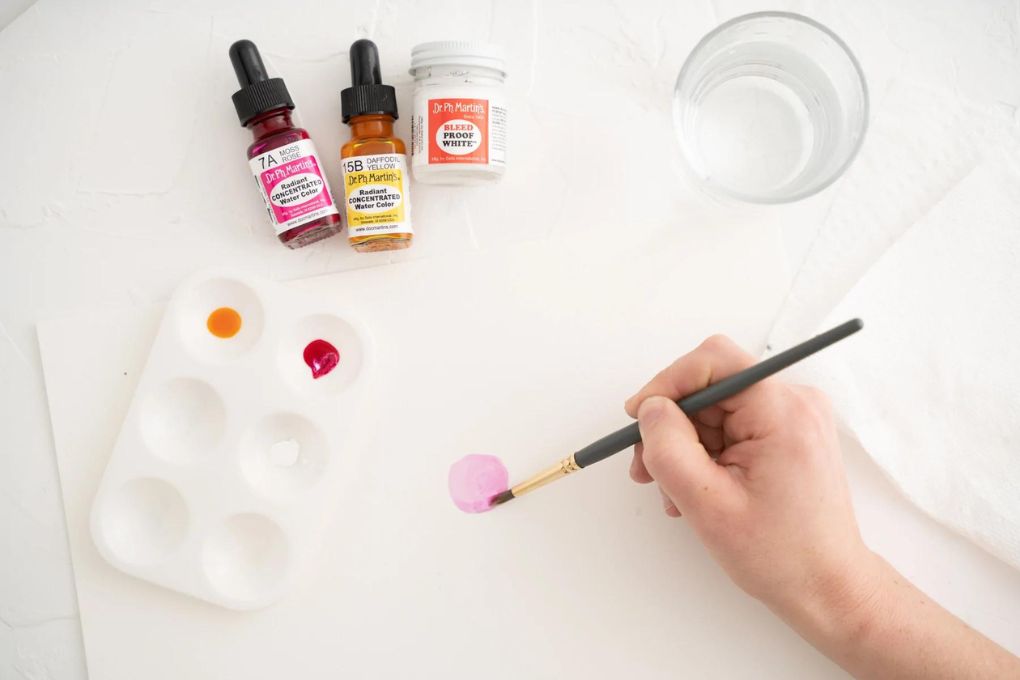
In this step, you will color your plastic bag with each marker and then add some water. The reason for coloring on your plastic bag is that you will mix it with the paintbrush because the water has also been added there. Now you will mix the color with a paintbrush and after mixing the colors well, mixed colors sublimation ink will be added to the paper by the paintbrush.
But make sure you have colored more area than the area where you want to sublimate to get as better results as the polyester gives. And when the coloring process gets done, leave it for some time to get dry completely.
Read more: Best Sublimation Printer 2023, Can i sublimate on sublimation? sublimation paper usage for sublimation projects
Step 3 – Ready the design via design software
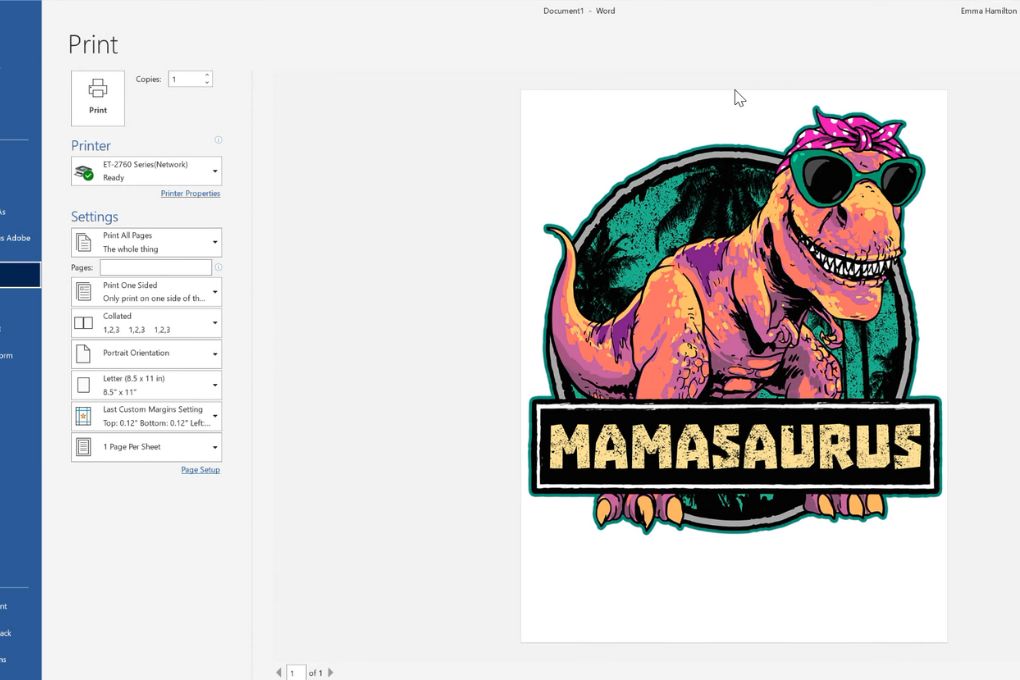
Before going to the next step, make sure you have the design that you want to sublimate. If you don’t have the design and want to create some brilliant and eye-catchy designs? You must read this helpful article on how to make a sublimation design. It will help you in making some customized and attractive designs.
Because it has been discussed in detail and not only the detail is given but all the applicable software has also been mentioned. So, you can create blinders within the minutes, even if you don’t have the design sense because of their easy-to-use interfaces and designing abilities. I will prefer using light colors on white plain fabric as a beginner.
Read More: Best Sublimation Printers for Heat Transfer, Screen Vs Sublimation Prints, Making sublimation coating
Step 4 – Mirroring and cutting the design
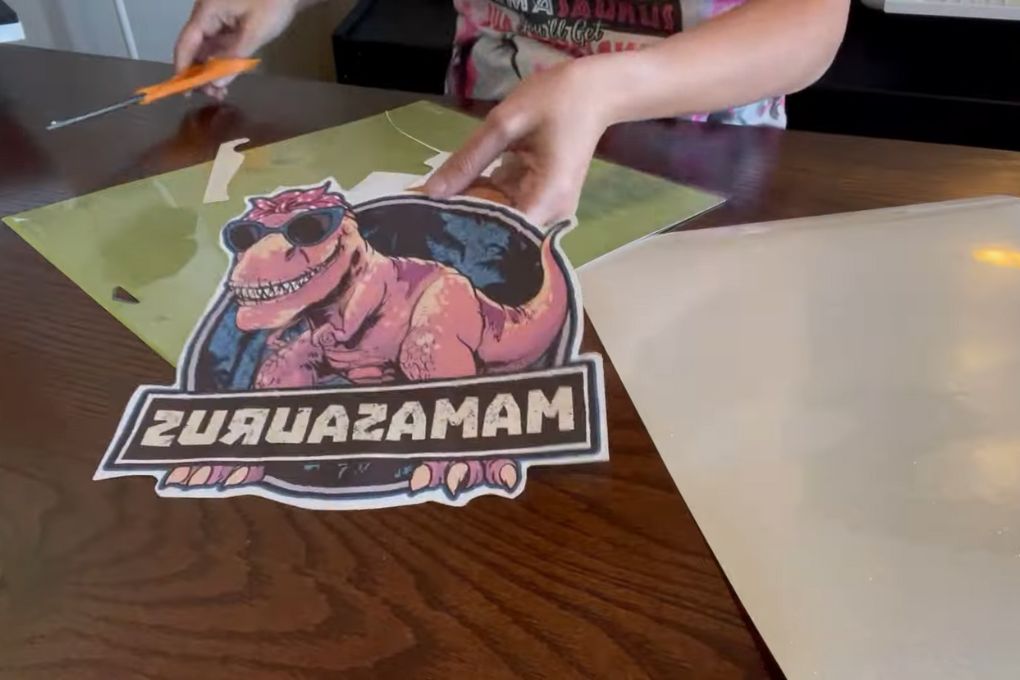
Now you will cut the design from the glitter HTV and the paper as well. But before cutting your design, mirror your design. Because we prefer you to mirror your design when the mat or any other thing is facing your material downside. Once you mirrored the design, it’s time to put the paper that is colored with a paintbrush.
The colored side should be facing the Cricut machine to cut properly excessive areas. But you need to keep in mind one thing the colored side must be against the HTV. Besides the Cricut machine, you can also use the joy or Cricut maker to do this process. Also, make sure you have an idea about the Cricut machine and how it works and it cuts the materials.
Related: How to do Sublimation with Cricut, Why is sublimation not transferring? sublimation on canvas
Step 5 – Removing the excess from the glitter and paper
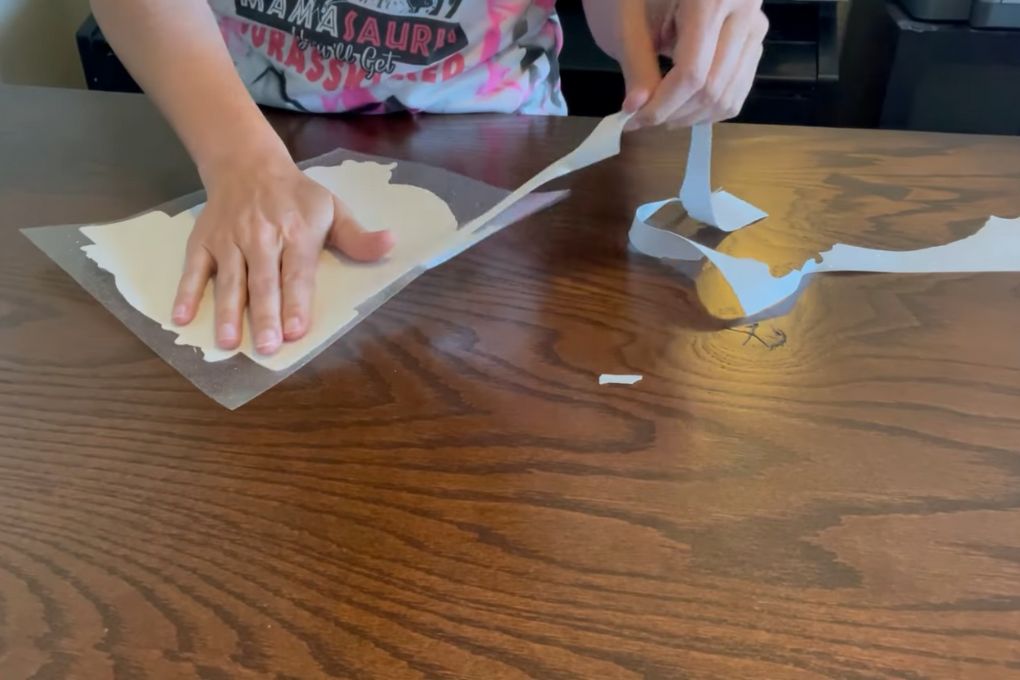
Before starting the sublimation process, make sure to remove all the excess from the glitter and the paper as well. So that you allow the heat press to press only this little paper not the excessive whole paper.
Related: Top 5 Best Sublimation Papers of 2023
Step 6 – Using a lint roller
Well, I have seen many sublimation business owners who don’t recommend any safety equipment to have better results. And I would suggest you use the lint roll. It will help you to clean all the moisture or dust from the shirt to get them clean and smooth sublimation results.
Read More: Types of Sublimation Printers, How to make sublimation brighter
Step 7 – Heating your heat press and press the design
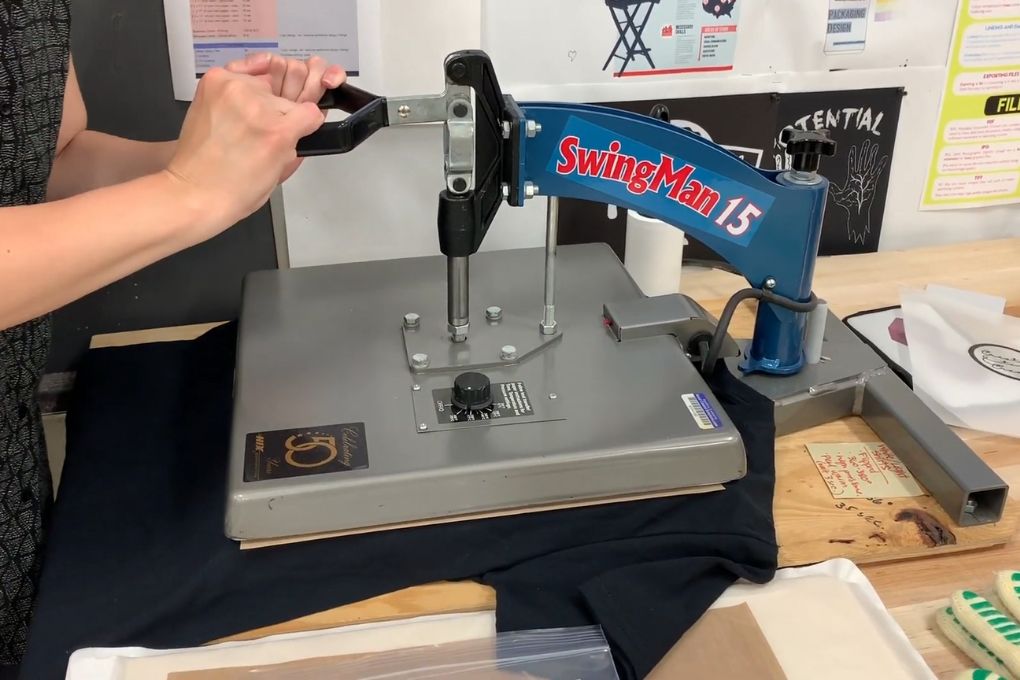
Just start heating your heat press and when it’s heated properly according to manufacturer instructions. But recommended sublimation temperature for cotton or heat press setting for cotton products sublimation is 360 F for 30 seconds. Then you can press the design that you have made through the designing software covered with the carrier sheet. Let me tell you that plz don’t ignore the time and temperature. Because applying the wrong temperature can spoil your hard work and shirt as well. This is the most thing that you should ask your manufacturer before going through the sublimation process.
Related: How to Remove the Sublimation Ink from Shirt?
Step 8 – Adding the mixed color paper onto Glitter HTV
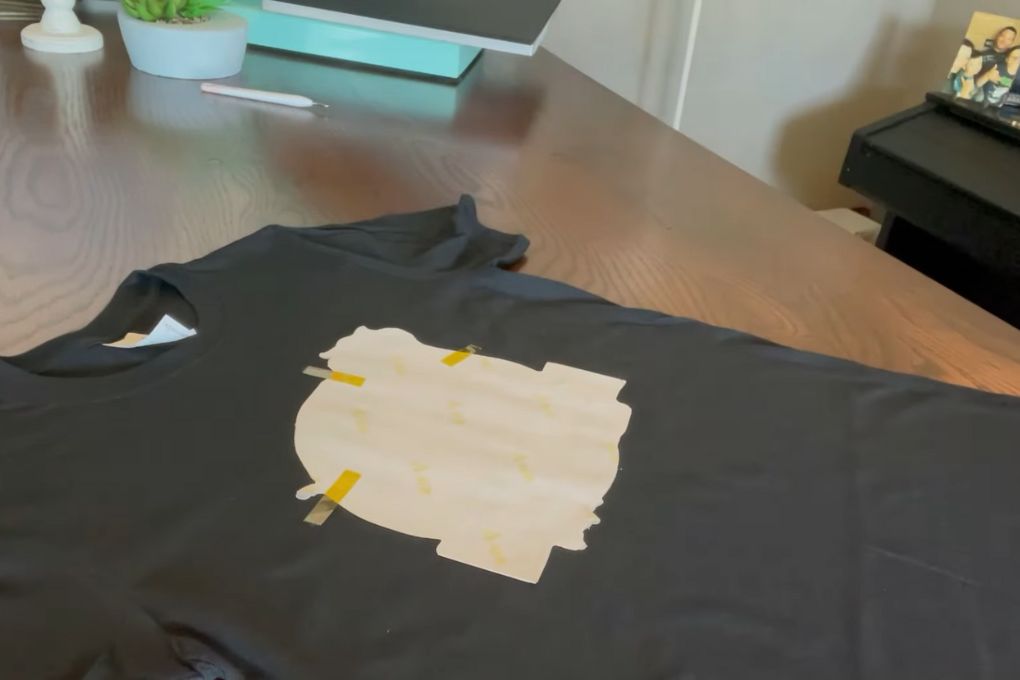
When the pressing process gets done successfully, remove the covered sheet carefully. Now you will add that inked or colored paper onto the material to be pressed. But make sure to fix it with heat-resistant tape to avoid any kind of ghosting towards the design. Also, use protective paper or any kind of protective sheet on the upper side of the glitter and the underside. Only to avoid the design passing toward the backside of the shirt.
Related: 15 Types of Shirt Printing 2023
Step 9 – The design is ready
When you see that you have pressed it for a recommended time and at recommended temperature. Then leave it for some time to let it cool because in case of touching the hot shirt can burn or hurt your hands. But if you don’t want to spend more time, use the gloves to remove the paper and the resistant tape from glitter.
Congrats! Your printed image and design is completely ready. This is the best way to sublimate the cotton shirts and you can also use it for your business or your shirts.
Advantages of Sublimation on Cotton
There are several advantages of dye sublimation on cotton, including:
Vibrant and Long-lasting Colors
When you sublimate on cotton shirts, the sublimation fabric produces vibrant, high-quality colors that can be more durable than other printing methods. The sublimation ink penetrates the cotton fibers, resulting in long-lasting and fade-resistant prints.
Soft and Breathable Prints
Unlike traditional heat transfer methods, sublimation printing on cotton fabrics does not create a thick, heavy layer on the fabric. The ink becomes part of the fabric, maintaining its softness, breathability, and natural feel.
Unlimited Design Possibilities
Sublimation dye printing allows for intricate and detailed designs with unlimited colors and shades. It supports the reproduction of photographs, gradients, and complex patterns, giving you the freedom to create unique and eye-catching designs on cotton.
Customization and Personalization
Sublimation projects enables customization and personalization at a high level. Each cotton garment can be individually printed with different designs, names, or numbers, making it ideal for personalized gifts, team uniforms, or promotional items.
No Color Limitations
With sublimation printing, there are no color limitations or extra costs associated with the number of colors used in the design. You can achieve full-color prints without additional charges, making it cost-effective for designs with multiple colors or intricate details.
Durability and Washability
Sublimated prints on cotton are highly durable and can withstand repeated washings without fading, cracking, or peeling. The prints retain their vibrant colors and sharpness even after multiple wash cycles, maintaining the overall quality and longevity of the cotton garment.
Eco-Friendly Process
Sublimation process on cotton is considered an environmentally friendly printing method. It uses water-based sublimation inks that do not contain harmful chemicals or solvents. The process produces minimal waste as there is no need for screens, films, or excess ink.
Sublimation on Cotton FAQs
Conclusion
We are gone through one of the best methods to sublimate the cotton shirts which is Glitter. And we have mentioned every minor thing related to this process and guided you in detail with easy steps. You can easily complete your project by following these steps within the minutes. But make sure to follow all the steps carefully and apply the time and temperature directed by the manufacturer.
Recommended: Choosing right printer, Various sublimation types

I’m Derrick Flora and I am the owner of Printangles.com. I am the father of 2 angles and 1 boy and I am 37 years old. I had done Bachelor in Fashion and Textile Studies from FIT State University of New York.
It’s been 7 years since when started the sublimation business. I sublimated mugs, t-shirts, canvas, and many more. And we have analyzed some things that beginners don’t apply the actual strategies to complete the project. And those strategies are making your sublimation better onto the material. What do beginners do, they just buy the sublimation printer and the heat press without knowing about them.