How to Use Heat Press Machine 2023
Typically, a heat press seems to be a device that lets you precisely adjust the heat, pressure, as well as time. Professional heat press devices are designed for large quantities. This is ideal for t-shirt entrepreneurs that expect to receive numerous orders in the future.
It’s an understandable point that all heat press machines vary from each other. That is why people frequently inquire about how to use a heat press machine. Whether simple or professional, heat press machines function roughly the same way. This tutorial will teach you all you need to know to get started, as well as common mistakes to avoid and a few additional techniques to discover.
Table of Contents
- How to Use Heat Press Machine (Step by Step)
- Step #1 – Choose the materials
- Step #2 – Choose the Pattern
- Step #3 – Choose the Transfer Paper
- Step #4 – Print the Design or Trim the HTV to Size
- Step #5 – Turn On the Heat Press
- Step #6 – Setting time and pressure
- Step #7 – Place the Fabric Inside
- Step #8 – Place the design
- Step #9 – Initiate the presses!
- Step #10 – Remove the shirt
- Tips When Using a Heat Press
- Caring for Heat-Pressed T-Shirts
- DOs and DONTs of Using a Heat Press Machine
- Conclusion
How to Use Heat Press Machine (Step by Step)
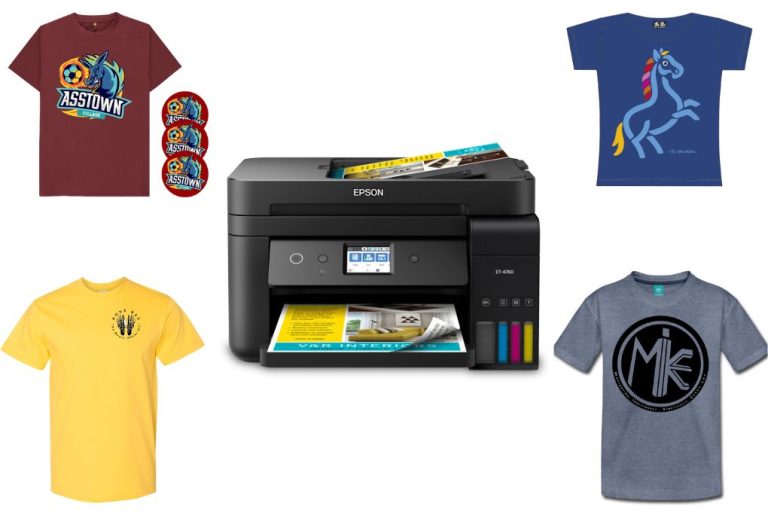
You’ll need to acquire some resources first, and then you may learn how to heat press a t-shirt with all these resources. In general, this is what you need for a heat press, however, there could be some additional suggestions for alternatives:
Materials For Heat Press T-shirt Printing
Overview
- Click the on/off button to turn on the power supply.
- Spin the dial of the thermostat towards the right side till the red heating indicator light becomes visible.
- When the thermometer reads the desired temperature you want for the transfer, move the knob further to the left till the heating light goes off. The heated light will turn on and off to maintain the appropriate temperature.
- When the machine seems to have a digital timer, click it to start, and when the alarm sounds, hit stop to reset it.
- To release the heat press, raise the handle.
- Set out the t-shirt and place the Paper face down on it.
- Pull the handle downward. The grip should be securely fastened.
- Adjust the timer according to the directions on the Transfer Paper.
- To release the press, raise the handle.
- Detach the Transfer Paper from the material.
- Give a minimum of 24 hours for such print to “lock” before actually rinsing the t-shirts.
Related: 15 Different Shirt Printing Types , Best Printers Heat Transfer, sublimation papers use
Step #1 – Choose the materials
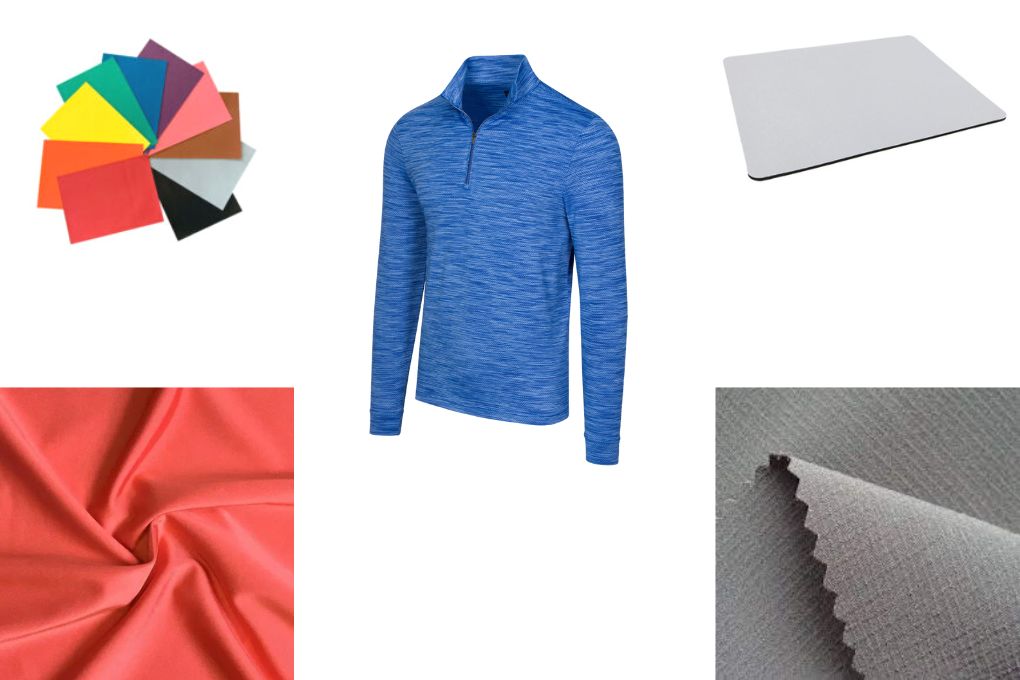
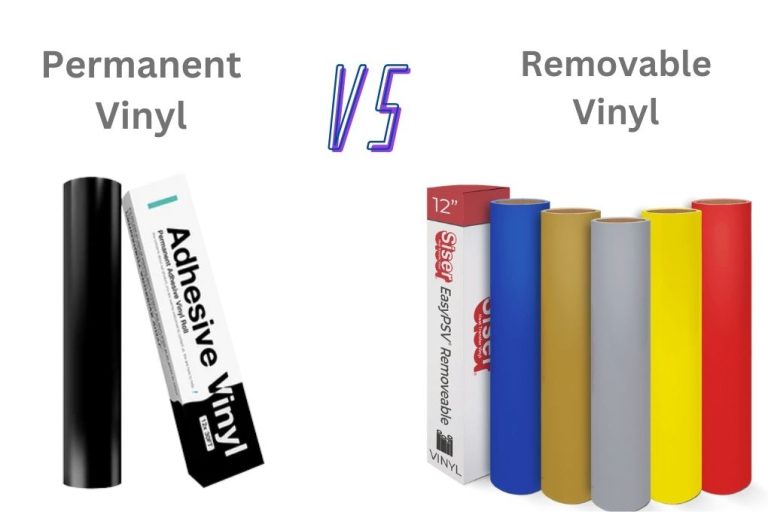
There are numerous material alternatives, and what you pick out first of all may be determined by using what you’re capable of working with. However, some textiles ought to be avoided by novices, comparable to some synthetics, notably skinny material (especially if you are coping with vinyl), waterproof materials, or fabric created to wick perspiration or with a variety of pores.
Neoprene (similar to the one of a mouse pad) is often utilized, however solely with bound heat transfer materials. The following fabrics are suggested for use:
- Leather
- Nylon
- Cotton
- Polyester
- Spandex
After you have chosen the material, you’ll want to assert pressure on it (if possible). Give them some time to dry fully before going to the next step
Recommended: Best Printer for T Shirt Designing, Successful sublimation tips, how to use flatten on cricut design space
Step #2 – Choose the Pattern
If you are choosing transfer paper, the very first thing to consider would be what colors can be printed with and creating a design that complements it. You’ll be facing problems while getting anything white-toned printed with a standard printer, just similar to the trouble you would face while getting a mirror printed.
If you’ve got a white style and are not utilizing a white t-shirt, it is best to interchange that space of the pattern with anything off-white or slightly shaded. Likewise, HTV has one drawback as it is only available with a single color in each layer. So, depending on the pattern, you’ll incline automatically for transfers or HTV.
If you’re planning to develop multiple sized designs, we recommend utilizing vector based software rather than bitmap based software (pixels). This is because it will maintain your sharpness at the highest visuals. Adobe Illustrator is one example of this program. If there is still some confusion regarding its working so have a look at our blog post “Working with Vector Files.”
If your picture is a photograph, for example, set your printer to scan and comply with the instructions to the printer. Your photograph must be in either PDF or JPEG format.
Related: Best Sublimation Printer for Starters, inkjet and laser printers comparison, how to make sublimated coating
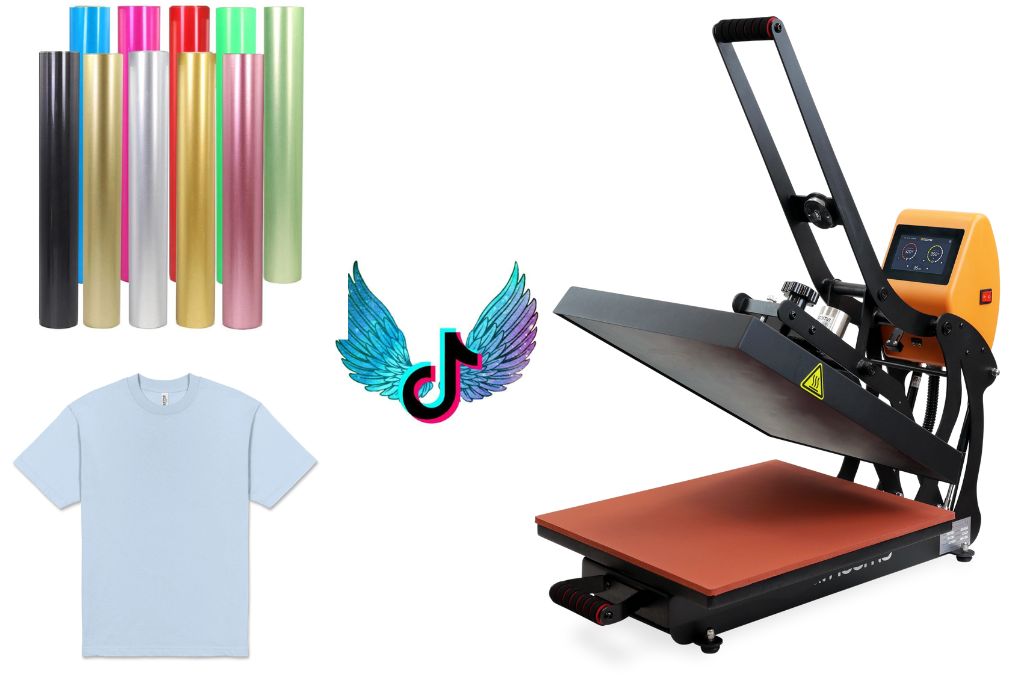
Step #3 – Choose the Transfer Paper
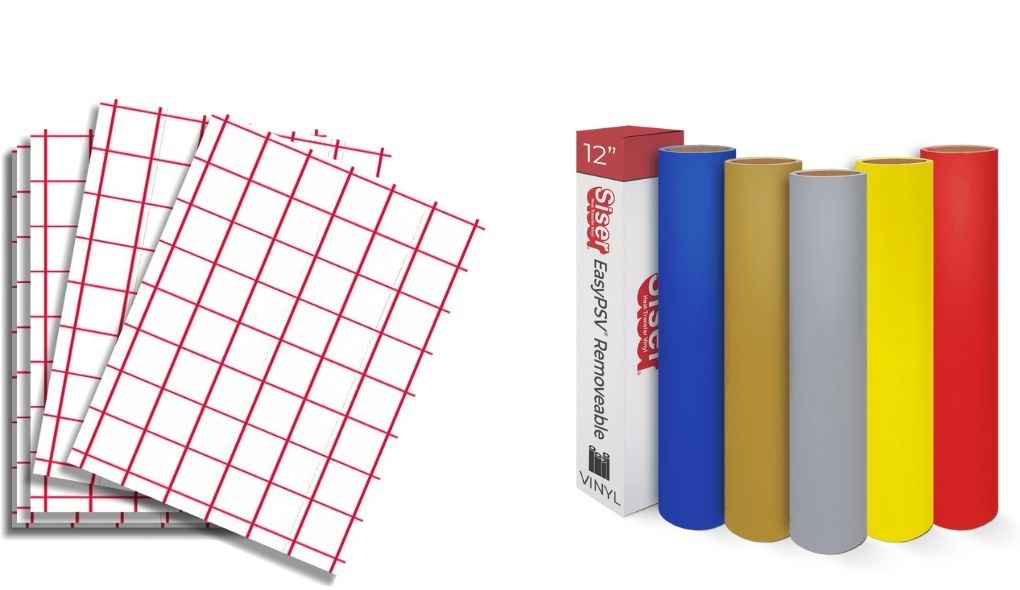
There are two types of transfer paper: laserjet and inkjet. You should first determine the type of printer you are using and then select the appropriate & right transfer paper. Transfer paper is also available in “light” and “dark” versions for imprinting on dark or light materials. Try to match the sheet to the material you’re working with.
Step #4 – Print the Design or Trim the HTV to Size
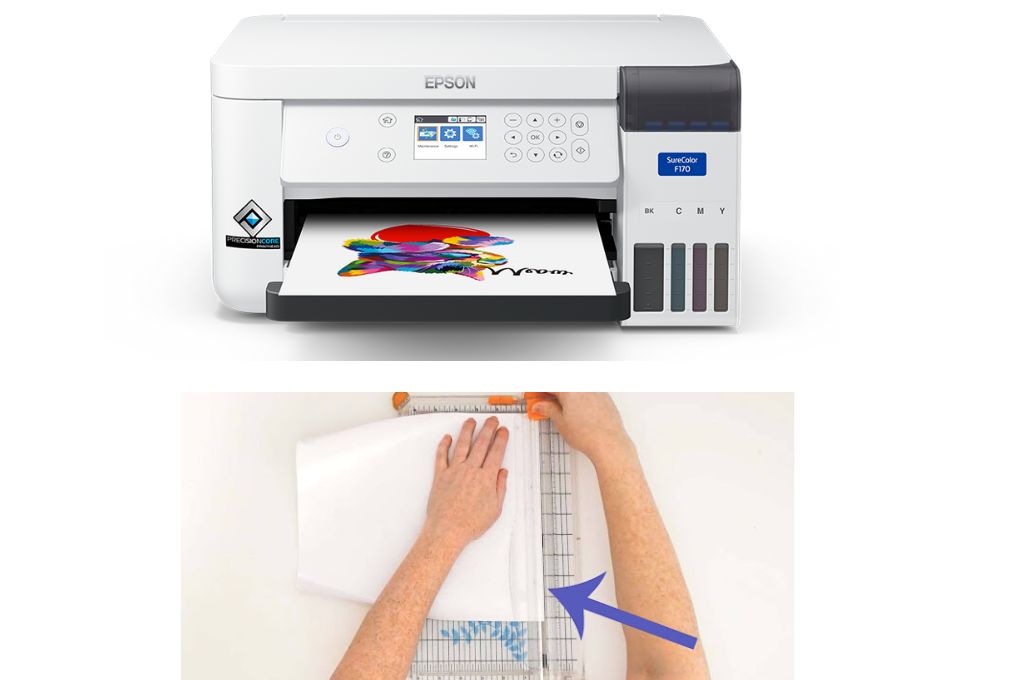
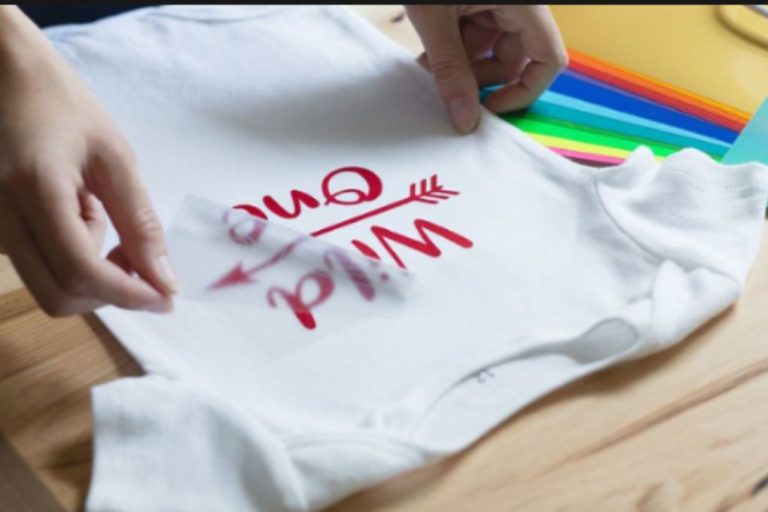
You’ll want to print off and ready your design once you’ve chosen a design, have a press (or iron!) nearby, and your HTV and perhaps transfer paper in hand. If you’re using HTV, basically cut it like any other vinyl with your cutting machine. Then trim it so that just the design is visible in the background.
If you’re using transfer paper, ensure the pattern is reversed when you print it so that it appears correctly on your material. Ensure the layout is only as big as the graphic, and then crop or trim the space surrounding it in your editing software. Likewise, after printing, you should trim simply around the design.
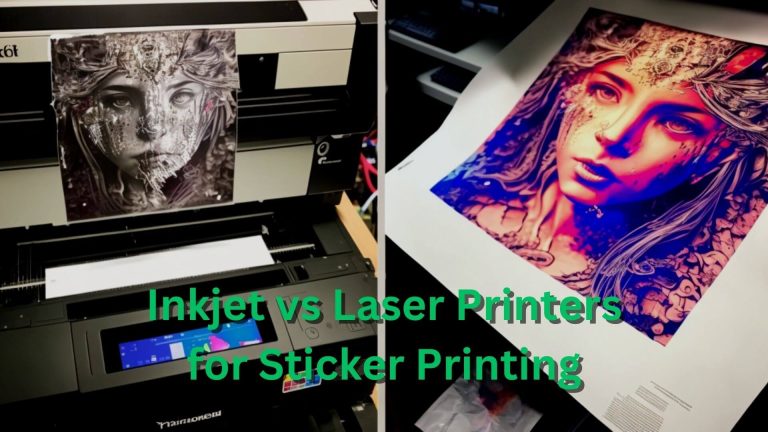
Once your design is complete, put the sheet where you’d normally put printer paper. However, be sure that the quality matches your requirements. Check that the pattern would match the t-shirt. You’ll require either an inkjet printer or a laser one to print. Inkjet printers are considered to be the finest type for taking color pictures.
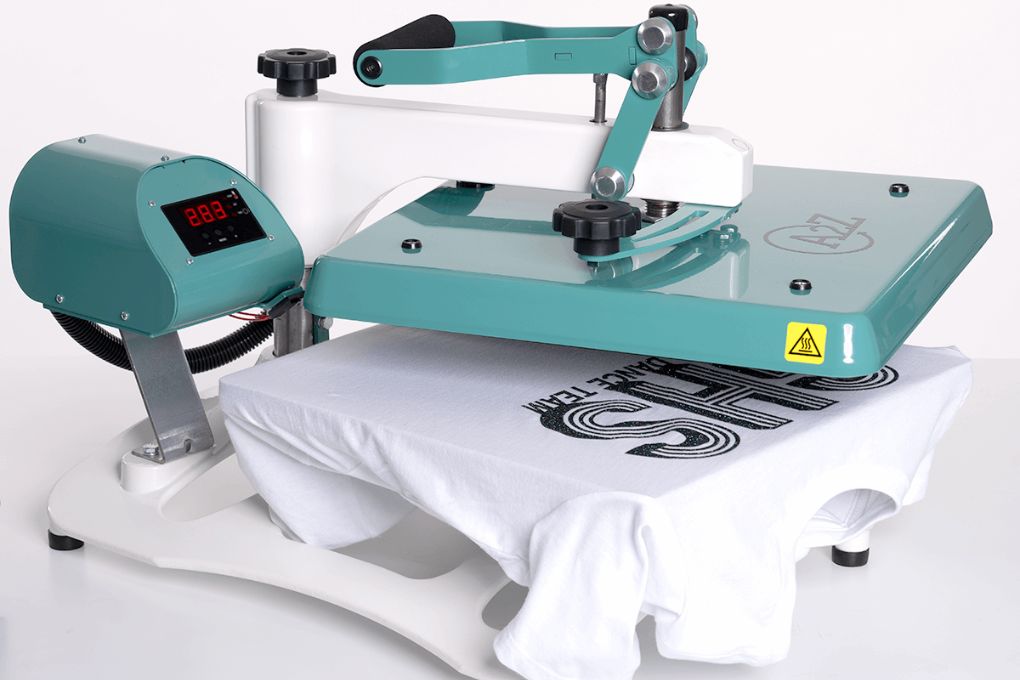
Step #5 – Turn On the Heat Press
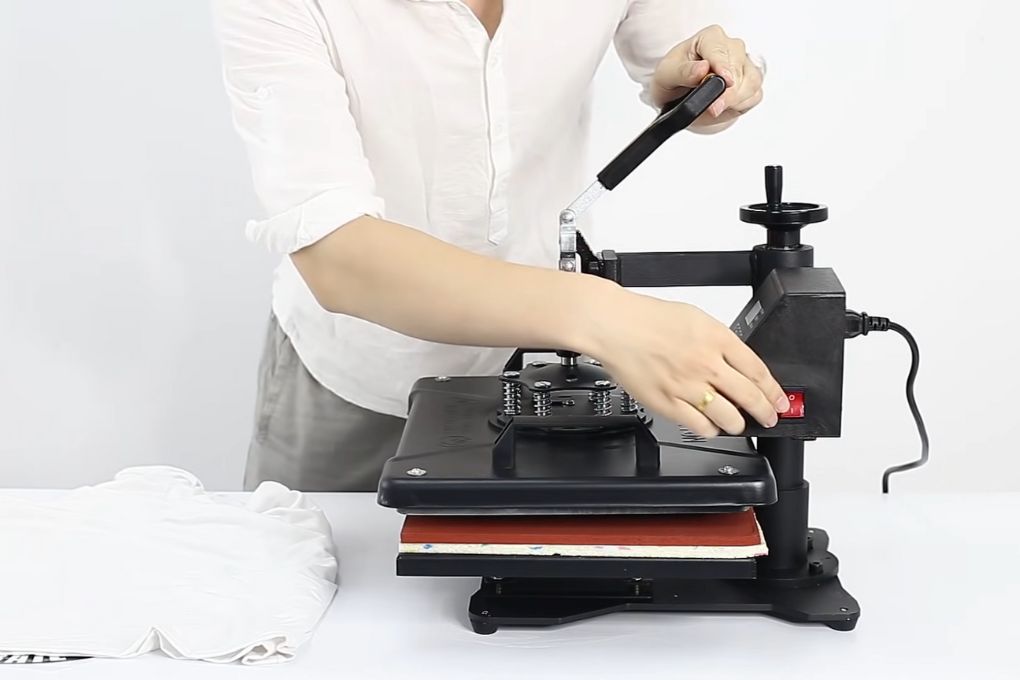
A heat press might take some time to heat up; it is not an instant setup. As a result, switch on the heat press and adjust it to the proper temperature long before you’re ready. Set the temperature to 155-165 °C. (You may notice that the temperature changes somewhat after it has been set; this is typical.)
Since heat (with a combination of pressure) will get most of the job done, the device should be adjusted to the proper temperature. The material can be burned and the pattern spilled if you employ excessively intense temperatures. If the temperature is set too low, you may experience adhesion difficulties with a transferor vinyl that doesn’t totally take.
For every kind of material, your apparatus comes with carefully chosen specs. If the instructions are missing, take a quick glance at the dial to ensure it is within the heat setting. Pre-pressed fabric is preferred by some people to heat it, but as far as my experience is concerned, this isn’t necessary.
The heat press should be open and it should be kept open while the heating is in process. Based on what equipment you have, you’ll get a sight of either a conventional dial or a computerized one. When it’s heated up, the preheat light will be turned on, which indicates that it is good to go!
If you’re dealing with such an unlisted substance, start at 340 degrees and work your way up. When using an iron, put it to hot or medium. The turning off of the steam feature has to be ensured.
Step #6 – Setting time and pressure
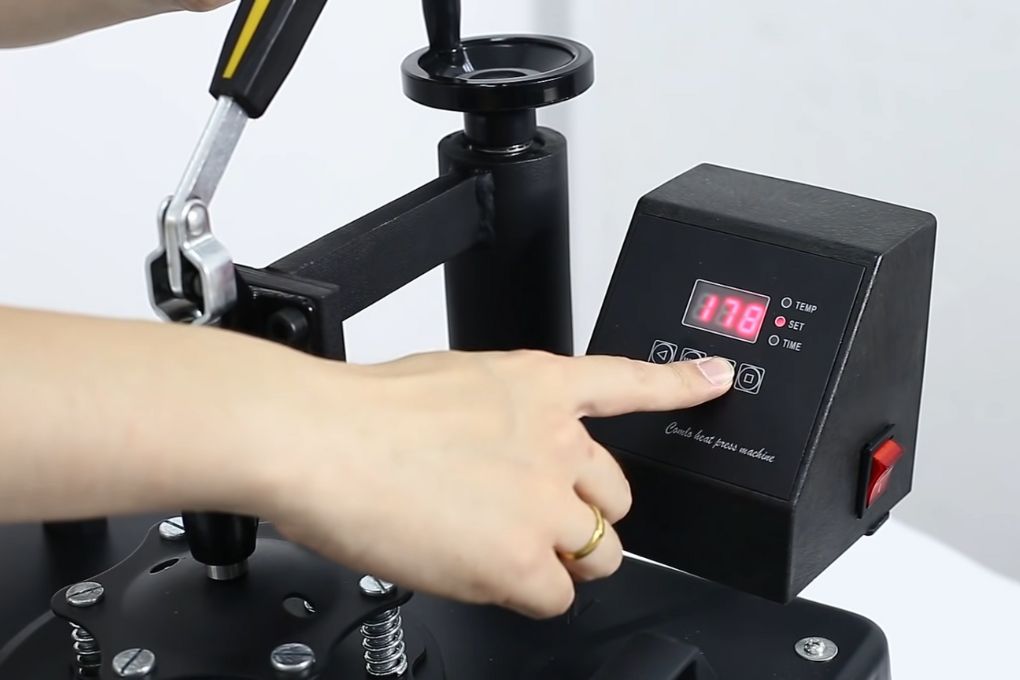
Heat is a significant aspect of the equation, yet time and pressure are equally crucial. The possibility of you having a sufficient temperature already set is there, but the design would be compromised if the required pressure is not applied or pushed for sufficient time.
Pressure regulation is generally done by the rotation of the knob on the top. Turning it clockwise increases pressure and vice versa. For the majority of the materials, applying medium pressure is the way to begin, but if a specific picture is mentioned in your handbook for what you have to work with, then sticking to it is the right thing to do.
If there is no mention of it in the instructions, carefully take a look at the material at your disposal; it will indicate exactly what set parameters should be there.
A moderate pressure of 320 degrees and 15 secs is preferable for vinyl. For a 1/2 sheet pattern, a moderate pressure of 350 degrees for 45 secs is preferred by transfer paper. If iron is being used, some experiment is advised. A forceful push is required but make sure you never put so much pressure that you become drained quickly. If no indication of the pressure is set by you or if you are faced with any complications so you can resort to a $ bill test. After you switch the machine off, give it some time to cool down, and then insert a $1 bill in the machine from the side. Increase the force of pressure to the extent that pulling it out gets difficult, and you’re good to go
Step #7 – Place the Fabric Inside
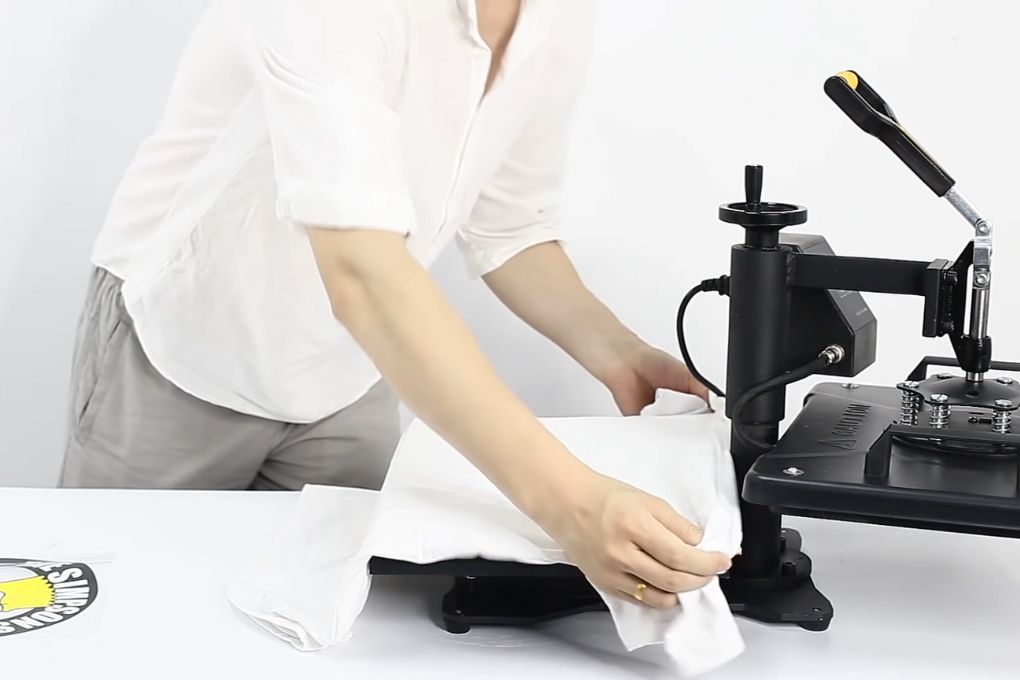
This phase is easy, and you’ll be done in no time! The side having the design should preferably face upwards. Make sure to check for any twists, pull and tighten it up so it resembles the sheet of a hotel. It will look more attractive as it contracts rather than if it reaches out longer in the future, just like a tattoo.
If desired, you may also pre-press here. This involves shutting the pressing on the material and then heating it for around 10 seconds. If there is an iron, use it to make the wrinkles fade away! If it resembles a t-shirt in any way, ensure that the fabric is in a proper position.
Step #8 – Place the design
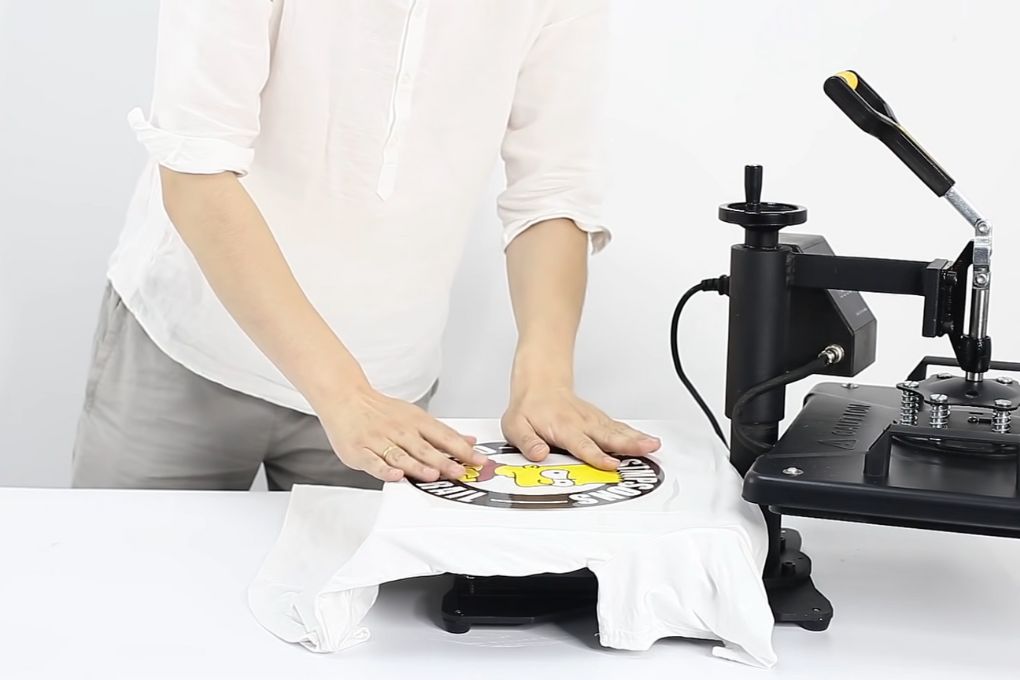
With the t-shirt inside the heat press, one can now precisely position the design on the cloth. You must be very cautious, not just to omit the risk of destroying the pattern, but also because the press is extremely hot.
Matching of design before getting it transferred to the press is preferred by some individuals, on the other hand, some like to switch on the heat press later to avoid the worry of it. Emergence of your taste is imminent but keep under consideration that these aspects are argued upon even by the most skilled makers.
If transfer paper is being applied, make sure that it is done while the shirt is facing downwards. Which means that the glittery end is up! You would want the sticky end down if HTV is being used. If you own Teflon pillows or even sheets, place one of them on the top of the design to prevent the HTV from clinging to the top plate, however, this depends entirely on your choice.
Some hard-to-use clothes, especially those that are un-flat or have buttons/defined ridges that keep the HTV from having a flat grip, require the usage of a pillow.
Step #9 – Initiate the presses!
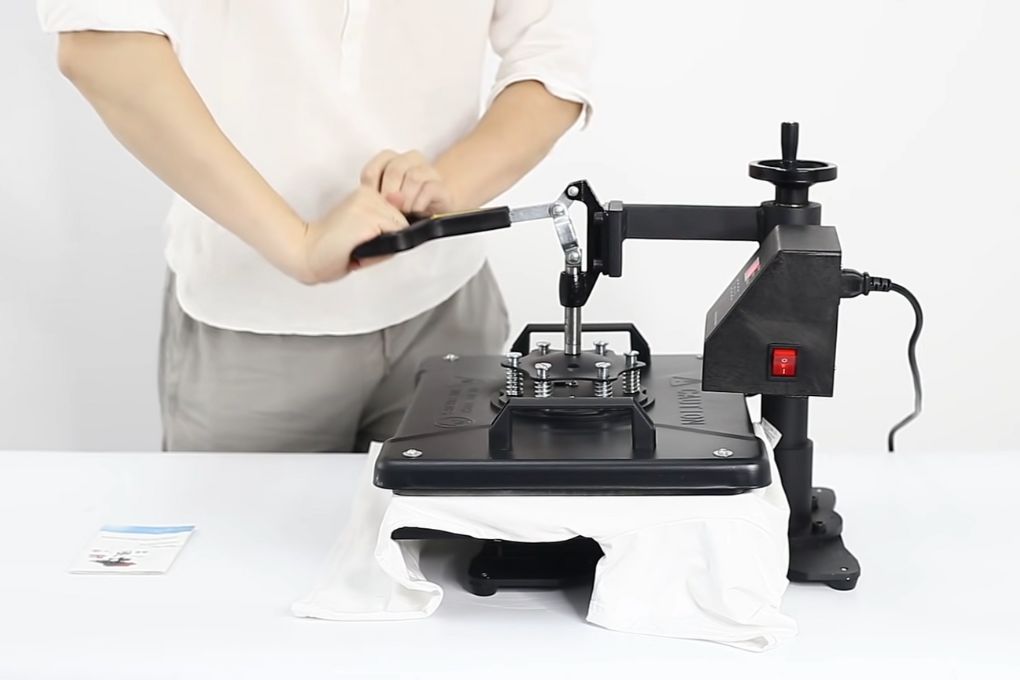
After putting everything in the right place, the time for pressing arrives. Ensure the temperature control and that the time is set properly, then the lever has to be pulled down to the point where it shuts, by this stage the timer should start ticking. When the timer reaches its limit, the press has to be opened swiftly and the shirt should be allowed to cool down.
If you take off the vinyl before time so it peels right off of the cloth, however, give it some time and see how successful you are.
Step #10 – Remove the shirt
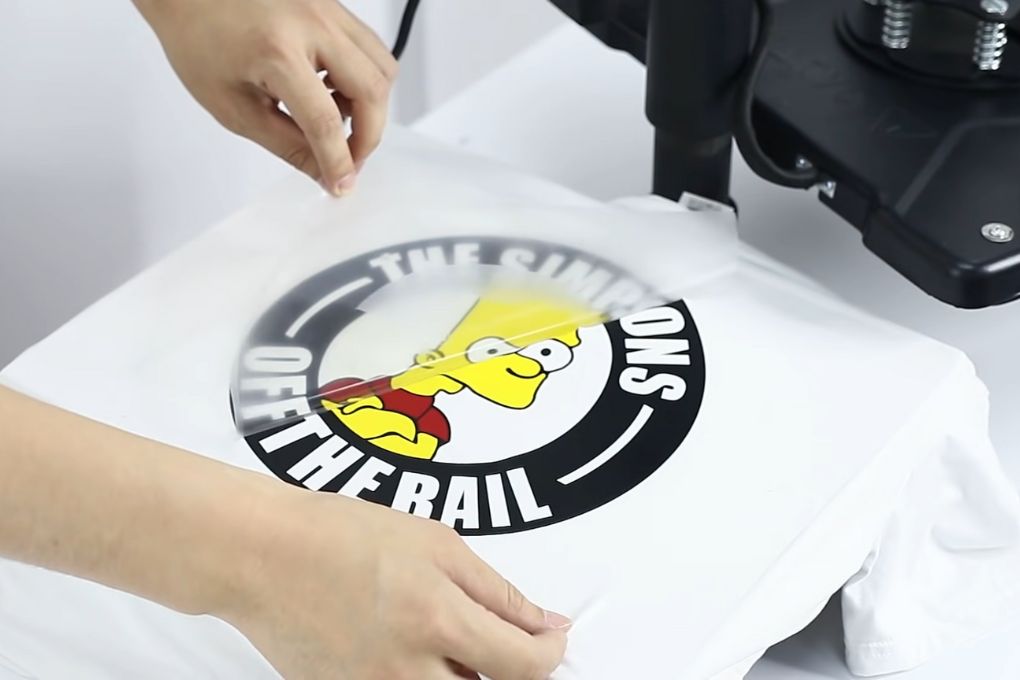
After cooling is done pull the transfer sheet (ensure it hasn’t gone completely cold but gets cooled down enough that touching it becomes safe).
Tips When Using a Heat Press
Here are some heat press tips and tricks to keep in mind:
The Right Amount of Heat
Be confident while using heat even if it feels a lot because in order to evenly imprint the artwork a great amount of heating is required. In cases where the right amount of heat is not used, the pattern would not adhere sufficiently and might become a source of problems when one washes it. If you’re afraid of destroying the t-shirt, test the print on an old shirt you’re willing to burn.
It feels difficult in the initial attempts, but as time passes you will become confident while printing shirts and utilizing your heat press machinery. In reality, the guidelines are quite simple; just keep in mind the prescribed heat for every type of cloth you use on transfer paper. Put the cloth quickly on the heat press to avoid having a crooked print. In short, you not only need a best heat press machine but also the right amount of heat to get optimal results.
Selecting the Fabrics
T-shirt presses cannot print on all types of textiles. Not everyone is aware of this, which is why you’re attempting to learn how to utilize a heat press machine. Anything that melts when exposed to a highly hot surface (synthetic materials, thin textiles) should be avoided.
If you want to print shirts or another article that requires washing after the printing is done, ensure that you wash them beforehand. There is a possibility of getting wrinkles on the shirt if the pre-wash process is not followed. Nylon, cotton, polyester, lycra, and spandex are the most preferred fabrics for t-shirt printing.
If you have textiles that are not on this list, you should visit a clothes specialist.
Artwork Preparation
Printing a design onto transfer paper with an inkjet printer is the traditional way to prepare artwork for heat pressing.
Initially, use designing softwares like Adobe Illustrator or Corel to form your artwork. One disadvantage of printing with heat press equipment would be that inkjet printers cannot print white. That implies that maybe if you attempt to print something using white, it will display the color of your cloth instead of white.
When the preparation of the artwork is finalized you just have to print it on the heat press transfer paper. Consider this while designing t-shirt artwork. Turning white, or off-white is one option. Additionally, use your design software to turn your artwork horizontally. Failure to comply would lead to a t-shirt having inverted artwork.
Such an error won’t be the first of its kind. But that’s why you’re here: to learn how to correctly utilize a heat press machine.
Selecting the Suitable Transfer Paper
Before you go on to print the t-shirts, check the compatibility of the heat transfer paper with your printer and pattern. There are several types of transfer papers, so you will need to conduct extensive research.
But let’s start with the fundamentals of using a heat press machine.
The majority of transfer papers on the market are designed for inkjet printers. If you’re employing a laser printer, ensure you’re not using inkjet transfer paper. There are more factors to consider while looking for the correct transfer paper besides connecting the printer to a transfer paper.
For example, there is a difference between the transfer papers required for white t-shirts and the ones required for black t-shirts.
Caring for Heat-Pressed T-Shirts
Heat-pressed t-shirts necessitate greater attention from both printers and customers than screen printed t-shirts. T-shirts out of a t-shirt press stay longer if you do the following:
- When washing, flip them inside out (it prevents rubbing and fiction)
- Allow them to dry momentarily instead of using a dryer.
- Avoid the use of brawny detergents.
- Check to see whether the clothes are moist before placing them in the closet.
All of these steps can assist to keep your heat-pressed t-shirts in good condition. Consider how embarrassing it could be if someone discovered you ruined a t-shirt press after having read this guide regarding how to use a heat press machine.
If you operate a t-shirt company, make sure you don’t only include these instructions just on the tag. You should also put these directions on a cardboard tag so that your consumers can read them. By this time your understanding regarding the usage of heat press machines should be improved.
DOs and DONTs of Using a Heat Press Machine
- Don’t wash your clothes too soon. The chemicals in the fabric will take a while to set, particularly if you’re using vinyl. If possible, give it a minimum of 24 hours!
- Don’t employ a high heat setting. So there’s a comfortable medium where you apply just the appropriate amount of heat, however, if your particular heat press starts smoking or the t-shirts turn a burned yellow, then settings are far too high. Given that not all presses remain correctly calibrated, focus on the outcomes rather than the settings if something goes wrong.
- Take caution when selecting a material. You may have difficulties if you attempt to deal with anything waterproof or very thin. Nothing can beat working with cloth if you’re just getting started. The majority of machines are calibrated and made for cotton, so you can be sure that if something goes wrong, it’s not the fabric, and continue your troubleshooting from there.
- Properly load the layout and machine. Before you start the timer, make sure the design is accurately positioned. With a little extra effort, you’ll obtain considerably greater outcomes.
- Don’t dismiss test prints. When experimenting with a new resource, always test how it performs before ordering large quantities of it. If you’re attempting a new approach, do the same thing: conduct a test, rinse the fabric a few times, and check that everything works alright.
Conclusion
After reading this article, you will be much more informed about how to use a heat press machine for t-shirts! Learning how to utilize a good heat press machine will entirely transform your approach to creating; you will no longer be afraid to make t-shirts or in fact team jerseys.
T-shirts with graphics are a representation of who you are. They may be made for pure enjoyment or to launch your personal customizable t-shirt business. Designing artwork for a t-shirt thermal press is a terrific method for putting your graphic design tools to use. It is highly suggested that you get one of them immediately away when beginning your own business.
Read More: How to pick appropriate printer for business, 100% cotton sublimation

I’m Derrick Flora and I am the owner of Printangles.com. I am the father of 2 angles and 1 boy and I am 37 years old. I had done Bachelor in Fashion and Textile Studies from FIT State University of New York.
It’s been 7 years since when started the sublimation business. I sublimated mugs, t-shirts, canvas, and many more. And we have analyzed some things that beginners don’t apply the actual strategies to complete the project. And those strategies are making your sublimation better onto the material. What do beginners do, they just buy the sublimation printer and the heat press without knowing about them.