How to flatten on Cricut Design Space?
As a Cricut newbie, you’ll come across a lot of new phrases. Several of these words include Weld, Slice, Attach, and Flatten. Design Space is a unique design application, but your primary question when you first begin could be what does flatten do in design space. For that reason, everything related to the Cricut Flatten tool will be discussed below.
Design Space is going to be a lot more enjoyable to use once you’ve mastered the Flatten tool. The Flatten tool will also allow you to be fast enough while simply making printable designs.
Table of Contents
- How to Use flatten on Cricut Design Space (Step by Step)
- Efficient Use of the Flatten Tool in Cricut Design Space
- What Do Flatten and Unflatten Mean on Cricut?
- What is Print then Cut on Cricut?
- What does Weld do on Cricut?
- What is the difference between Weld, Attach and Flatten in Cricut?
- When should Flatten be used?
- Essentials to Flatten on Cricut Design Space
- Why should I Flatten on Cricut?
- What Does the Flatten Button Do on Cricut?
- What are Cricut Projects that need Flattening?
- What Does Flatten Mean in Cricut Design Space?
- Where to Find the Flatten Tool in Cricut Design space?
- What is Flatten in Cricut Design Space?
- How to Use the Flatten Tool?
- Conclusion:
How to Use flatten on Cricut Design Space (Step by Step)
To begin, launch Cricut Design Space and begin with a fresh project.
Step #1: Open Design Space
Create a custom graphic using Design Space. You may stack as many levels as you like. Just be careful to size and align them before flattening them, because this step is tough to reverse.
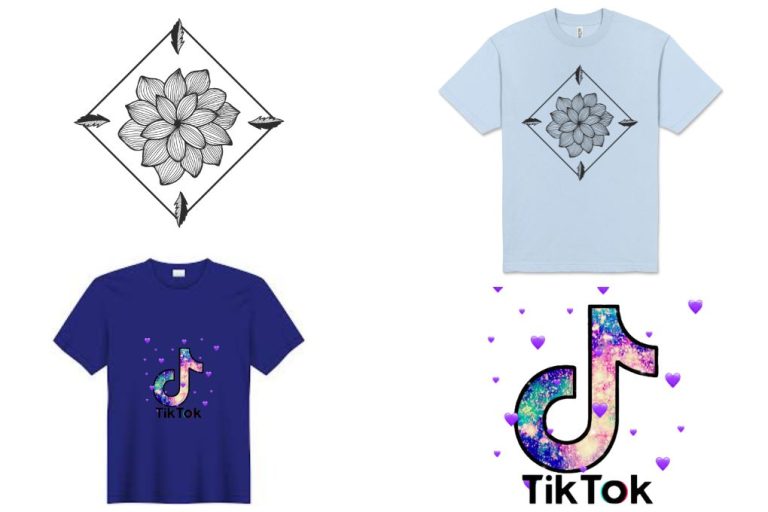
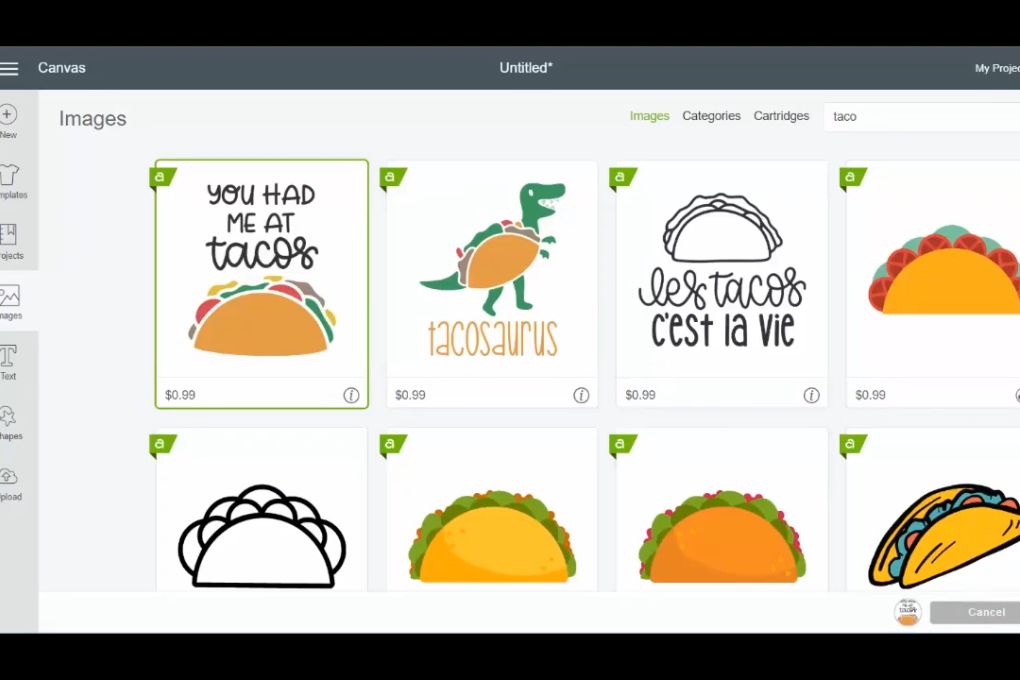
You may also use the Design Space image collection to find a printable image. It will allow users to print then cut by flattening the paper. Within the left hand corner of their picture tiles, Cricut’s Printable graphics include little green printer images. You may also look for printable designs in the picture search filter column by selecting “Printables.”
If you have Design Access, you may then have access to roughly 100,000 images. That’s not to suggest Design Space’s normal picture gallery isn’t full of complimentary photos. We like how you can change the color as well as other aspects of the designs
Step #2: Flatten
The Flatten tool is located at the layered bottom of the “Layers” menu. When you begin to flatten a design, you must master every aspect ahead of time. When you’re finished, select all of your image’s layers. Click the “Flatten” icon in the Layers panel’s bottom right corner.
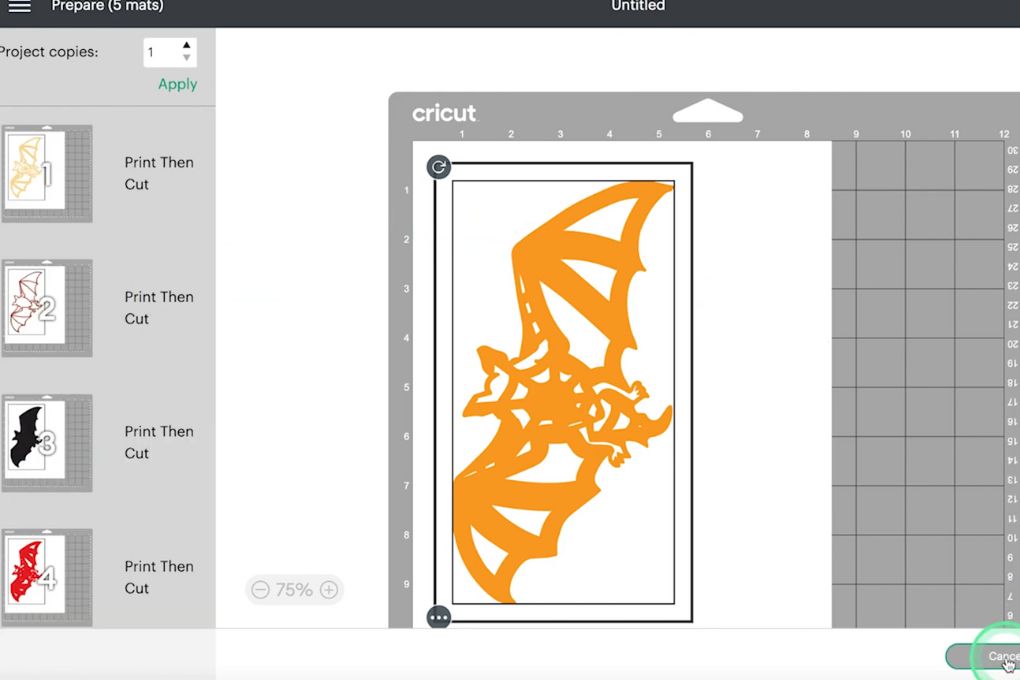
Following that, the layers must be combined into a single picture. In the Layers panel, you’ll note that now there are “Print” and “Cut” buttons underneath the picture preview. When you activate the “Project Preview” screen, your design should have a simple black border around the edges.
Step #3: Choose a “Print Then Cut” Option
You must adjust the image action to “Print Then Cut” once you’ve developed and flattened the project.
Step #4: Choose the Correct Machine
Choose your preferred printer from the drop-down option. Then click “Send to Printer.” A “Print Setup” dialogue box should display. You may now turn “Bleed” on and off. Bleeding extends the boundaries of patterns such that there is no trace of white in the margins.
Following that, you’ll need to enter the number of copies you wish to print. Check that your printer is stocked with the correct level and type of paper and ink. Design Space will arrange your creation to print on 8.5-by-11-inch paper by default (standard letter format). That being stated, the dimensions of your design must be 9.25-by-6.75 inches or less.
Step #5: Stick the Printed Design to the Cricut Mat
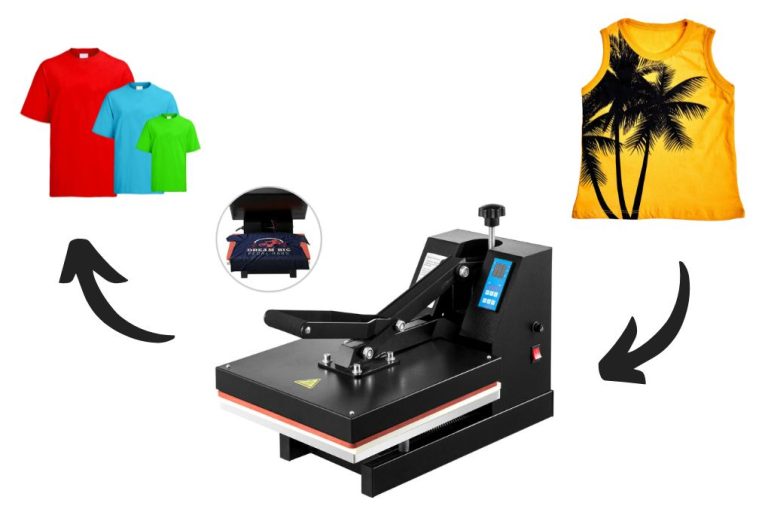
After successfully printing your design, transfer it to your Cricut mat for cutting. Fill the top left corner of the Cricut mat with the supplies. Lay the paper flat across your Cricut mat and press it down. There should be no apparent folds or creases.
Cardstock, embossed paper, textured cardstock, steel, vinyl, design paper, or Infusible Ink transferring sheets may all be used with Cricut’s StandardGrip Machine Mat. As a result, it’s one of the highly in-demand Cricut mats.
Step #6: Cut
After you’ve mounted and loaded the mat, go to Design Space’s PTC (“Print Then Cut”) menu and pick the tools and materials you’ll be utilizing. Remember that if you employ an Explorer, then will pick a material using the machine’s onboard dial. When you’re finished, push your cutting machine’s flashing Cricut button.
The “Print Then Cut” sensors on the Cricut will read the design information before cutting it. After the machine has done cutting, remove the pattern off the mat. Enjoy!
Efficient Use of the Flatten Tool in Cricut Design Space
The key to efficient designing in the Cricut Design Space software lies in understanding when to use each tool. For example, consider the difference between the Flatten tool and the Weld tool. While both tools essentially combine all the layers in your design, they are used differently.
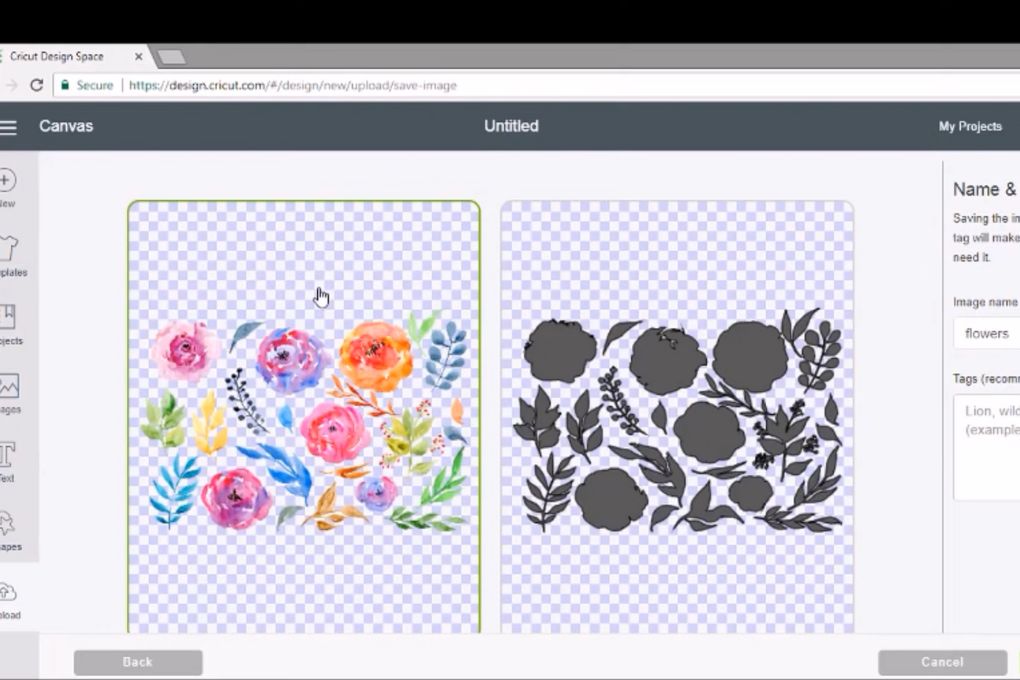
The Flatten tool is mainly used to convert a multi-layered cut image into a single-layered image. After using the Flatten tool, all visible layers are combined into one flattened layer that can be printed then cut as one image. The tool essentially turns a multi-colored cut image into a printable image.
On the other hand, the Weld tool permanently merges shapes or texts together into one layer. However, unlike the Flatten tool, the Weld tool removes any overlapping cut lines. This is particularly useful when creating connected script letters or when you want multiple shapes to cut as one continuous piece.
How to Effectively Use Flatten with Intricate Designs
Working with intricate designs in Cricut Design Space may seem daunting, especially when dealing with numerous component layers. The Flatten tool, however, simplifies this process. By merging all the layers into one flattened layer, the Flatten tool transforms the intricate design into a single, printable image.
It’s essential to carefully examine your design before flattening. The Flatten tool combines all visible layers, so make sure to hide any layers you don’t want to be included in the flattened image. You can do this by clicking the eye icon next to the layer in the Layers panel.
Utilizing the Flatten Tool to Save on Cutting Materials
Saving cutting materials is another advantage of using the Flatten tool. By converting multi-layered cut images into a single-layered printable image, you save on the materials you would have otherwise used for each layer.
One thing to remember is that the Flatten tool works hand in hand with the Contour tool. If you’re looking to eliminate certain cut lines or details from your design to save on cutting materials, the Contour tool can be used to hide those portions. Once done, you can then use the Flatten tool to combine your visible layers into one image, ready for printing and cutting.
In short, mastering the Flatten tool in Cricut Design Space can significantly boost your design efficiency, especially when dealing with intricate, multi-layered designs. Always remember to consider whether the Flatten or Weld tool is most suitable for your design goals and don’t forget to utilize the Contour tool when necessary. Happy crafting!
What Do Flatten and Unflatten Mean on Cricut?
Flatten makes any picture printable by combining all chosen layers into a single layer. Unflatten, on the other hand, divides layers from the single printable image into independent printable layers. Unflattening is possible in Cricut Design Space. The unflatten button is not visible until you have used the flatten function.
When you flatten something, the flatten tool transforms into an unflatten icon when it is chosen. When you click on it, the prior layers are restored and the object is unflattened.
What is Print then Cut on Cricut?
The flatten tool will only be used to prepare an object for Print Then Cut, so what is the Print Then Cut function of Cricut Design Space? Print Then Cut allows you to print an item on your home printer and then cut it out exactly with the Cricut. It’s frequently used to make stickers out of printable sticker paper.
When you print the flattened picture on your home printer with the Print Then Cut feature, Cricut adds a black border around the printed image to serve as a registration mark. After printing, place the printed design on your cutting mat, and the Cricut machine will utilize sensors to detect the cut sensor marks to line up the cuts.
What does Weld do on Cricut?
By deleting any overlapping cut lines, the Weld tool allows you to unite forms to produce a single customized picture. This is a terrific technique to simplify a design, keep word letters together, or mix shapes to generate fresh ideas.
What is the difference between Weld, Attach and Flatten in Cricut?
Cricut Flatten vs Weld may appear identical at first glance, yet they serve quite different functions. Each of the tools has very basic and particular applications. The flatten tool is not identical to the weld tool.
The weld button is used to create new shapes by joining two or more existing shapes into a single new shape with really no individual cut lines. Weld will join forms together without crossing cut lines. It’s a terrific approach to create fresh designs from various shapes and combine them into such a single personalized image.
Weld can also be used to join the letters of a word such that there are no cut lines between them. Weld merges many Cut layers into a single Cut layer. When you use Weld, the surfaces merge into one hue. And the layer that results is a Cut layer, not a “Print Then Cut” layer.
Flatten, on the other hand, merges many Cut layers into a single Print layer. If you apply Flatten, the levels retain their distinct hues. And the outcome is a “Print Then Cut” layer rather than a conventional Cut layer.
Attach generates microscopic holes between nearby letters and the graphic component layer. The Attach function is just temporary. Individual layers can still be edited after they have been joined. During the editing stage, many craftsmen choose to use the Attach option.
When should Flatten be used?
When you have many objects (or layers) on top of each other and simply want the Cricut to cut the outline, use Flatten. Alternatively, if you’d like to add a backdrop to your image in order, the Cricut only cuts the background layer. If this is the case, after choosing all of the layers, now choose”Flatten.” You won’t be able to modify the colors of the layers after they have been flattened!
Essentials to Flatten on Cricut Design Space
- Traditional inkjet printer
- Printer paper
- Printer Ink
- Design Space compatible device
- Reliable internet connection
- Cricut Maker or Export machine
Why should I Flatten on Cricut?

Flattening photos has the advantage of saving you time and work when cutting out the design. This is because converting your photos into cutting paths allows Cricut’s machines to read them more readily and speedily cut out the design. It also assures that the design will appear well when it has been cut. If it isn’t flattened, the design could have an odd aspect ratio that looks strange.
Overall, flattening pictures in Cricut Design Space may be useful in a variety of scenarios, giving you greater control over the final appearance of your product. Having numerous advantages, it’s not unexpected that it’s such a common tool with Cricut users.
Read More: Best Sublimation Printers for Heat Transfer, Top Quality Sublimation Papers, How to sublimate on canvas?
What Does the Flatten Button Do on Cricut?
Flatten is a tool for converting multi layered pictures to one layered picture. The Flatten Tool is used to convert any image into a printable image for print and cut by eliminating any cut lines from an image while retaining all of the multiple layers image’s colors.
Many layers on SVG files may be flattened to a single layered picture, printed, and cut out using the Cricut machine through the option print and cut. The flatten tool creates patches, tags, stickers, and other items.
Read More: Best Sublimation Printer for Beginners, using sublimation papers for projects
What are Cricut Projects that need Flattening?
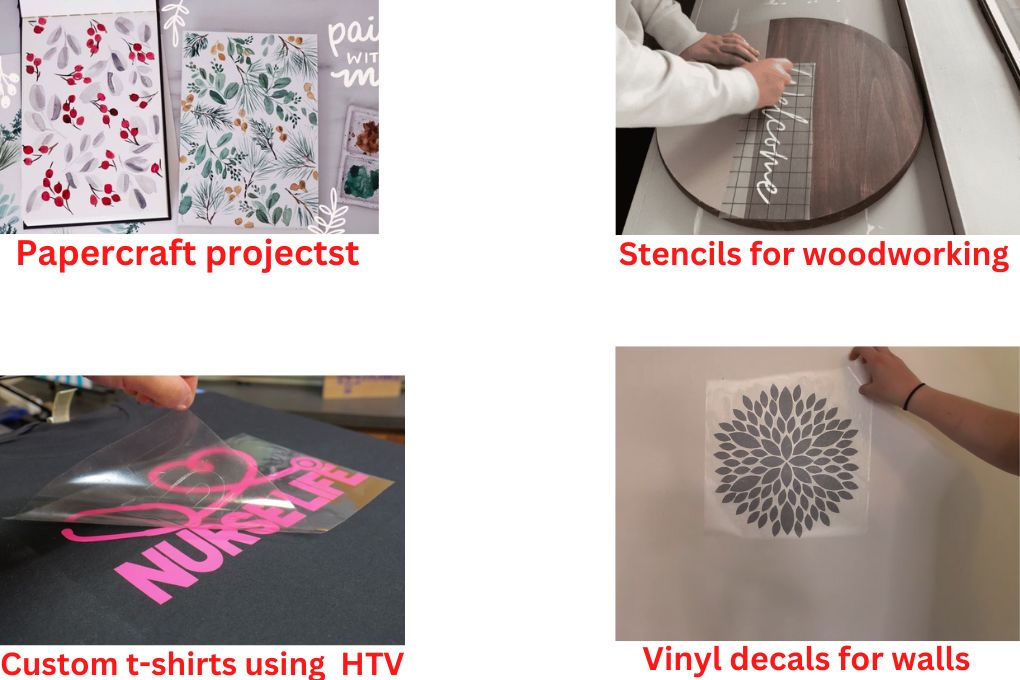
Not all Cricut design spaces require flattening, and not all pictures can be flattened while still looking good. The flatten tool is most commonly used in the following projects in Design Space:
Whatever tasks you work on with your Cricut which require flattening, you’ll see how employing this tool allows you to produce professional-looking designs and achieve stunning results.
Related: Permanent vs Removable Vinyl, sublimation ideas for printing business
What Does Flatten Mean in Cricut Design Space?
“Flatten” essentially means to reduce something to two dimensions. It’s a technique for displaying an item on a single surface. As you flatten an image in Cricut Design Space, you are converting a three-dimensional image to a two-dimensional one.
Where to Find the Flatten Tool in Cricut Design space?
The Flatten tool may be found in the Cricut Design Space software on a desktop or mobile app.
On Desktop: The Flatten button present in the Layers Panel, is on the lower left edge of the screen, directly adjacent to the Attach Tool. The Flatten feature is also available in the right-click option.
On Mobile: The Flatten tool is located in the Actions sub-menu of the toolbar just at the bottom of the screen, among Weld and Flatten.
What is Flatten in Cricut Design Space?
The use of Flatten in Cricut Design Space is relatively straightforward, however, there are a few guidelines to follow.
- Minimum single layer or shape must be utilized: To carry out the process you need to select the layers; if no layers are chosen, the Flatten button will be greyed out.
- There is an option of flattening a single layer or many levels: Flatten transforms a Cut picture into a Print image, keeping just an outside cut line within the border. When you flatten a single sheet, it simply converts it to a printed picture. When you flatten numerous layers, they are combined into a single printed picture.
- Flattened layers are no longer editable: Flatten merges everything (all chosen layers, shapes, photos, text, and so on) into an unified Print then Cut layer, hence be sure your text is accurate, everything is in the correct location, and the colors are set correctly before selecting Flatten. After flattening, you can interact with the unique flattened picture as you would any other single photo, but still won’t be able to alter any of the image’s “components.”
- Flatten works regardless of whether the photos are Grouped, Attached, Welded, or multi-layered/hidden: Flatten only works with visible pictures, therefore the finished Flattened image will appear precisely how it appears on the Canvas screen. Anything concealed will remain hidden; anything welded/attached will look exactly the same as before, simply without any cut lines around the inner forms.
- Upon choosing an already flattened image, the Flatten button becomes an Unflatten button: When you choose layers that haven’t been leveled, the Flatten button at the bottom of a Layers panel is active. If you select anything you’ve previously flat or a pre-flattened Printable Photo from the Cricut collection, the Flatten button changes to an Unflatten button, allowing you to simply undo the procedure.
- Unflattening a picture is not the same as flattening it: Unflatten separates the layers so that they may be edited as separate layers, and it resumes the layers’ original arrangement in the Layers panel. It also recovers the Cut lines for each level, but all of the layers are still printable images.
It basically takes a flattened Print then Cut a picture and unflattens it into many Prints then Cut layers. If you genuinely “Undo” the Flatten command, you must also alter the color of each layer back to “No Fill” so that the photos return to merely Cut images rather than Print then Cut images.
- Flatten works with both overlapping and separate shapes: Flatten just compresses everything within a solo Print and then Cuts pictures. When your forms overlap, they create a multi-colored printed picture. If your forms are distinct, they will be printed as separate layers.
- Text flattening is the same as picture flattening: The Flatten tool is solely concerned with the forms that are visible on the Canvas. It makes no difference whether the layer consists of text, forms, graphics, photographs, or anything else; Flatten would flatten it everything into a unified Print and then Cut the image.
How to Use the Flatten Tool?
Everything you’ll need is a Cricut machine and the free Design Space software. Here are the fundamentals of utilizing the Flatten tool:
Pro tip: Constantly keep an eye on your Layers Panel. In Cricut Design Space, this is where you can view precisely what’s happening with your design. It’s the initial area we look at if we’re having problems with our project. It will show us exactly how the design is set up, allowing us to immediately identify and correct any issues.
Conclusion:
The Flatten tool has several applications and may be used to create some truly unique effects. However, it has extremely particular regulations that must be followed in order for it to function effectively. This tutorial will show you how to flatten pictures in Cricut Design Space so that your Cricut can print multi-layered graphics without cutting. Once you’ve mastered the Flatten function, you’ll be able to explore a plethora of new options in Cricut’s Design Space.

I’m Derrick Flora and I am the owner of Printangles.com. I am the father of 2 angles and 1 boy and I am 37 years old. I had done Bachelor in Fashion and Textile Studies from FIT State University of New York.
It’s been 7 years since when started the sublimation business. I sublimated mugs, t-shirts, canvas, and many more. And we have analyzed some things that beginners don’t apply the actual strategies to complete the project. And those strategies are making your sublimation better onto the material. What do beginners do, they just buy the sublimation printer and the heat press without knowing about them.