How to Make Sublimation Tumblers 2023 – DIY Step by Step Guide
Sublimation has wangled a lot of popularity over the years by customizing and transferring the entangled designs onto the crafts easily. And this process has increased the demand for all the crafts to sell in a unique sublimated design. Sublimation can be done on all the polyester materials because the sublimation ink only gets to grips with the polyester material for amazing results.
You can sublimate a little bit less polyester material as well, but there’ll be some sublimation hacks and tips. Now, I am going to tell you how to make sublimation tumblers and how to sublimate a tumbler by using two authentic different, and easy methods. A customized tumbler with an eye-catchy design will give a colorful feeling to the drinkers.
You may have the thoughts that the sublimation process is difficult, but this isn’t at all. Transferring the design is easy until you use the right strategies for sublimating the material. Well, the experience automatically brings a lot of improvements to your work quality and time too. No matter what your level of expertise is, you don’t have to worry about it.
I’m going to instruct you by using our years of experience to assist you in how to make a sublimation tumbler. Whatever method you choose, all you need to do is just follow all the steps carefully with all the tips to generate brilliant results.
Read More: can you sublimate over sublimation, why sublimation is not transferring?
Table of Contents
How to Make a Sublimation Tumbler
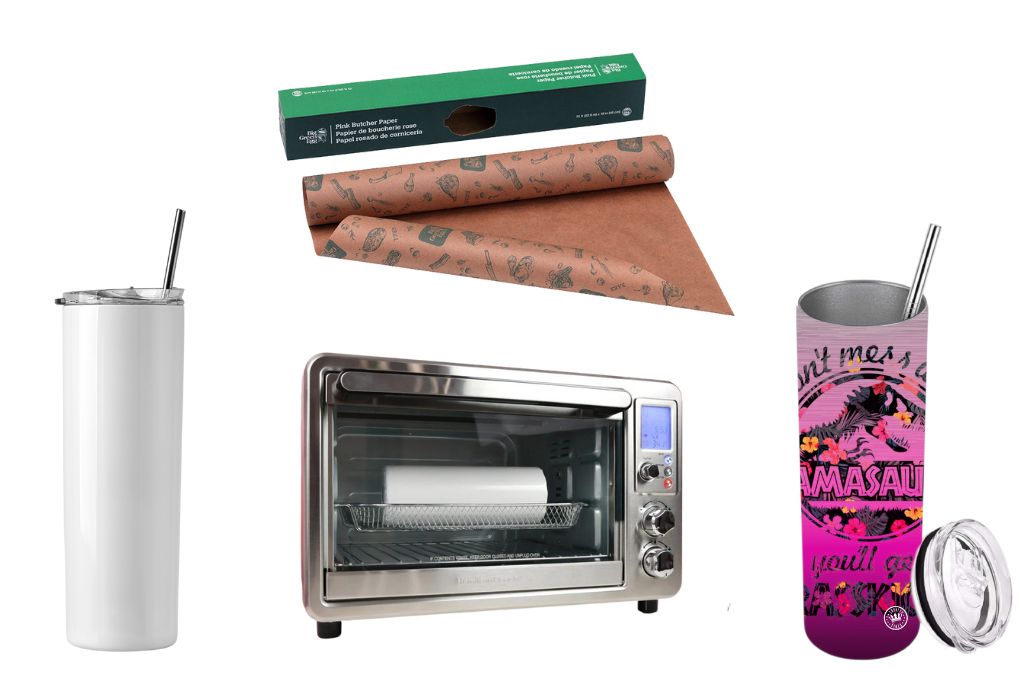
Before we dive into the process of sublimating a tumbler, let me tell you that all the materials you need to start and complete this process;
- Create the Design
- Sublimation printer
- Sublimation ink
- Sublimation paper
- Sublimation tumbler blanks
- Convection oven (1st method)
- Cricut mug press (2nd method)
- Heat gloves
- Shrink-wrap sleeve
- Lint roller
- Teflon sheets
- Butcher paper
Let’s talk about the functions of all the given materials to clear the concept before starting the project. As it’ll be known to you that why we are using it and how it can be beneficial for our project.
1. Create the Design
This is the reason why the importance of crafts has increased and you can attain a lot of potential buyers through your amazing graphic designing ability. And then the sublimation process starts because, without the aesthetic design, you can’t attract the buyers as well. The importance of this step is no less than that of the other steps. However, as a newbie, you might wonder how we could create better designs. Let me tell you that there are many free and paid designing software that allows you to create customized required designs.
More importantly, you should know the design type because different software offers you different types. If you ask me about the software, Adobe Photoshop and illustrator are the kings for designers. Because they know the importance of these sublimation design software.
Canva also offers you a lot of features with an easy user interface and designing abilities to generate amazing designs. If you are a beginner or don’t have designing sense, you can take help from youtube and you’ll get an ocean of knowledge there. Again, designing type is very important, what kind of type do you want for the tumbler’s sublimation.
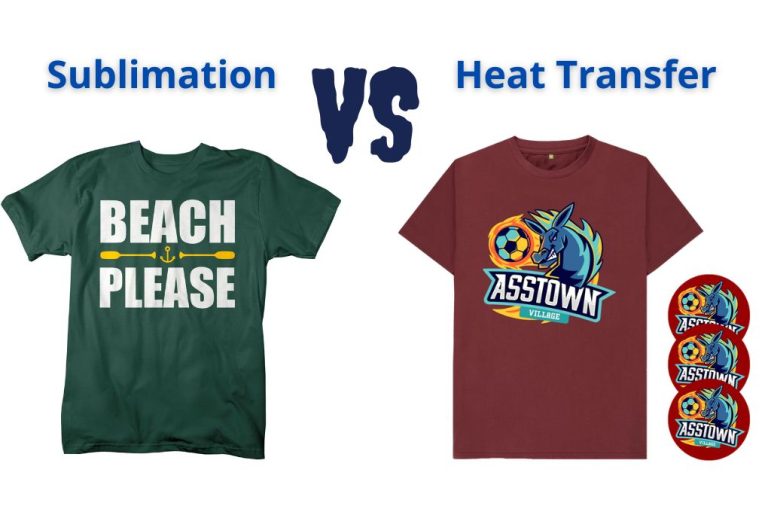
Related: Are Sublimation Tumblers Dishwasher Safe? Sublimation & Screen Printing Comparison
2. Sublimation Printer
Another material you need to have is a sublimation printer. Because there are some sublimation printers that claim to be sublimation printers but in actuality they are not. You must be cautious when choosing a sublimation printer. Additionally, there are some factors that should be considered before choosing a material for this process.
Avoid using the old printers as there can be reasons they wouldn’t have been used for so long and can’t create expected results. You can get a printer for the process that use regularly and also avoid dull printers for your projects. The factors include printing technology, replaceable cartridges, and the ink profile setting. Once you understand all the factors in detail, you can choose the printer easily.
Related: Best Sublimation Printer for Heat Transfer, Best Printer for T Shirt Design, Making sublimation coating
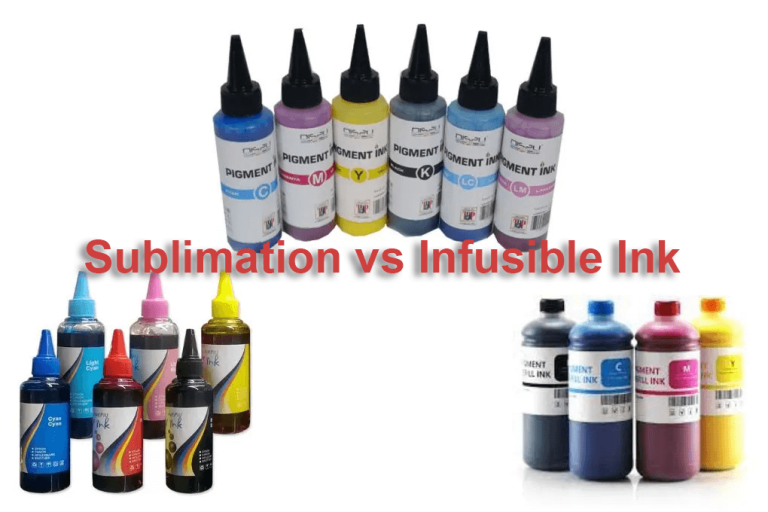
3. Sublimation Ink
You can’t just use the regular or other inks for the sublimation projects. Because you won’t get enduring transferring results and also the design doesn’t fade away after washing the material. When the pressure of heat applies, ink converts into a gas without passing through the liquid phase and should look clean and smooth. It transfers without spotting when high temperature applies to produce vibrant colors.
Related: Care instructions for sublimation mugs, Tips and tricks for succeeding sublimation printing, Ceramic plate printing
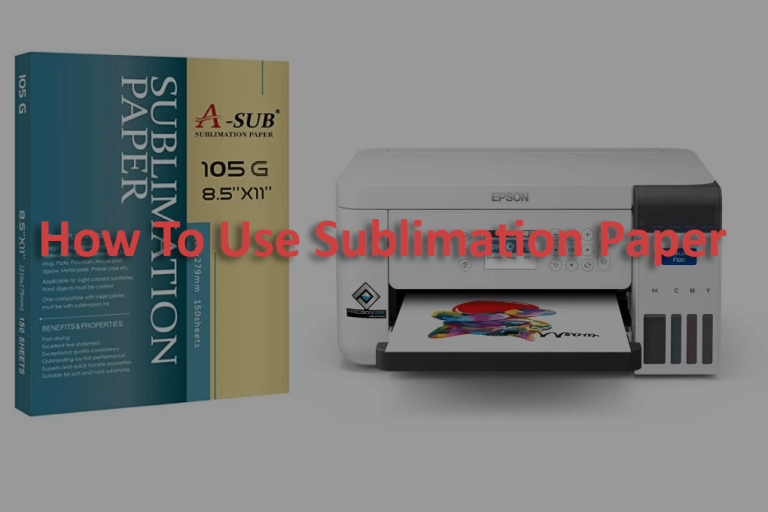
4. Sublimation Paper
Paper also needs to be high quality because it retains and transfers the sublimation ink onto the tumbler. When it comes to choosing the sublimation paper, it depends on the ink capacity, ink patterns, and the limit of the ink. It also depends on the printing speed as lightweight paper generates the best results with sharp printing. And the thicker paper produces better results with slow printing.
5. Sublimation Tumbler Blanks
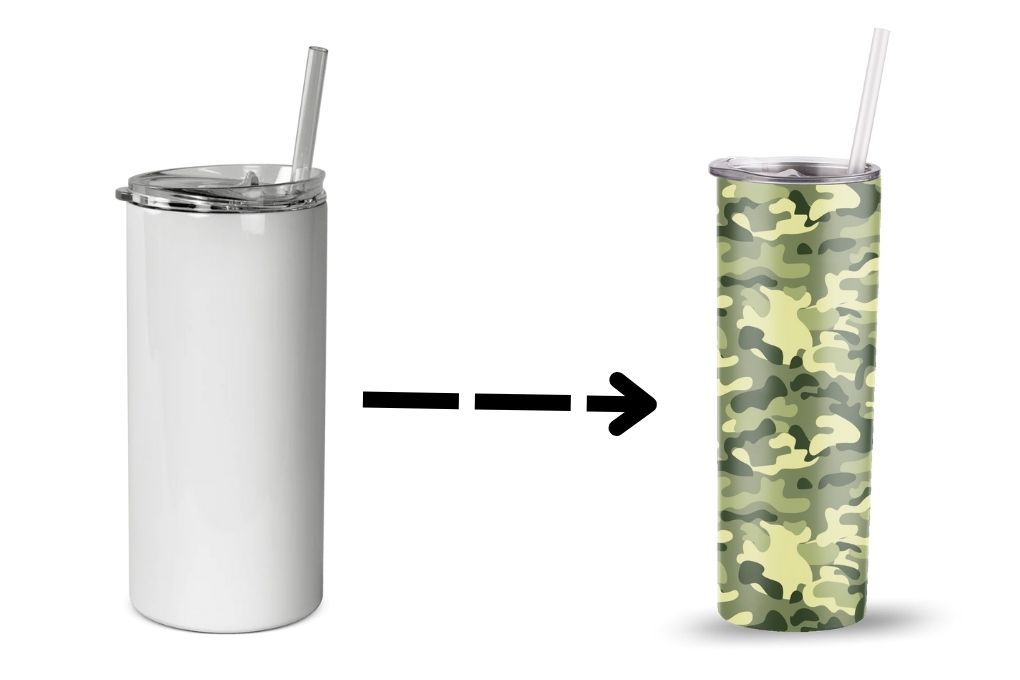
Sublimation tumblers are what you will use for the sublimation process, and the recommended sizes for these are 16. oz and 20. oz skinny tumblers. However, you need to get one thing straight from the manufacturer when buying tumblers that these tumblers are suitable and can bear the heat process. You won’t be needed to do research while purchasing this one as these are easily accessible in the market.
6. Convection Oven
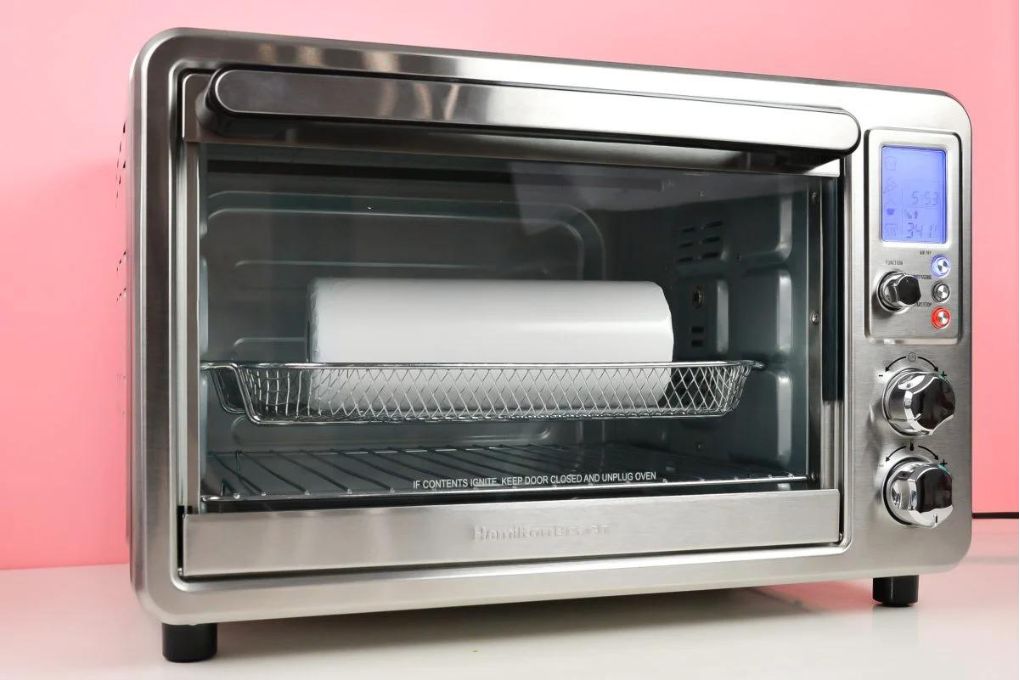
Using the transfer equipment depends on the material you are using for the sublimation. And the purpose of using a convection oven is that it’s more suitable for the tumbler to get accurate and smooth results. Selecting a convection oven is also important as all the ovens don’t permit the material to be sublimated. So, you have to ask the shopkeeper about the sublimation ability, temperature, and time when buying the oven. Also, avoid using the toaster oven as it’s not applicable for the sublimation process.
7. Cricut Mug Press
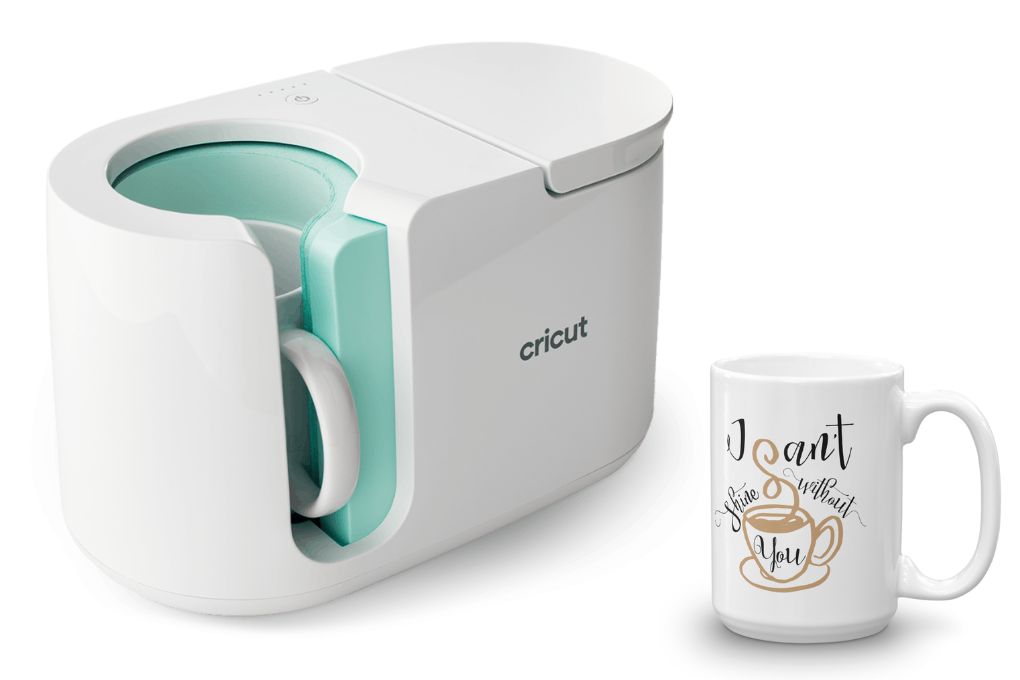
Another recommended transfer material for the tumblers for getting expected results is the Cricut mug press. Again, you need to confirm the temperature from the shop-owner when acquiring the mug press. Because temperature is the thing that can destroy your material or can glow your design onto the tumbler.
8. Heat Gloves
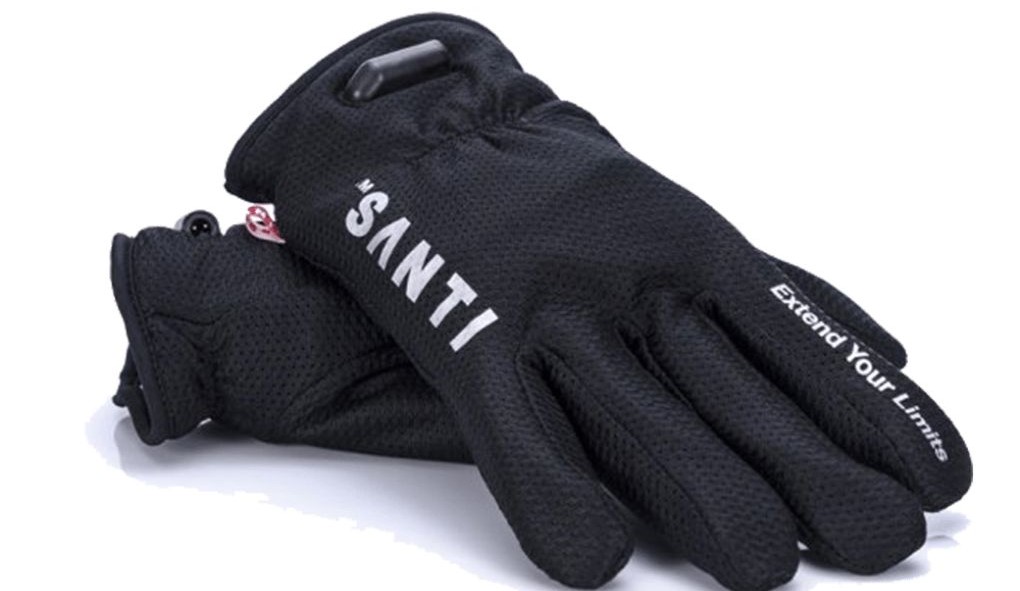
These particular heat resistant gloves are used when the sublimation printing process is done. Because it can protect your hands and fingers while removing the material from the heat press after the sublimation process. If you can wait until the materials get cool down, you can neglect this material.
9. Shrink Wrap Sleeve
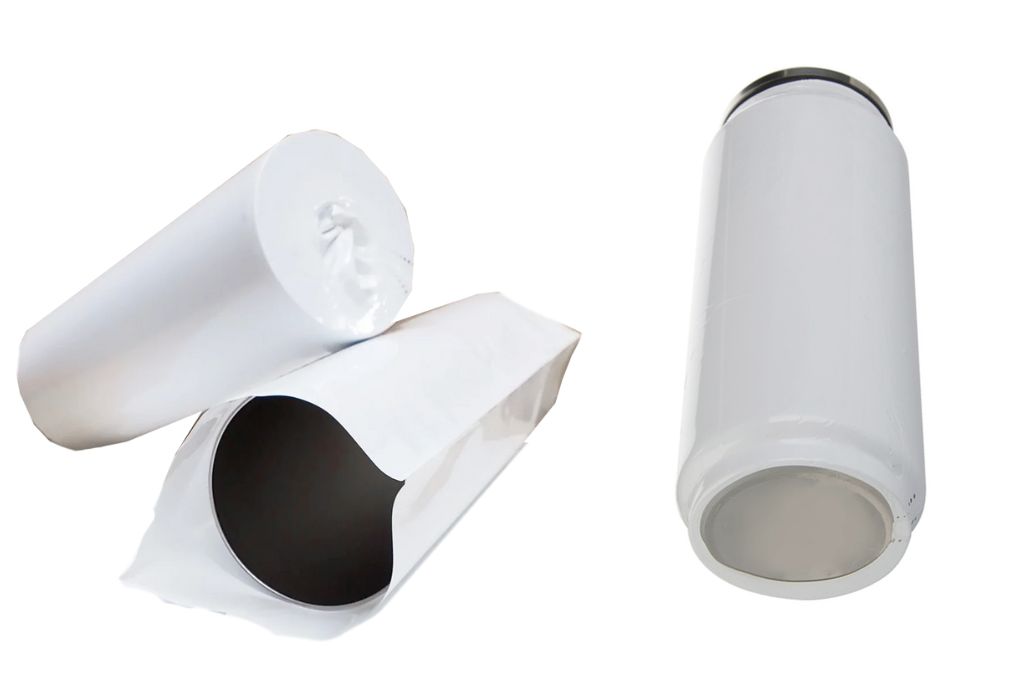
Most of the time when curved materials get sublimated, a shrinkwrap sleeve is used. It protects the material and the mug press as well. Sometimes your tumble doesn’t get fitted into the mug press, then you need kind of shrinkwrap sleeves to adjust.
10. Lint Roller
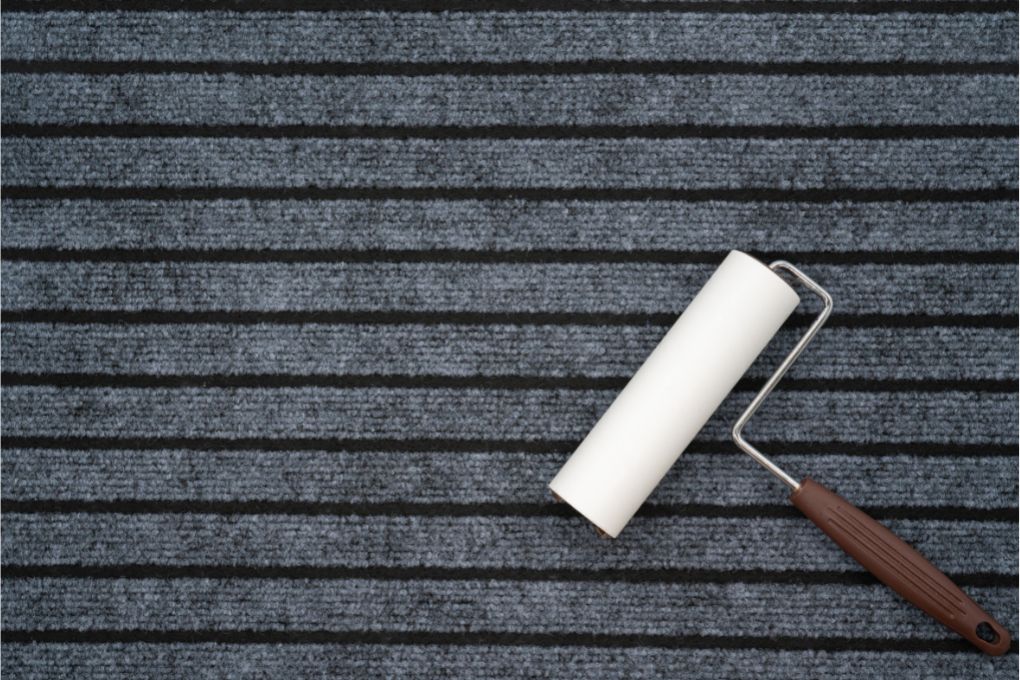
This is recommended and the must-use material should be on the radar as well. Because it removes the dust from the tumbler to get them clean and smooth transfer results and avoid missing or uncleared design.
11. Teflon Sheet
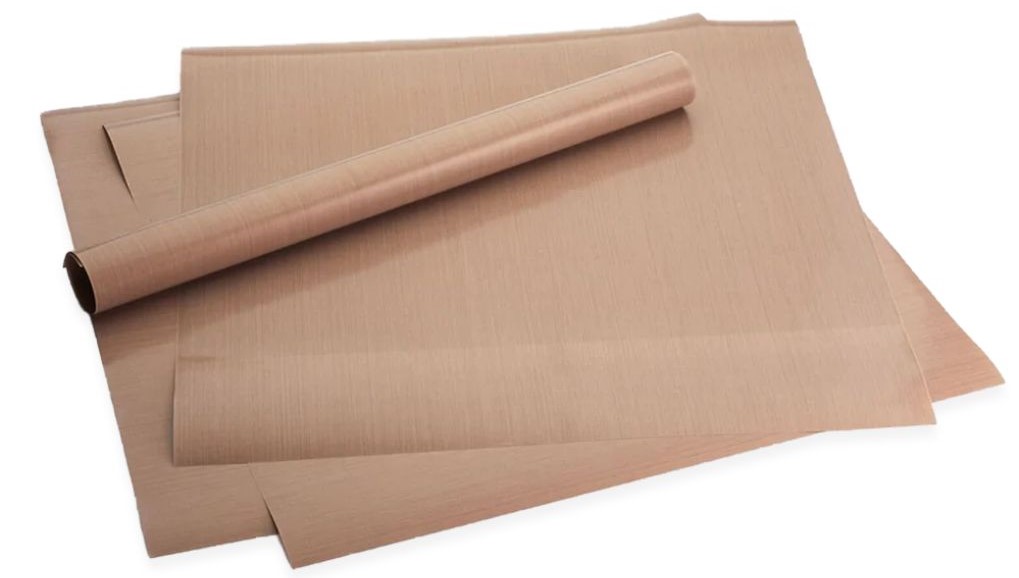
Teflon sheet is a stain-resistant and non-sticky sheet that is used to protect the design from melting. Also, protects the tumbler and the mug press from any kind of disturbance during the transfer process. And the beauty of this material is you can use it for multiple projects as it’s reusable.
12. Butcher Paper
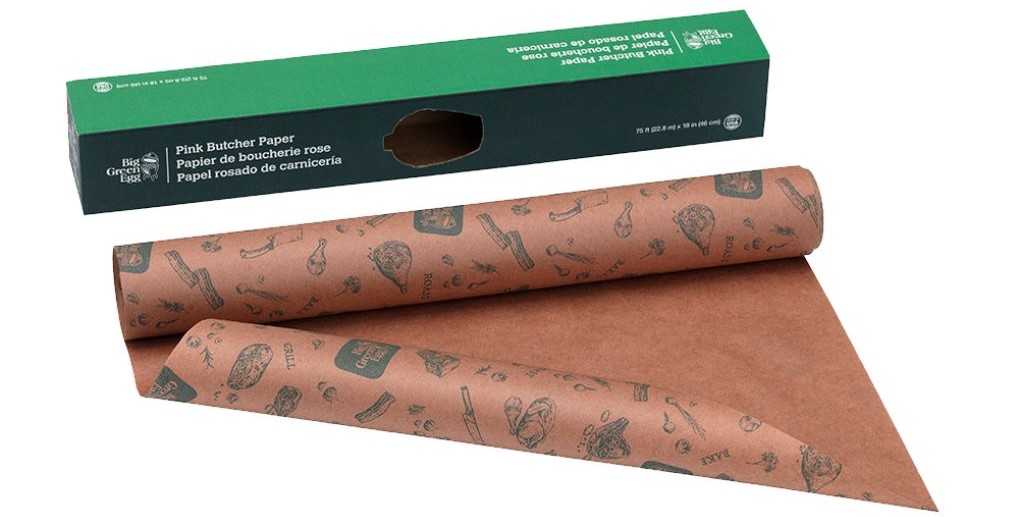
The main benefit of the butcher paper is your tumbler gets protected from any kind of moisture. Because it sucks up all the moisture. The material needs to be white, uncoated, and wax-free as well. Make sure to use the butcher paper as well for vibrant results.
After describing the functions of every material needed for sublimating the tumbler. As we are going through the two methods of making sublimation tumblers. Let’s discuss the first method with the convection oven for transferring the design.
How to Make Sublimation Tumblers with Convection Oven
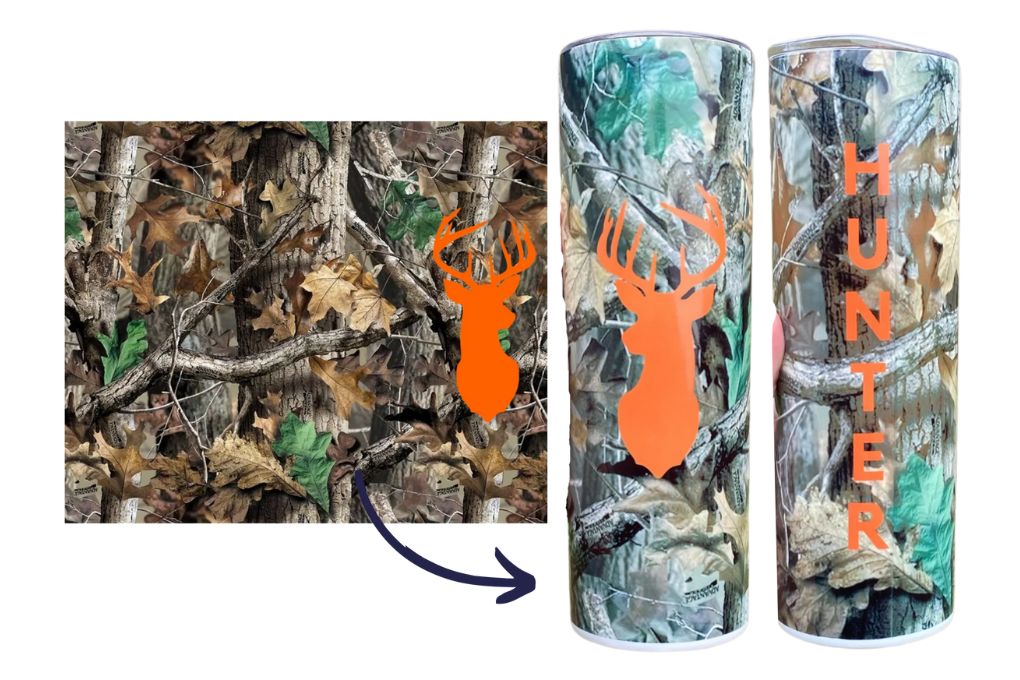
The tumbler is an excellent gift-making material for beginners and experienced crafters alike. You can customize the tumbler with whatever design you choose. Because it allows you to sublimate tough designs but keep in mind the material as well when going for the design. Below are easy and simple steps to get you started.
1. Creating Sublimation Design
While keeping in mind the size of a 20. oz skinny tumbler, I would suggest a size of 9.3 x 8.2 inches. To make captivating and charming designs, you must have the designing abilities because as a beginner it would be difficult to create the bewitching designs. Now talk about the software that can produce better designs.
There’ll be few who don’t know about this recommended design software Adobe Photoshop. Because of its flexibility, design abilities, user interface, and many more features. Your budget also influences whether you choose free or paid software. Evidently, paid software will bring a lot of features to go deeper and create more deep results.
Canva is the second suggested software that provides both free and paid versions with the features difference. I would suggest every starter use this software for the sublimation designs because it pledges you with an easy user interface. So that a beginner can also understand and can generate sensible designs. In designing, the combination of colors is very important, and choose carefully to give logical look.
2. Design Printing
Once you have created a captivated design, move on to the next step of printing the design through the sublimation printer. It’s a very important step, rather all the steps are equally important as every step has a unique impact on the result. Crucially, keep in mind that always choose the printer for sublimation that has piezo printing technology because this technology allows the sublimation.
Moreover, never use old and dull printers for this process. Because these printers are not eligible for the sublimation as we’ve experienced all of them. Another thing you must consider, buy a printer that comes with sublimation ink. If it doesn’t, buy separately because regular ink doesn’t get sublimated. And sublimation paper quality should also meet the standard of ink and printer as it retains and transfers the design.
3. Use Lint Roller & Shrink-wrap Sleeves
Most of the time sublimation ignores this step and unlucky they get an uncleared sublimation result. The use of a lint roller is to remove the moisture and the dust from the tumbler before the process starts. If the dust remains on the craft, it makes that place non-sublimatable. Also, the shrink-wrap sleeve wraps around the tumbler. It will protect your craft and the convection oven. Consequently, you need to take every step carefully and wisely.
4. Sticking Sublimation Paper and Shrinkwrap Sleeve with a Tumbler
Once you see the moisture and the dust has been removed, you’ll move towards the fourth step of wrapping the sublimation paper and the shrink wrap sleeve around the tumbler. But you’ll use the heat-resistant tape to stick the sublimation paper with a tumbler to avoid ghosting of the design after transferring.
5. Turning on the Oven at the Recommended Temperature
When the design is created, printed, and the craft is ready for the process, it’s time to turn on and heat up the convection oven at 380 F. Your material can be different and it’s suggested to get the manufacturer’s instructions and follow his temperature guideline for the sublimation process. Don’t forget to ask the tumbler maker about its temperature recommendations.
6. Convection Oven Process
Once the oven is heated, place the wrapped tumbler into the oven and leave it for 6 minutes and let the design transfer onto the tumbler. Always remember, High temperature and extra time can burn your material and the design too. So, always ask your manufacturer to tell about the temperature and the time guidance for the tumbler.
7. Removing accessories from the tumbler
When the time is up, it’s time to remove the accessories that are wrapped around the tumbler. Here you’ll use the heat gloves to take off the sublimation paper carefully to avoid any disturbance. Congrats! You’ve successfully sublimated the tumbler through the convection oven.
Now move next to the second method which is sublimating the tumbler via Cricut Mug Press.
Sublimating a Tumbler using Cricut Mug Press
As we are using 20. oz skinny tumbler and it’s a larger-sized tumbler than our Cricut mug press. So, the question can arise in your mind that how we will press the tumbler? You can divide the tumbler into four parts such as the top, bottom, middle seam up, and middle seam up. This method will allow you to produce accurate results when transferring the design to the tumbler.
1. Creating and Printing Design
If you are a newbie and don’t have design abilities, I’d suggest starting with this amazing design software. Because an easy user interface with a lot of features and ready-made templates allows the beginner to create some attractive designs. But if you can afford its premium plan, you’ll get a hell of features, and premium ready-made templates assist you in designing special designs in no time. You can use other designing software as well but the canva software is for those who are just getting into it.
When you see the design is ready, you can move towards the next step and which is printing using a sublimation printer. Again, this step is as important as others, and take it seriously too for good results. High-quality sublimation ink and paper combined with a suitable sublimation printer can produce astonishing results. Whatever material is used for the project should be of high quality. I have told you already about the factors you need to consider while going for purchasing the best sublimation printer.
2. Wrapping Transfer Paper Around the Tumbler and Using Heat Resistant Tape
Once you’ve got the clean and smooth print, you’ll simply wrap the sublimation paper around that tumbler place where you wanna sublimate. But you need to stick that paper properly with the tumbler. For that, you’ll use heat-resistant tape as it helps in adhering the paper with a tumbler. But make sure to adhere from that side you don’t wanna sublimate. Always use common sense while working on your projects because a bit of mistake can destroy your hard work with all equipment.
3. Use Butcher Paper with Teflon Sheet
I use the butcher paper by wrapping it around the tumbler for the protection of the tumbler and the Cricut mug press as the damage can be done during the process. You must use it for avoiding any kind of damage. Then adheres to this paper with heat-resistant tape. And Teflon sheet is an optional material, you can skip in a case when your tumbler gets fit right into the mug press. But there isn’t a case, you’ll have to use this to get your tumbler completely pressed for superb results.
4. Heating Up Cricut Mug Press
Cricut mug press size can be different in your case and your tumbler should also be according to the Cricut mug press. The design and the material are directly proportional to each other. So, you’ve to choose everything and take steps carefully for getting the best results. Now heat up the mug press at 350 degrees and set the timer to 50 seconds as every material gets a different temperature for sublimation. Your manufacturer should be able to tell you about the tumbler’s sublimation capabilities and recommended temperature.
Related: Best printers for mugs, Bleaching a shirt for sublimation, premium vinyl on shirts
5. Transferring Design Through Cricut Mug Press
Now put the wrapped tumbler with the transfer paper, butcher paper, and Teflon sheet. And each section will be pressed for 50 seconds, it’s totally based on your design requirements and the tumbler size. And we’ve divided it into four parts as it can’t be sublimated at once. Now press the first section for seconds, when the time is up, move to the next step.
In this step, don’t need to remove the tumbler rather you will rotate the tumbler at 180 degrees to sublimate the next section. Again press it and wait for 50 seconds, when the time gets completed. We can say that half of the tumbler’s side has been sublimated and it’s time to sublimate the perennial half side. The same process will be repeated and both the sections are gonna sublimate at 50 seconds.
6. Removing Papers and Teflon Sheet
Once the process gets done wisely and completely, you can remove the sublimation paper, butcher paper, and the Teflon sheet. But touching the hot papers can burn your hands or fingers. But there is always a solution to the problem, you should use heat gloves to remove the papers if you can’t wait for a few minutes. If you can wait, don’t need to buy this additional material.
Now the sublimation process has been completed and young can sell it online or can give it as a gift. Because the demand for sublimated crafts is at an extreme level but with healthy competition. Sublimation is a lucrative category and it’s a great time to get into this. Because there isn’t a huge competition and there is enough space as well.
Frequently Asked Questions for Sublimating Tumblers
Conclusion
Sublimation can be a diamond for the crafters if they take it seriously and sublimate some eye-catchy, captivating, and unique designs. But it’s a big niche and depends on your investment too. Choosing one material for sublimation can attain a lot of profit because it’s a profitable and lucrative business. But the material you are going to choose must be demanded. A failure of this kind will result in a loss of confidence and a waste of investment.
Let’s conclude the whole process of sublimating a tumbler. I have used two different methods with a couple of material differences. The purpose of describing two different methods is that everyone doesn’t have a Cricut mug press or convection oven. So, everyone can sublimate according to their transferring equipment. Let me share some guidelines for keeping you safe.
Don’t overheat the mug press or oven than the recommended temperature. And don’t press the material for more than the suggested time. Because the burnt material turns yellow and becomes tainted. Also, use the heat-resistant tape carefully, and don’t fix it where the mug press will be pressed. Using your mind and implementing our techniques and guide will lead you to a successful finished project with greater results.
All those safety materials we prefer during the process, you must use. Because it protects your sublimated material and the equipment through which you sublimate those materials.
Read More: How to select sublimation printer? Ways of using sublimation paper use any printer for sublimation

I’m Derrick Flora and I am the owner of Printangles.com. I am the father of 2 angles and 1 boy and I am 37 years old. I had done Bachelor in Fashion and Textile Studies from FIT State University of New York.
It’s been 7 years since when started the sublimation business. I sublimated mugs, t-shirts, canvas, and many more. And we have analyzed some things that beginners don’t apply the actual strategies to complete the project. And those strategies are making your sublimation better onto the material. What do beginners do, they just buy the sublimation printer and the heat press without knowing about them.